Continued...
Onto the fuel tank, I had it blasted which revealed a few pin holes which I had to repair with the welder. Came out well enough though -
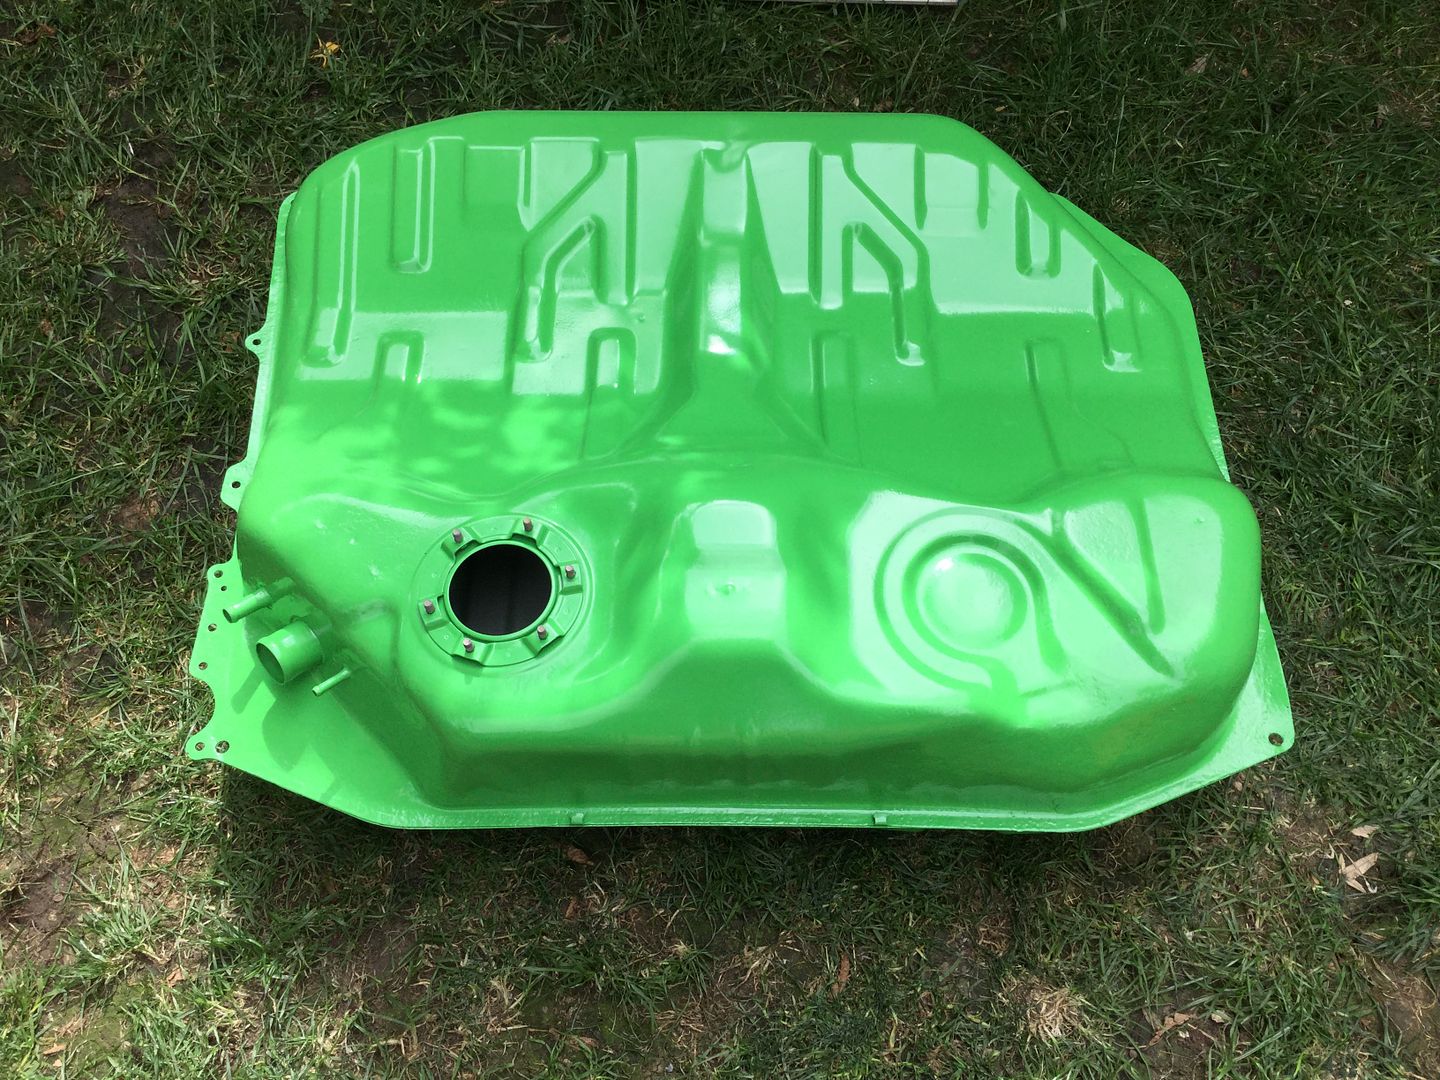
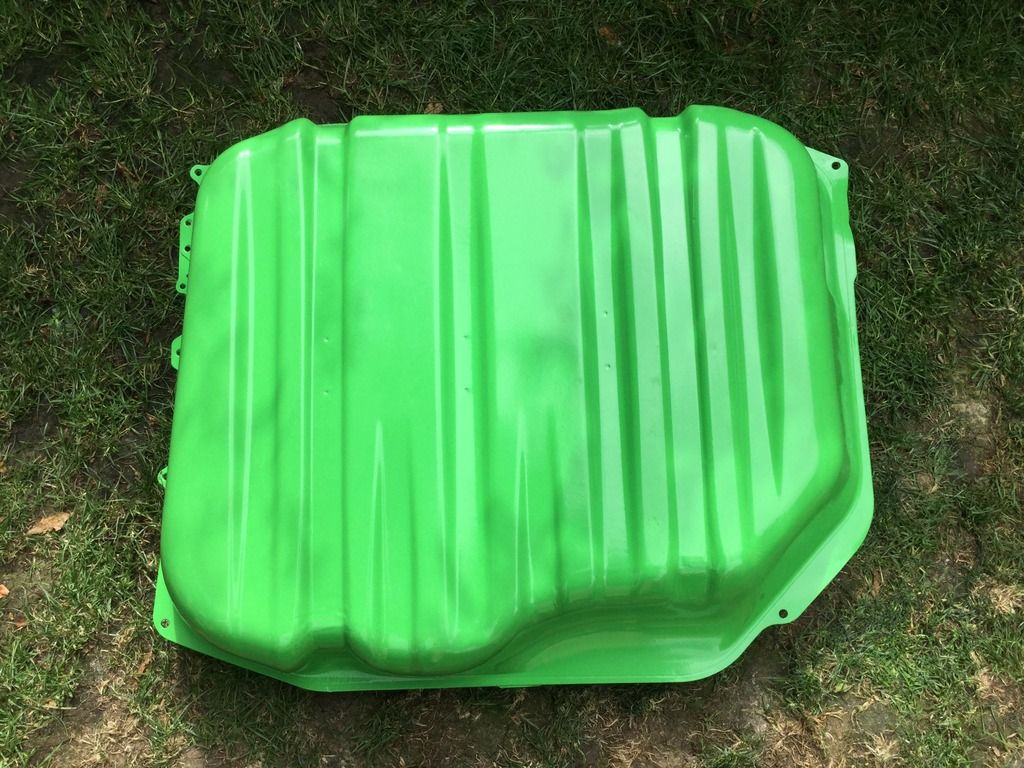
I had a fuel tank sealing kit left over from a previous project so I decided to put it to good use -
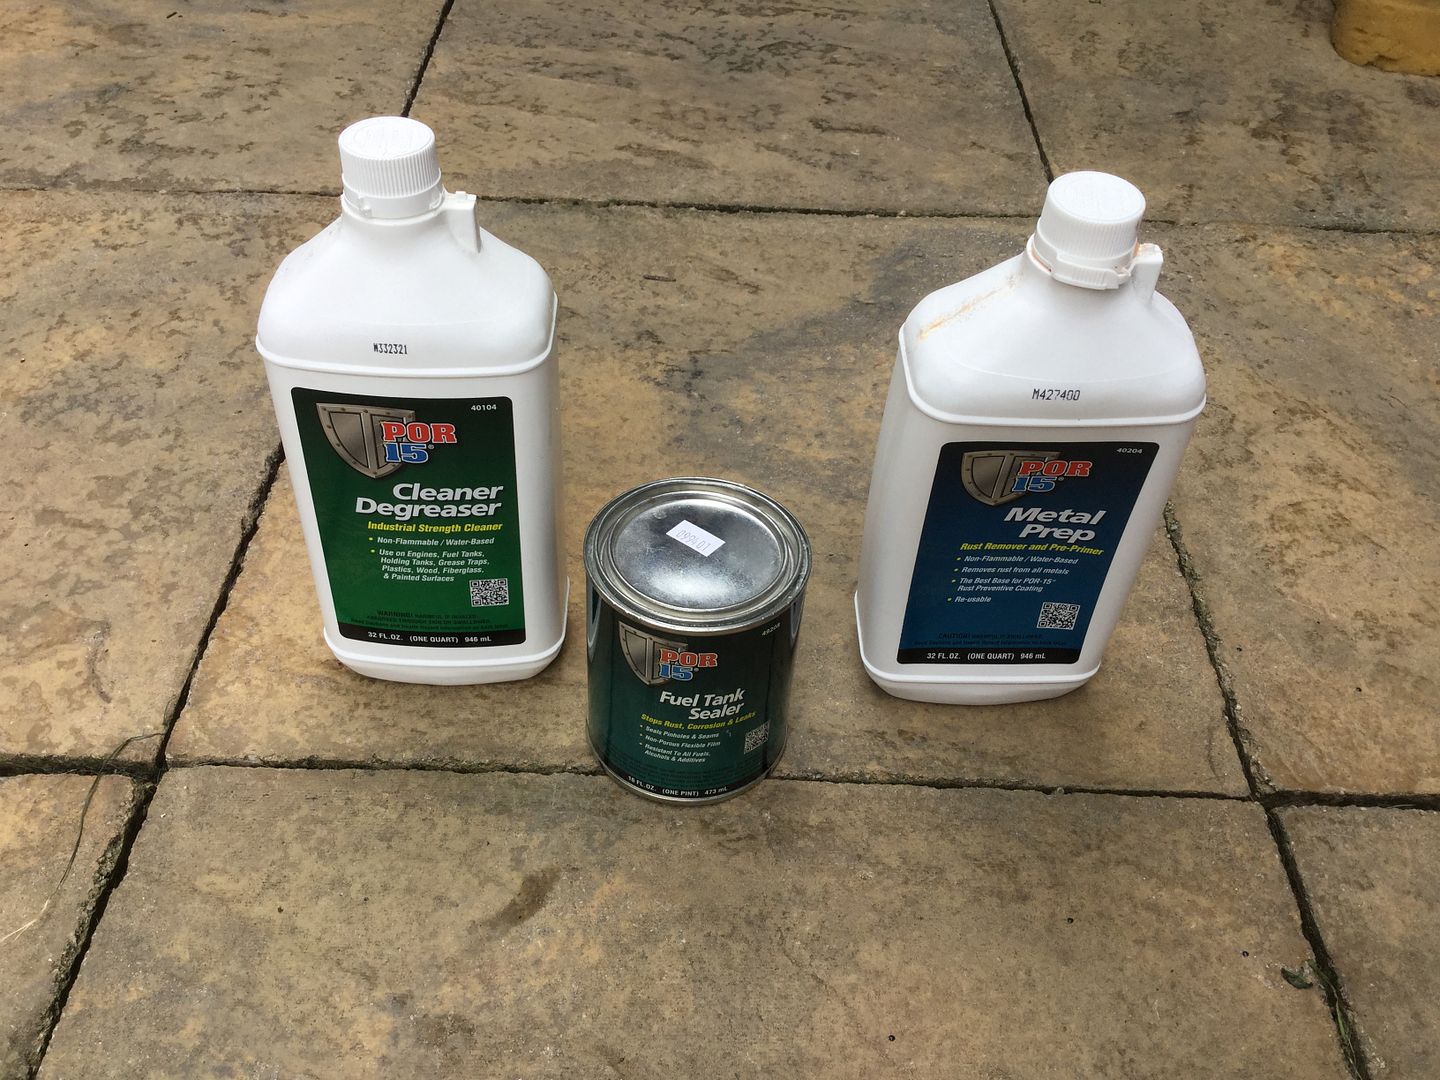
Diluted the degreaser down with some boiling water and put that in -
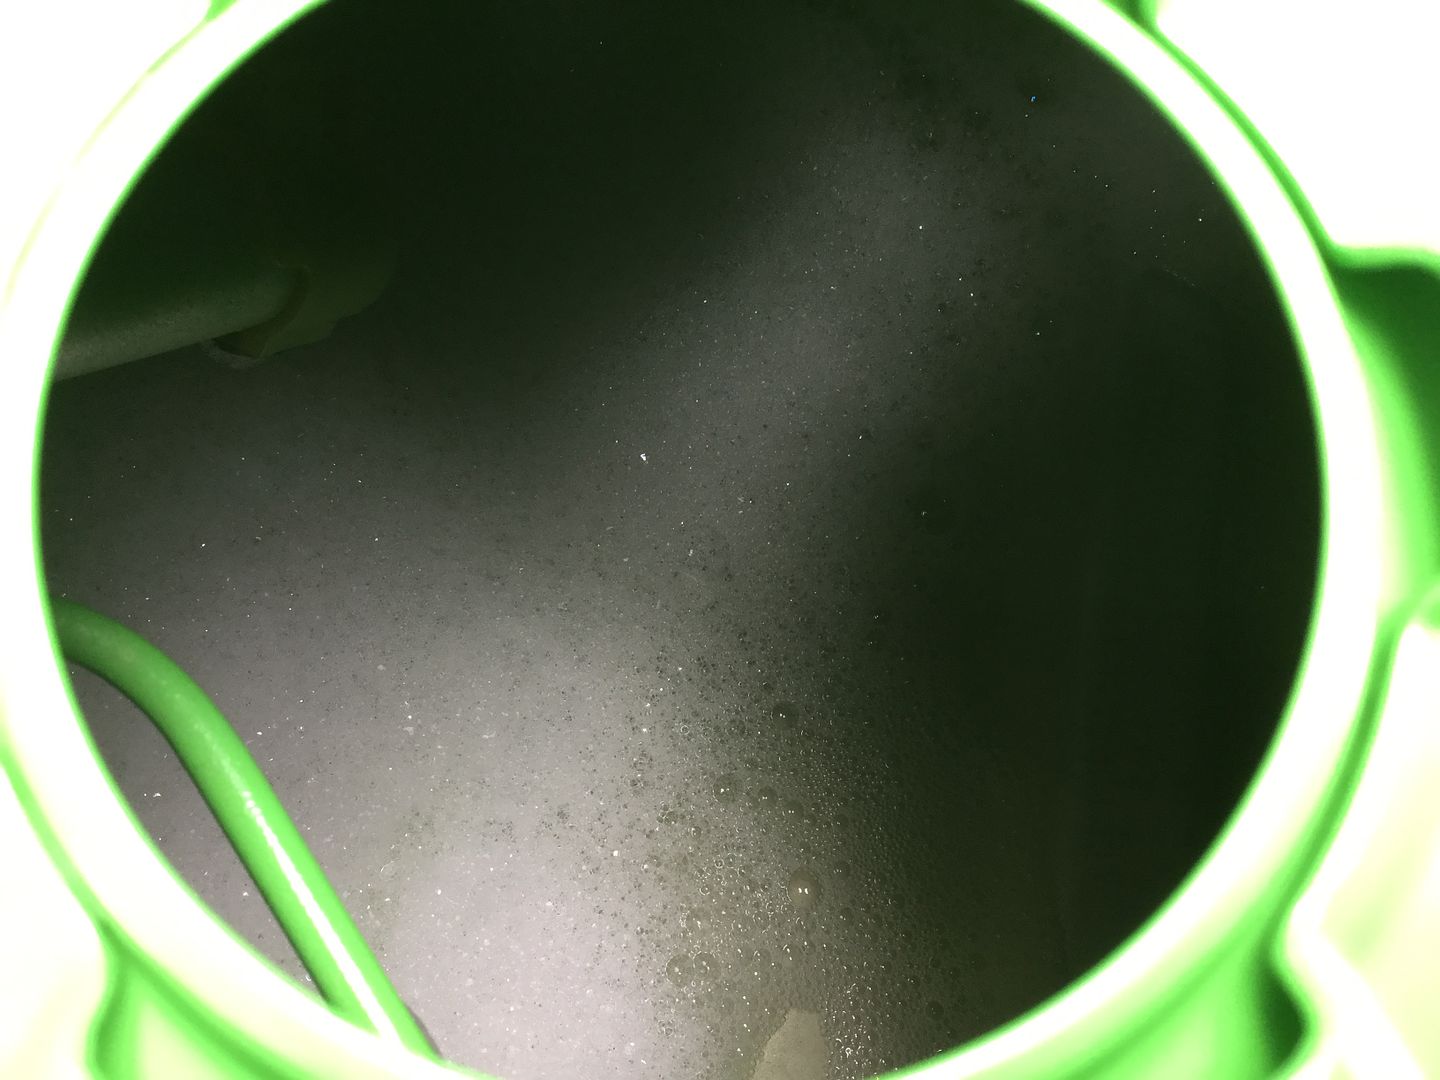
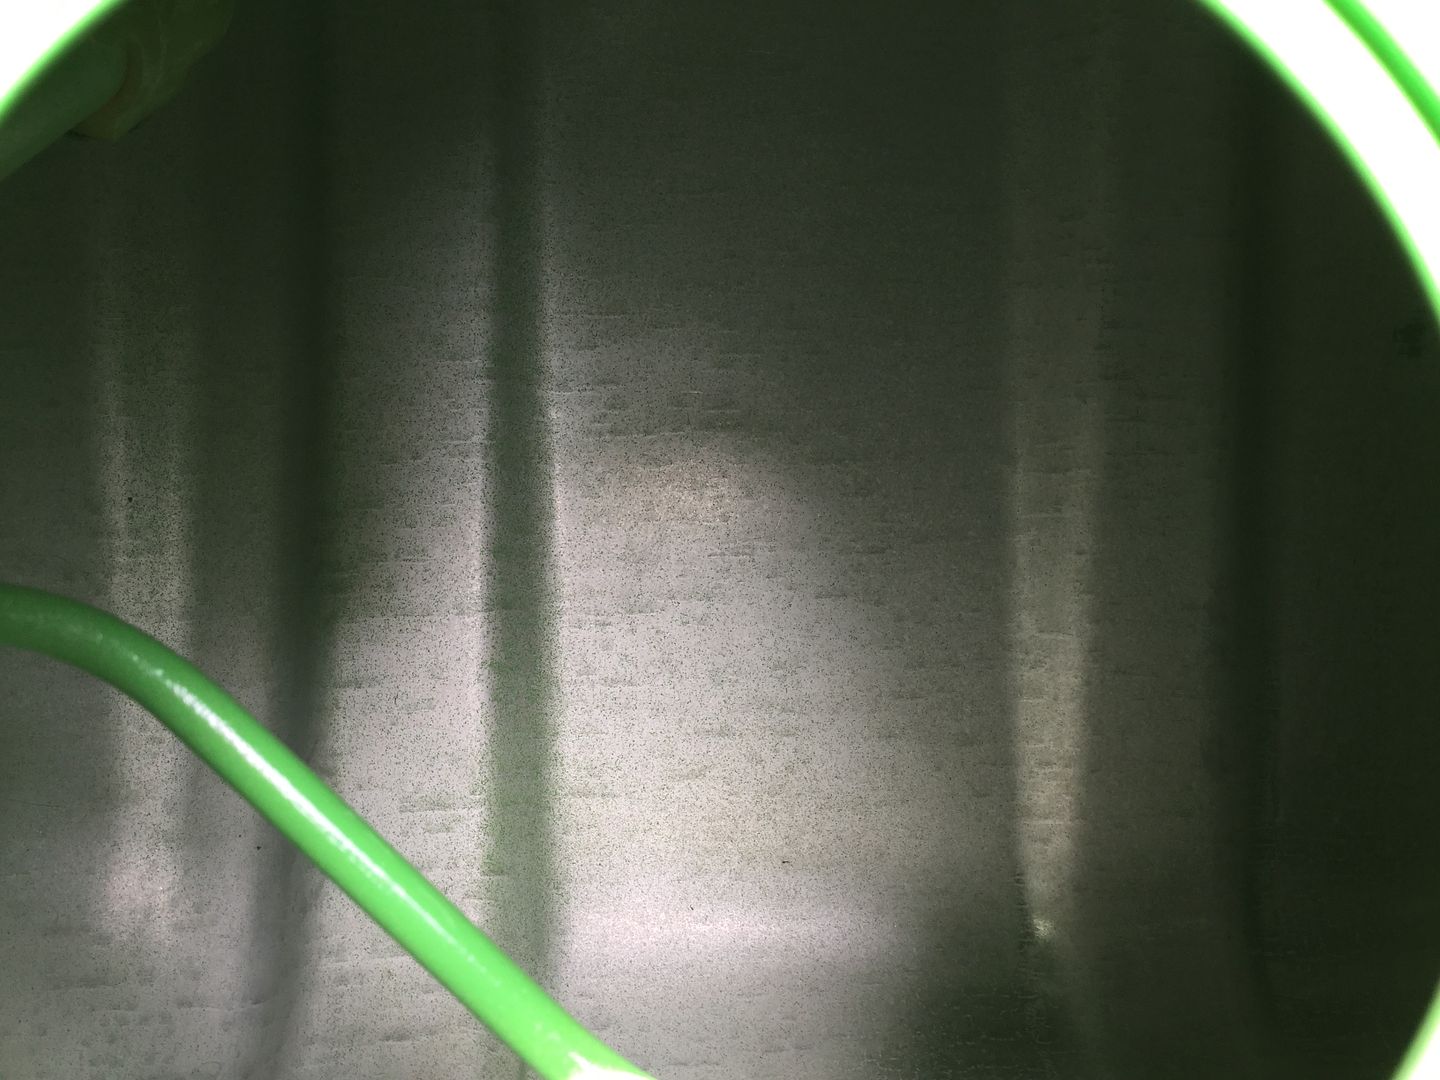
Left that to soak for a while then rinsed it out. Here's the inside after I used the metal prep which removes rust and puts a Zinc coating inside the tank -
And then the sealer went in. It essentially creates a tank within your existing tank. Just a case of tipping it in, moving the tank around until you cover the entire inside surface and then tipping out the excess. Here it is -
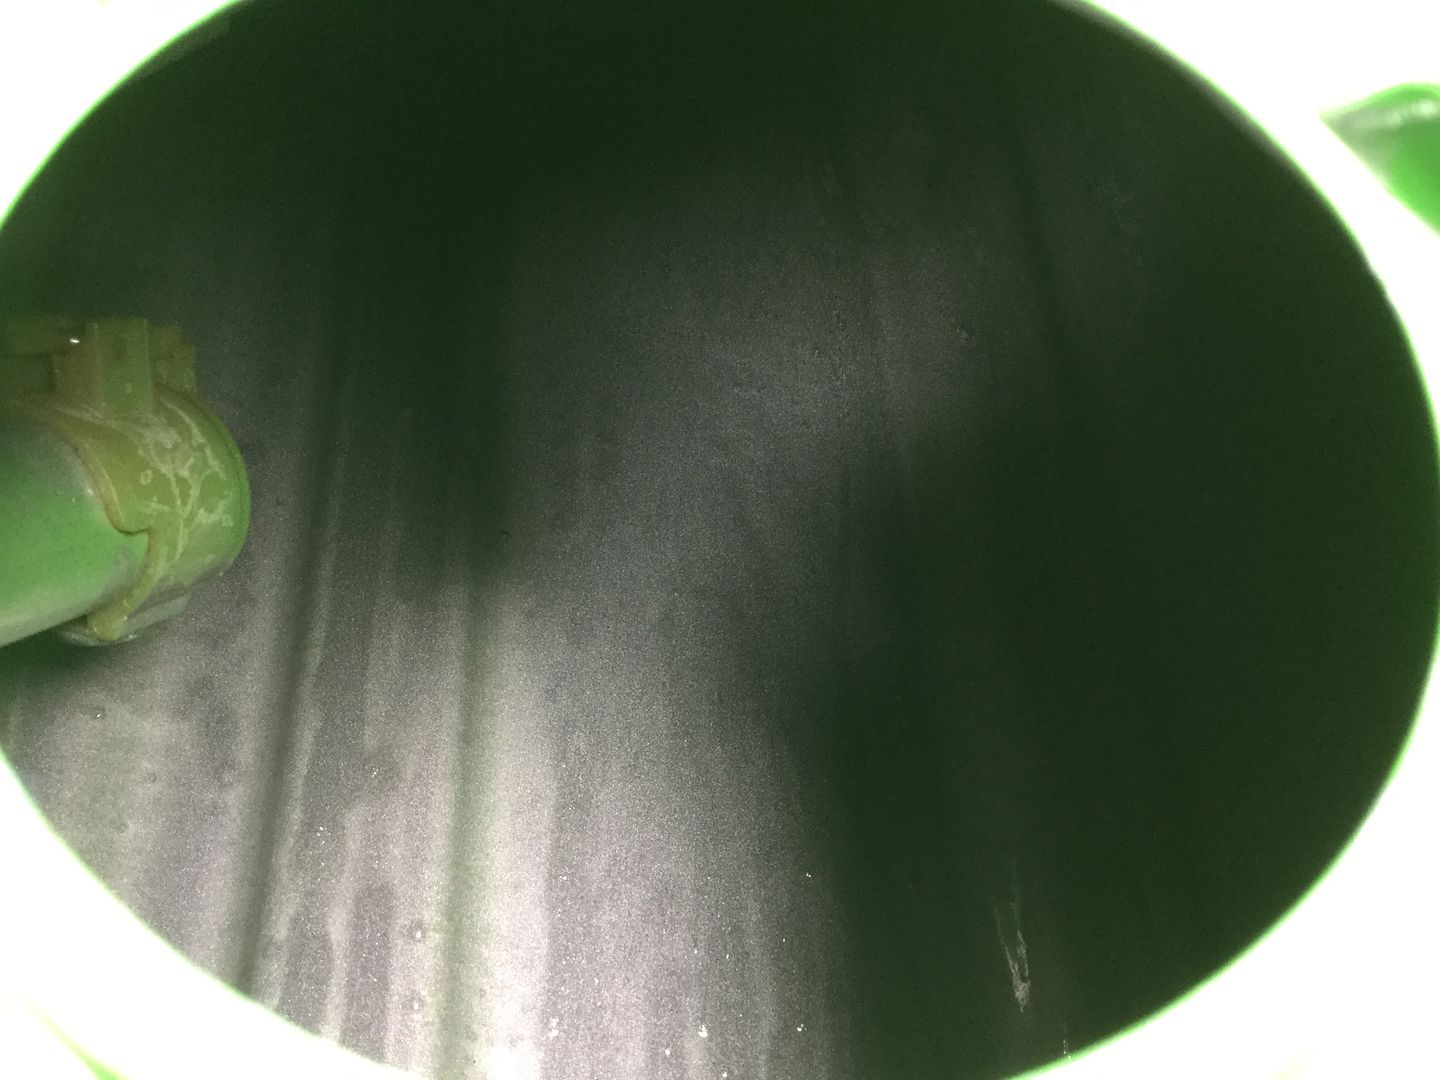
It takes 96 hours to fully cure.
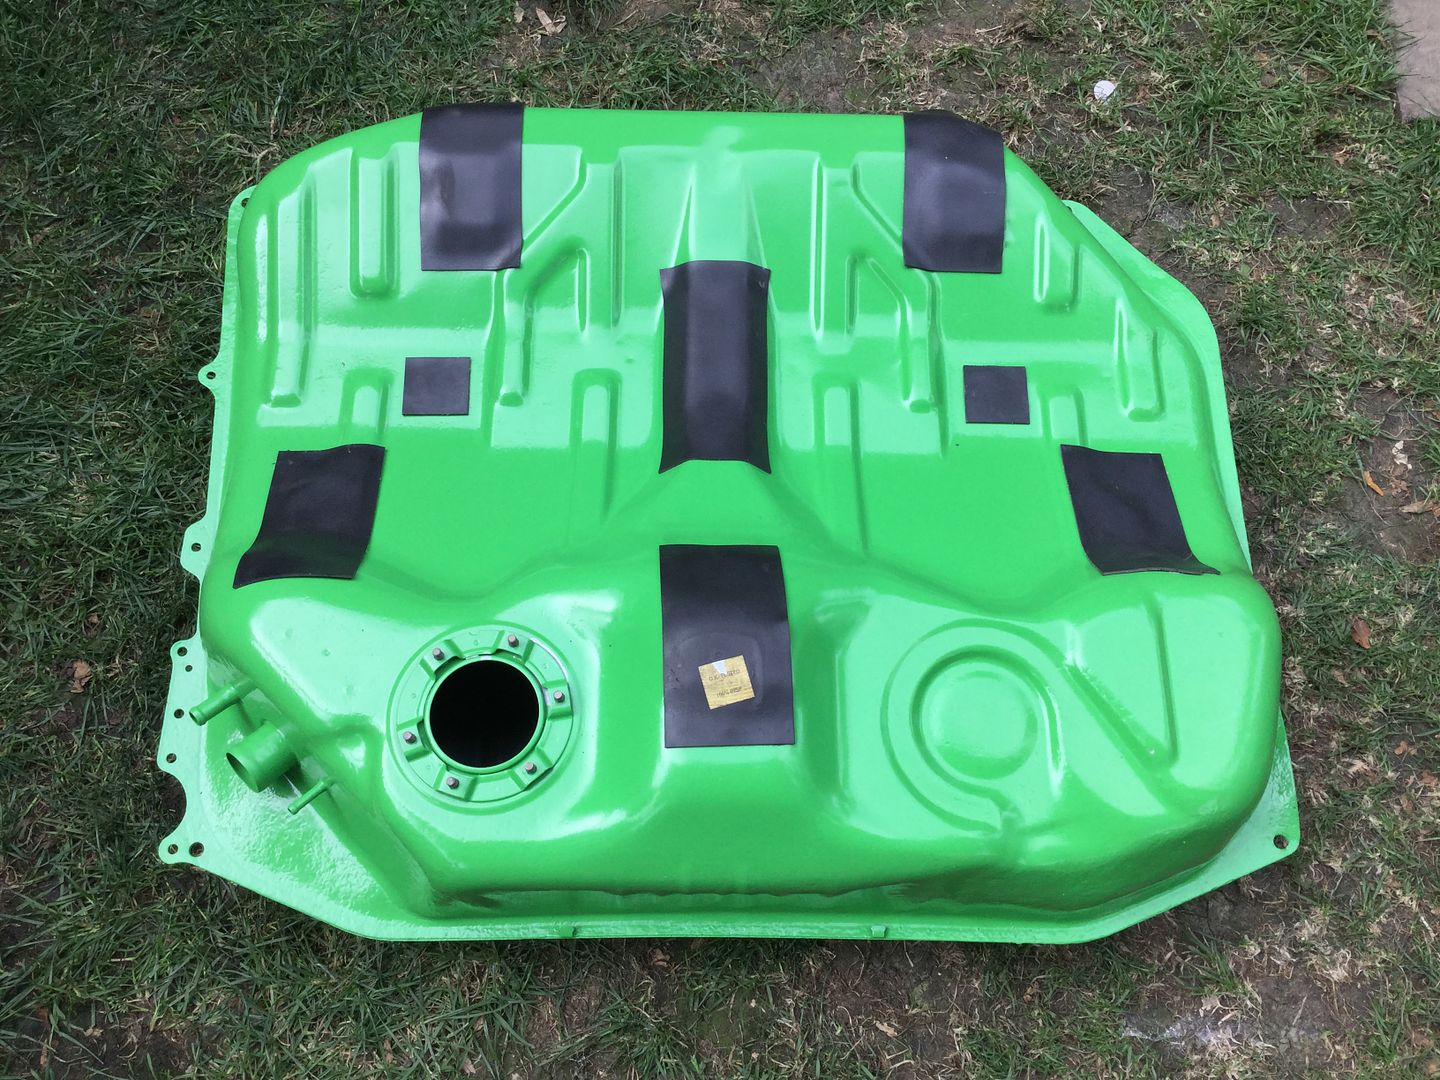
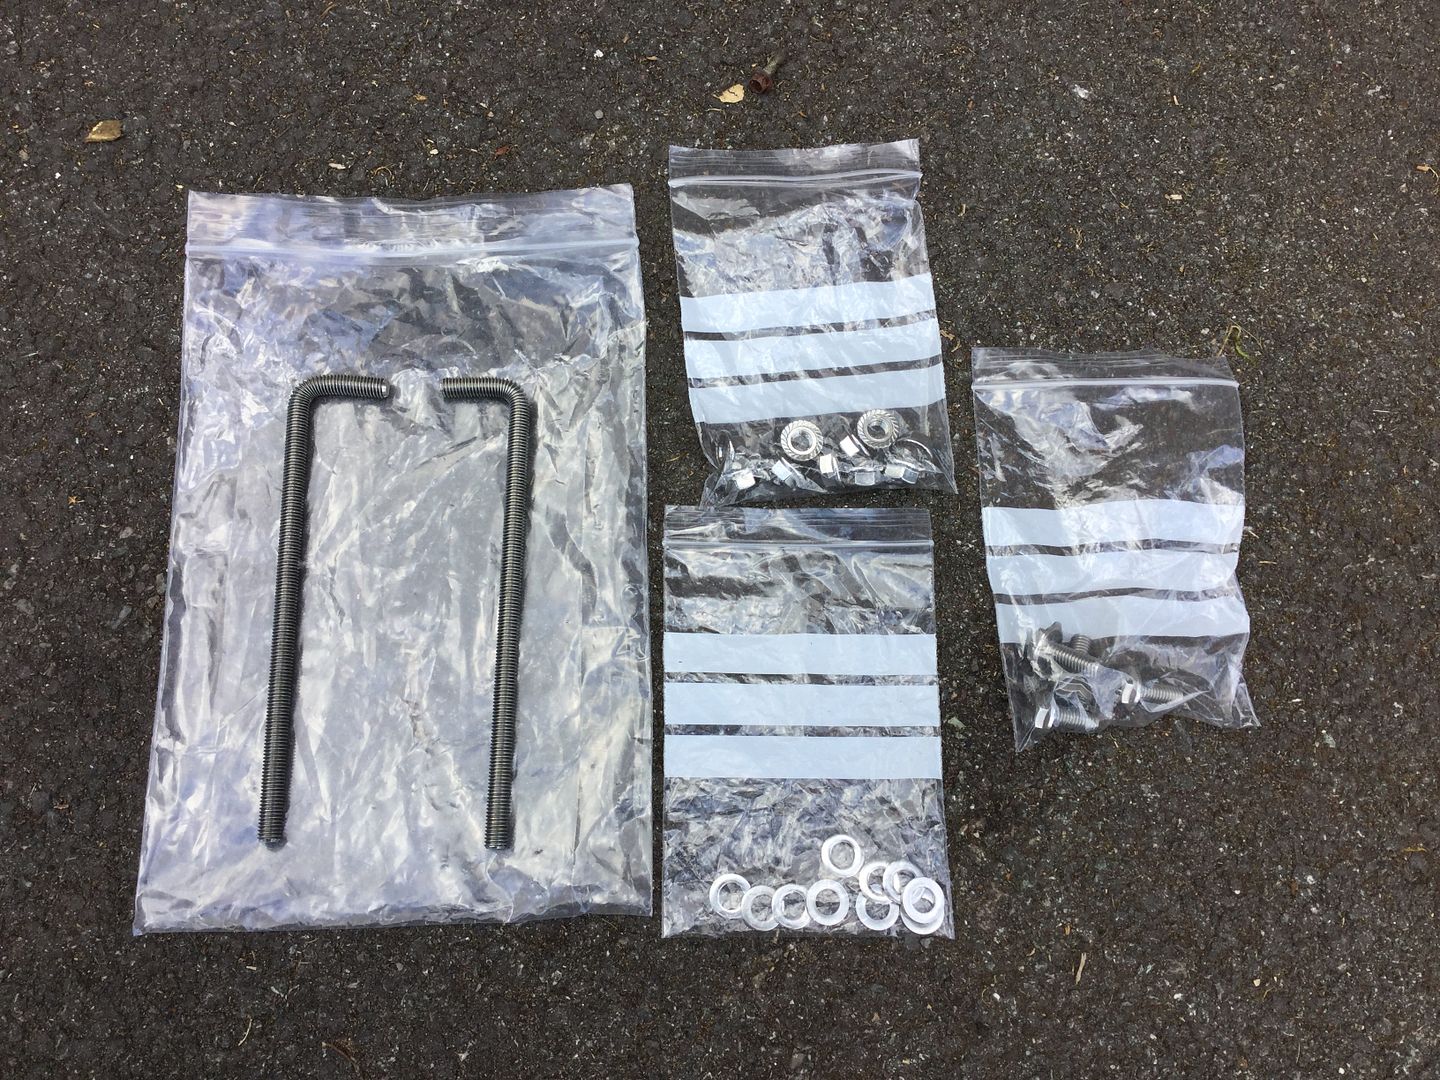
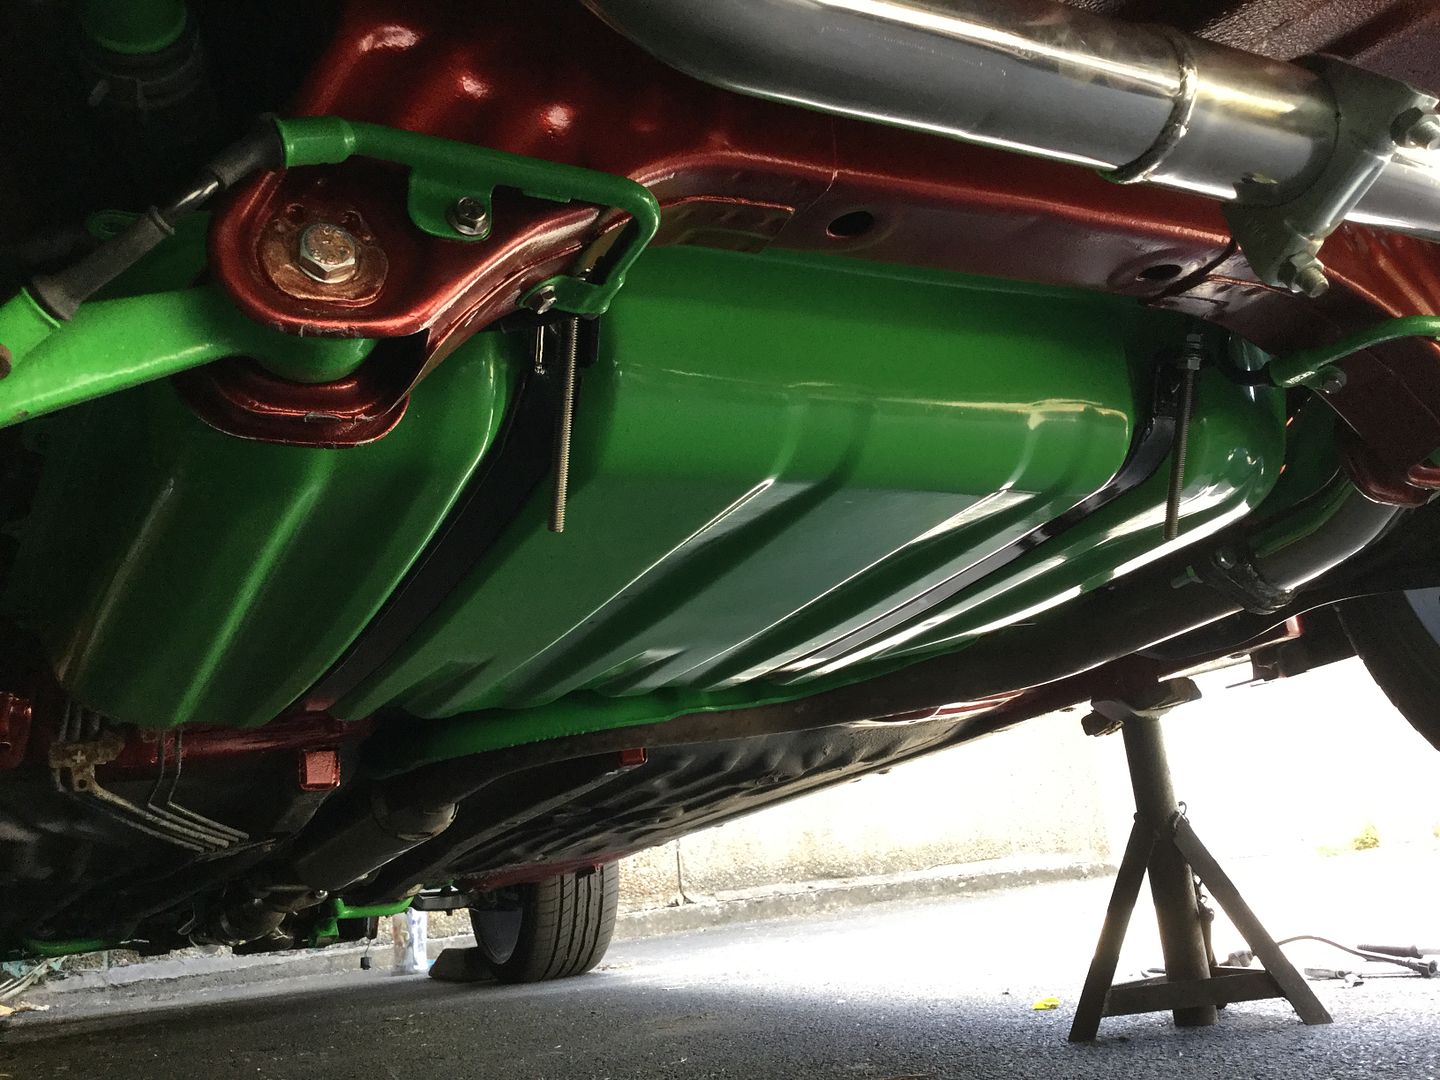
I stuck the rubber pads back onto the tank and then mounted that back onto the car using new stainless threaded bar that I put a 90 degree bend in and stainless nuts and bolts -
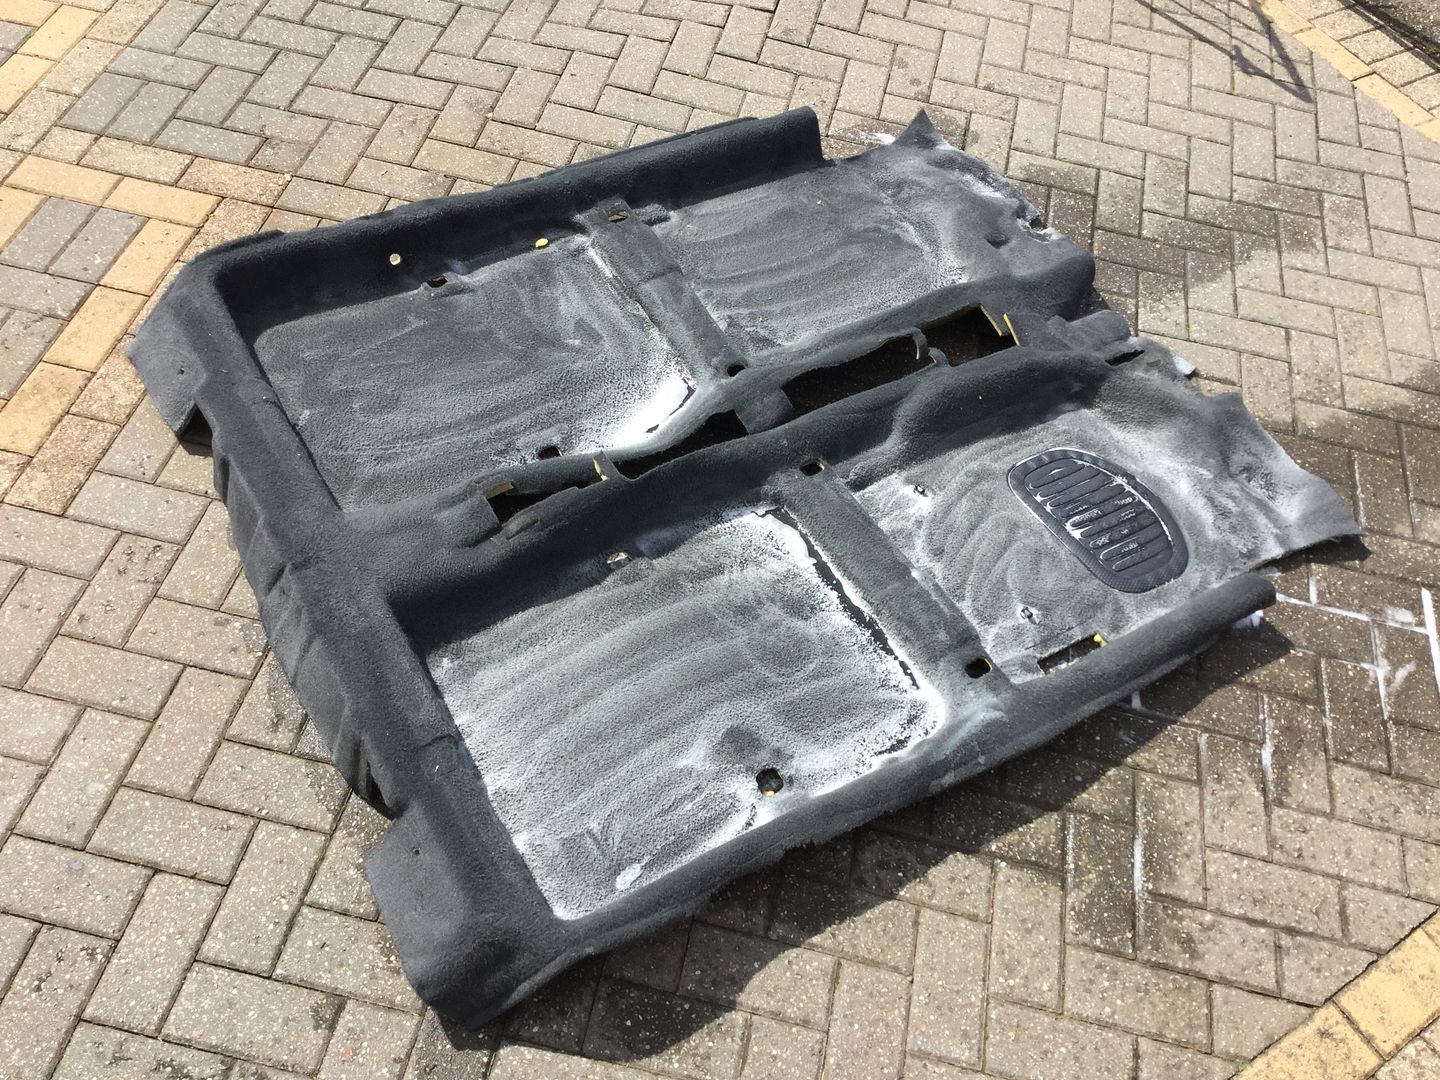
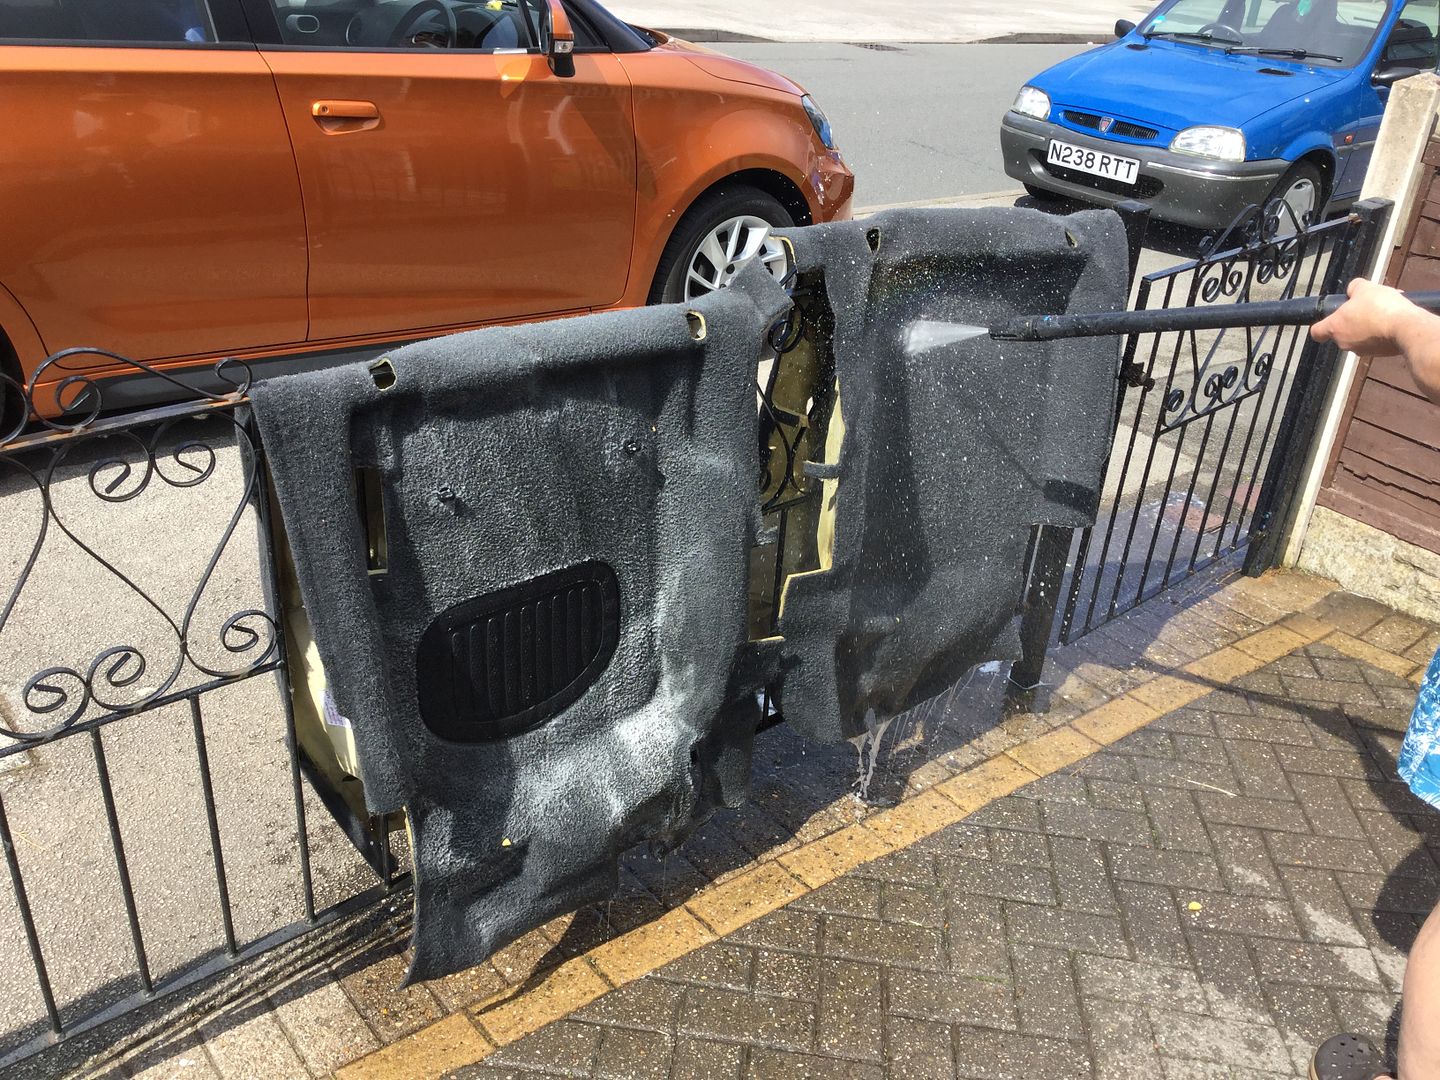
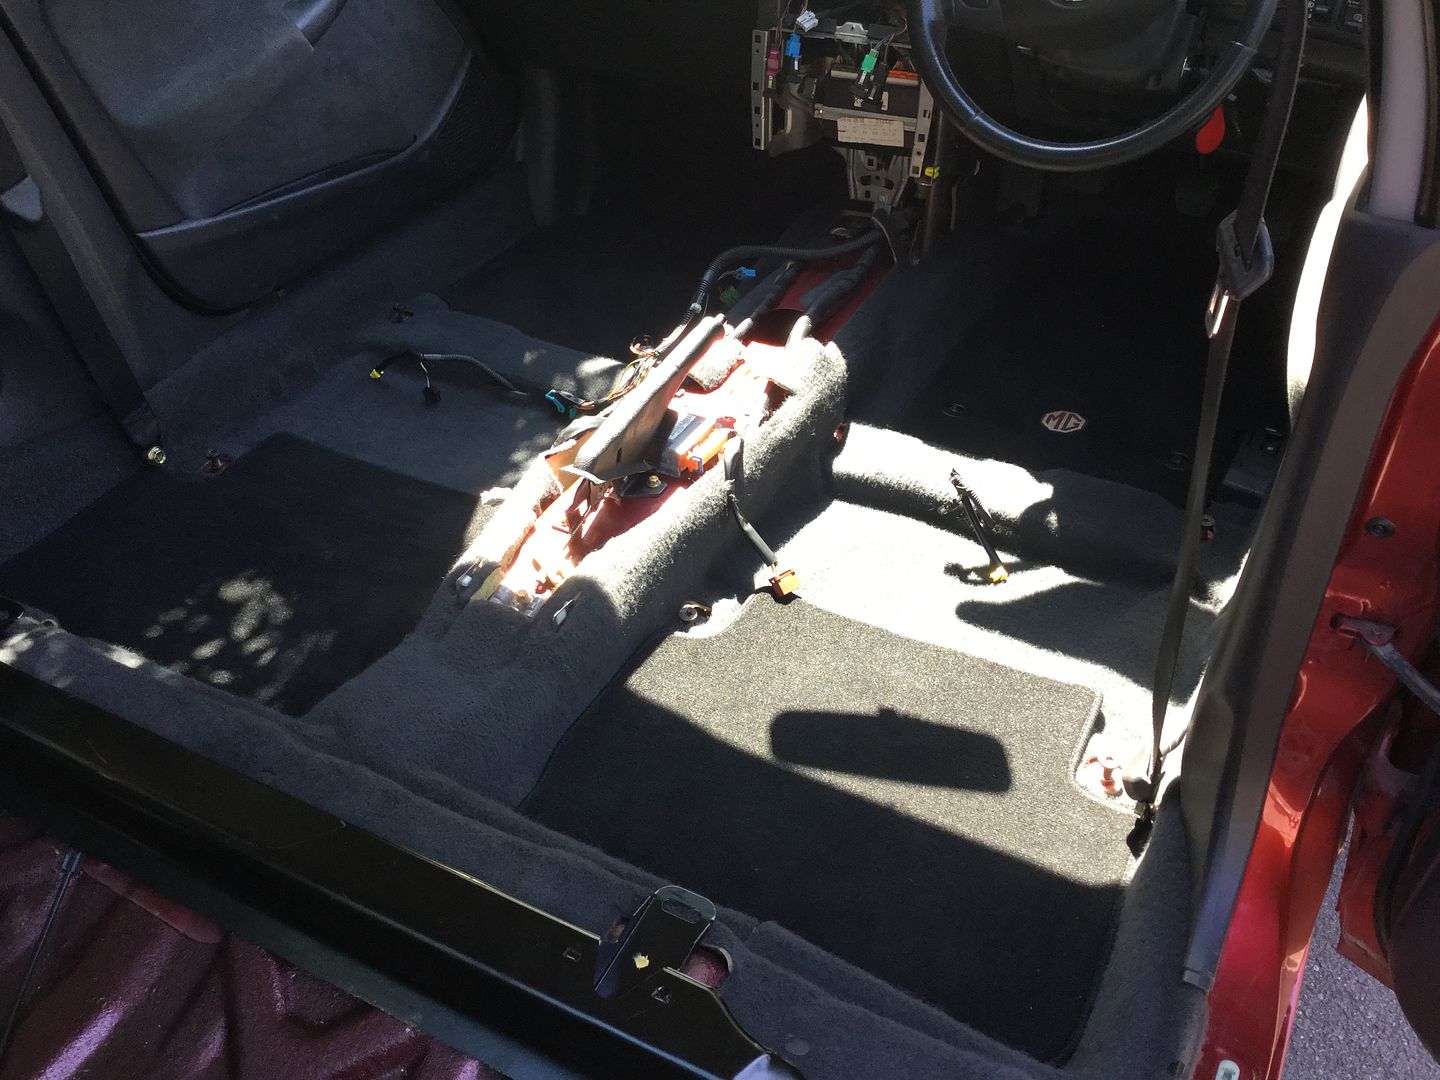
I also removed the carpet and gave it a good clean as it smelled like the previous owners dog -
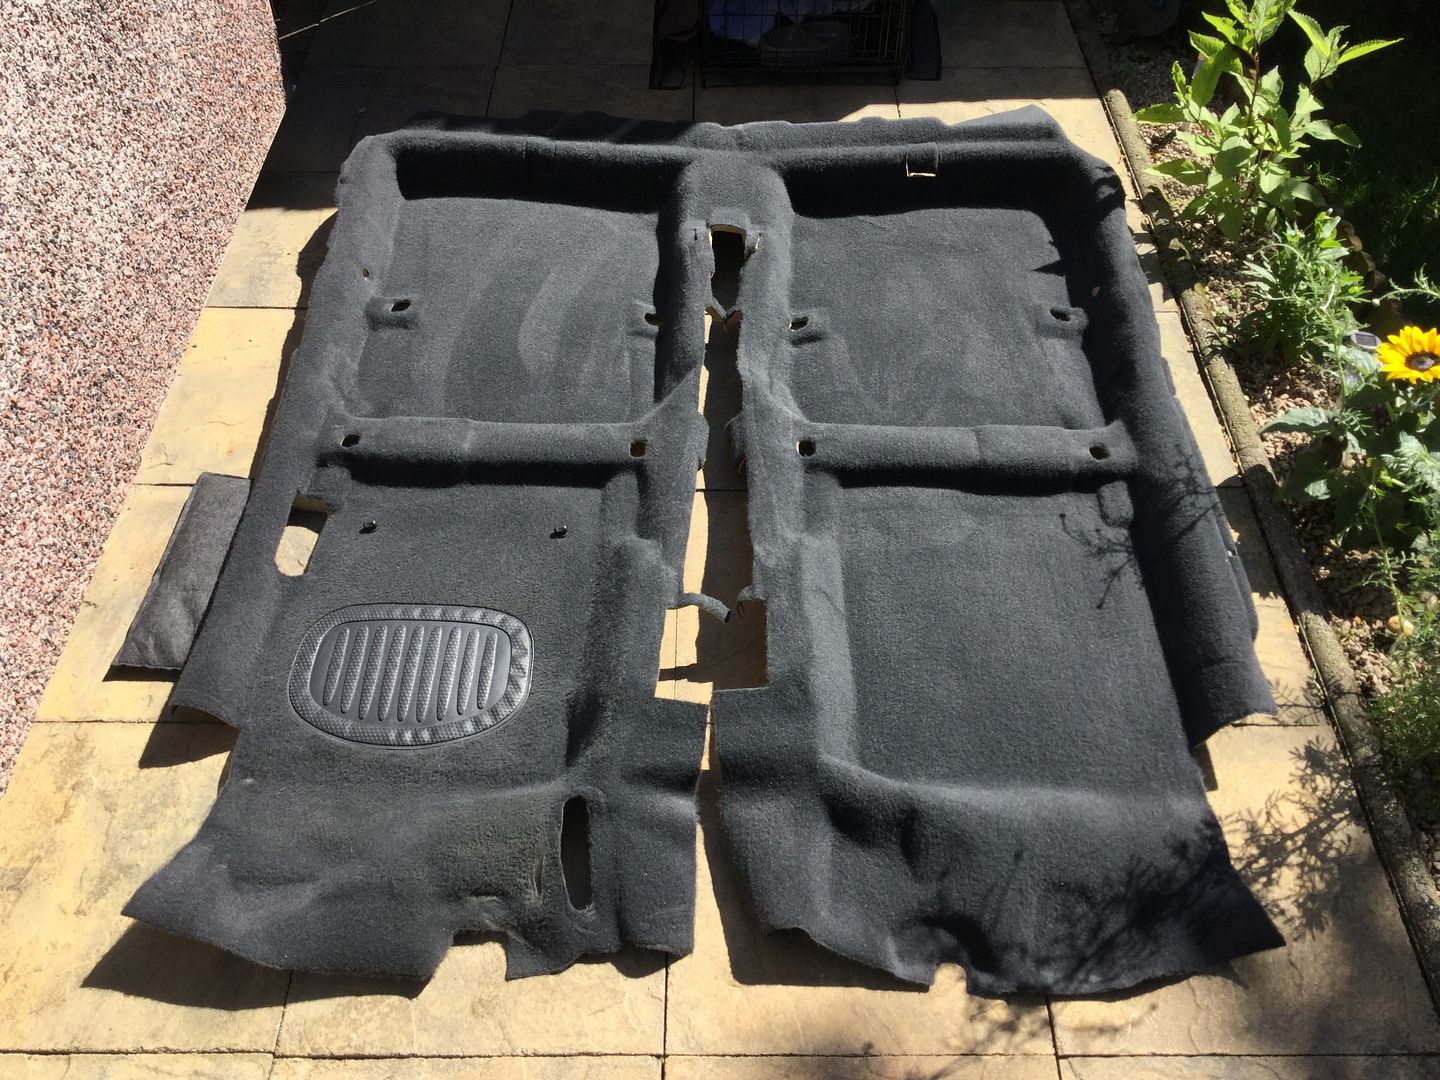
Fitted that back into the car -
Here's how the car currently stands, I can finally drive it in and out of the garage instead of pushing it -
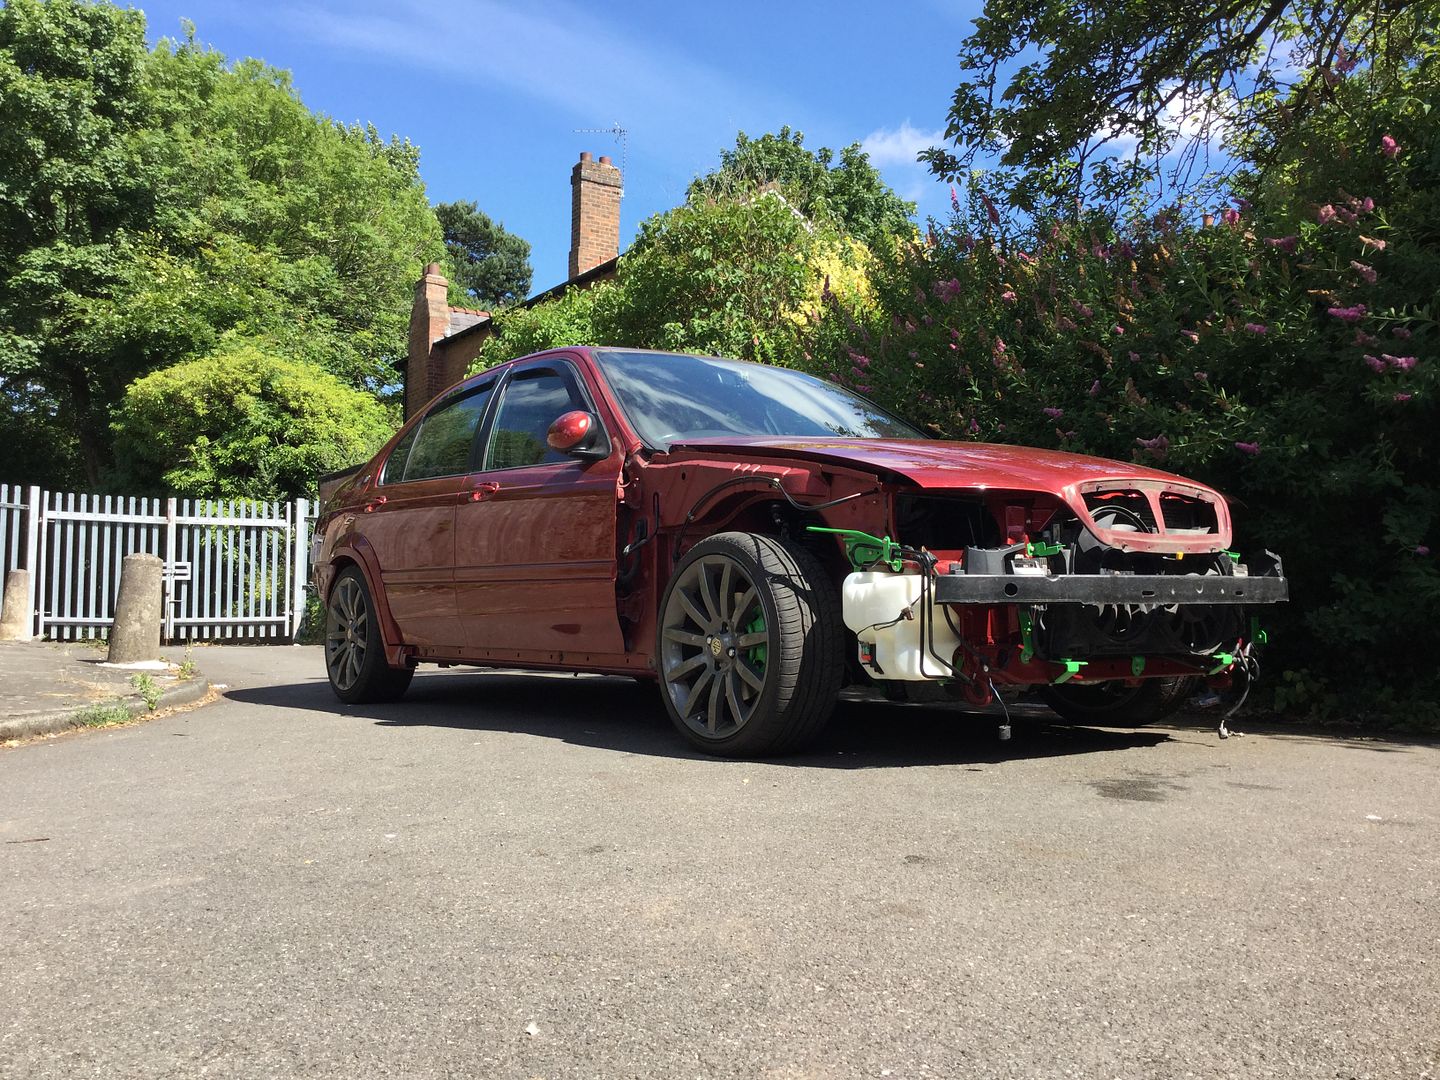
Still a long way off seeing the road but the mechanical side of things is almost complete.
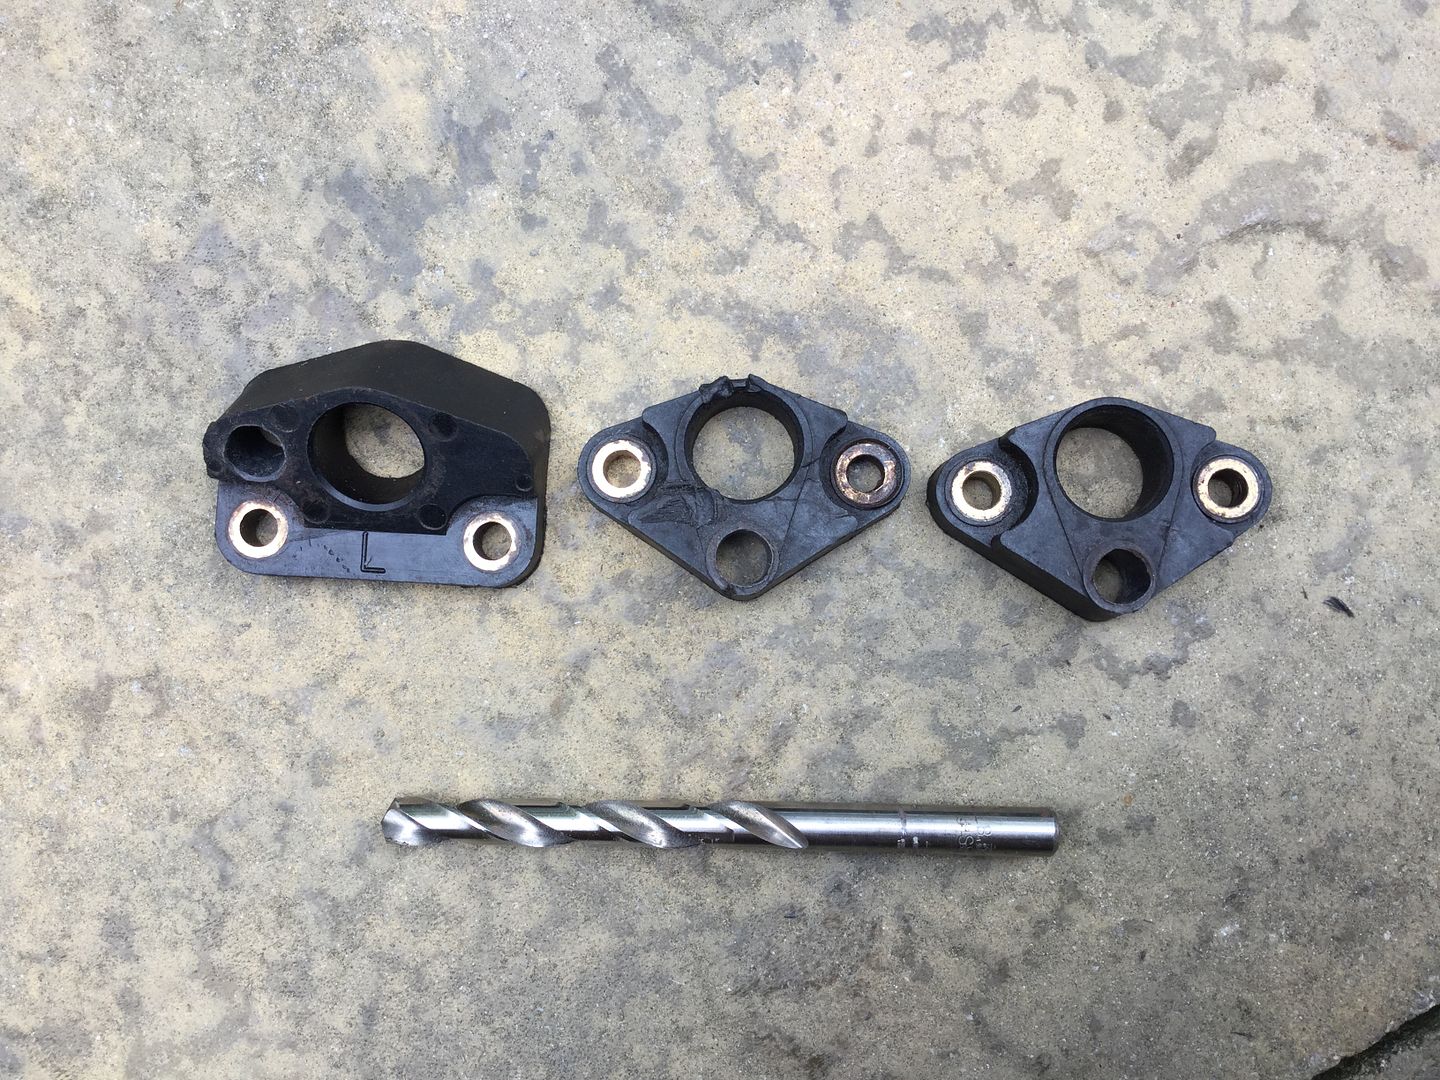
Finally, I had to repair the plastic brackets which secure the abs wires. The bolts had rusted solid in the fixings so I pushed them out -
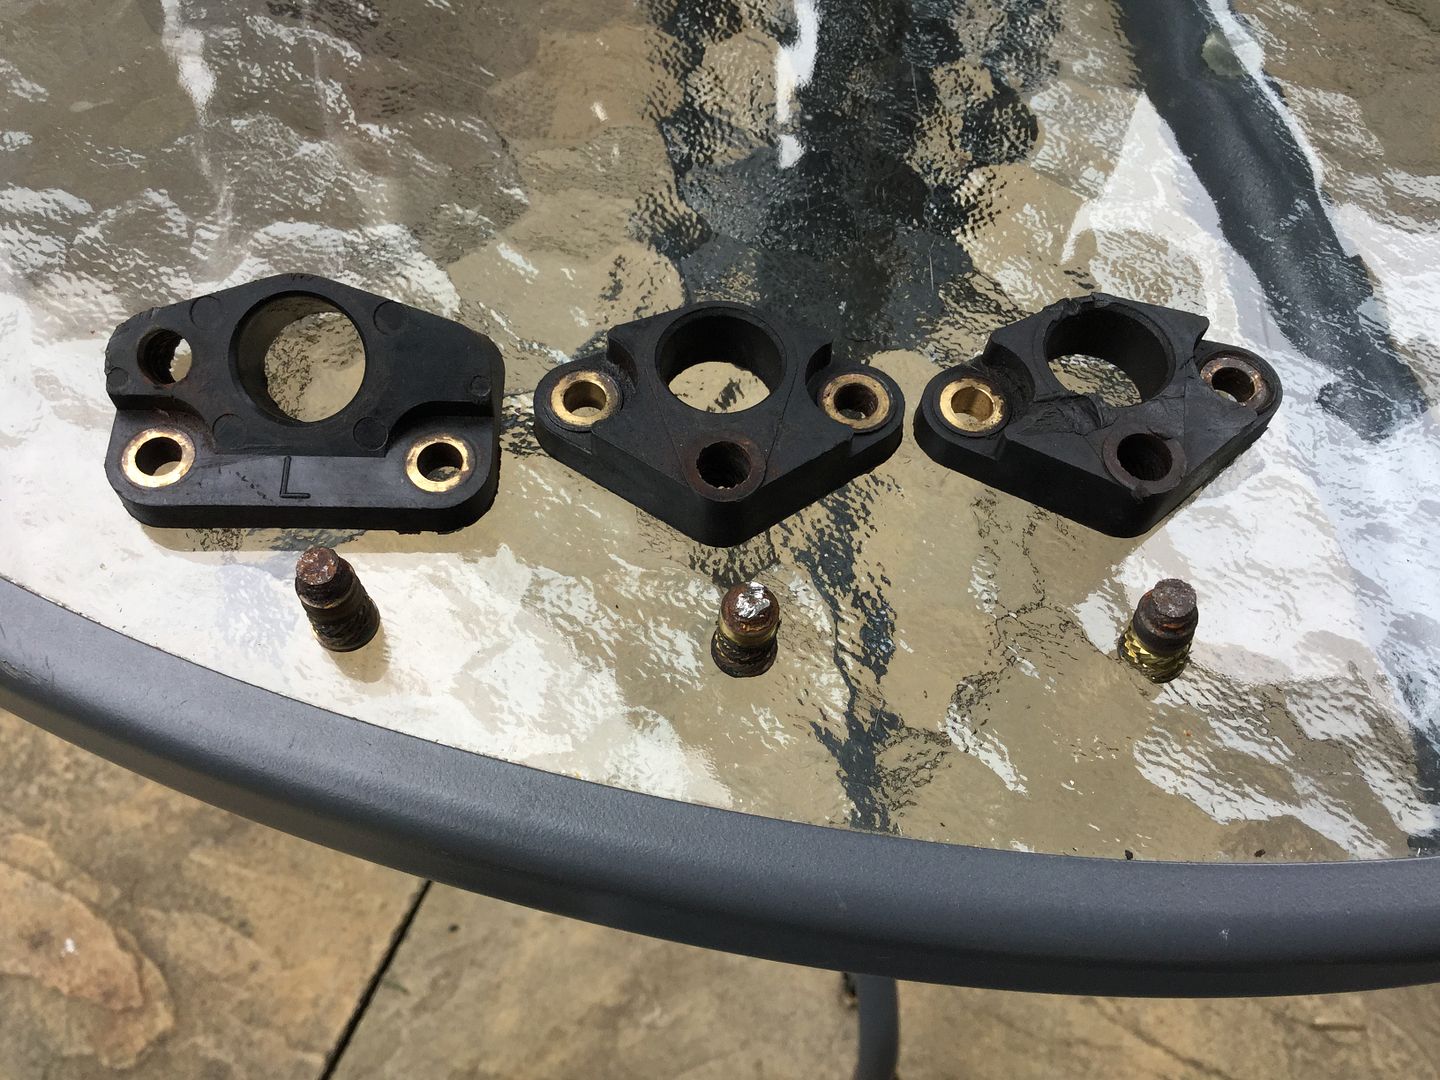
Enlarged the hole with an 8mm drill bit -
Fitted an aluminium M6 rivnut -

And ground the heads down flat using my power file -
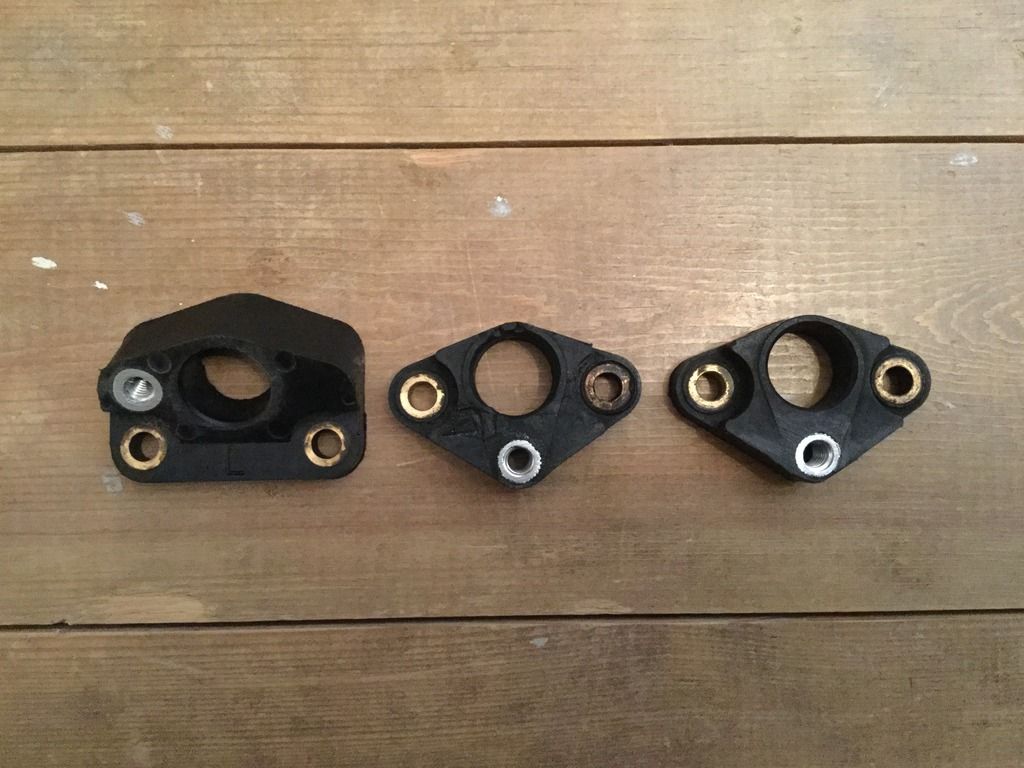
Good as new !
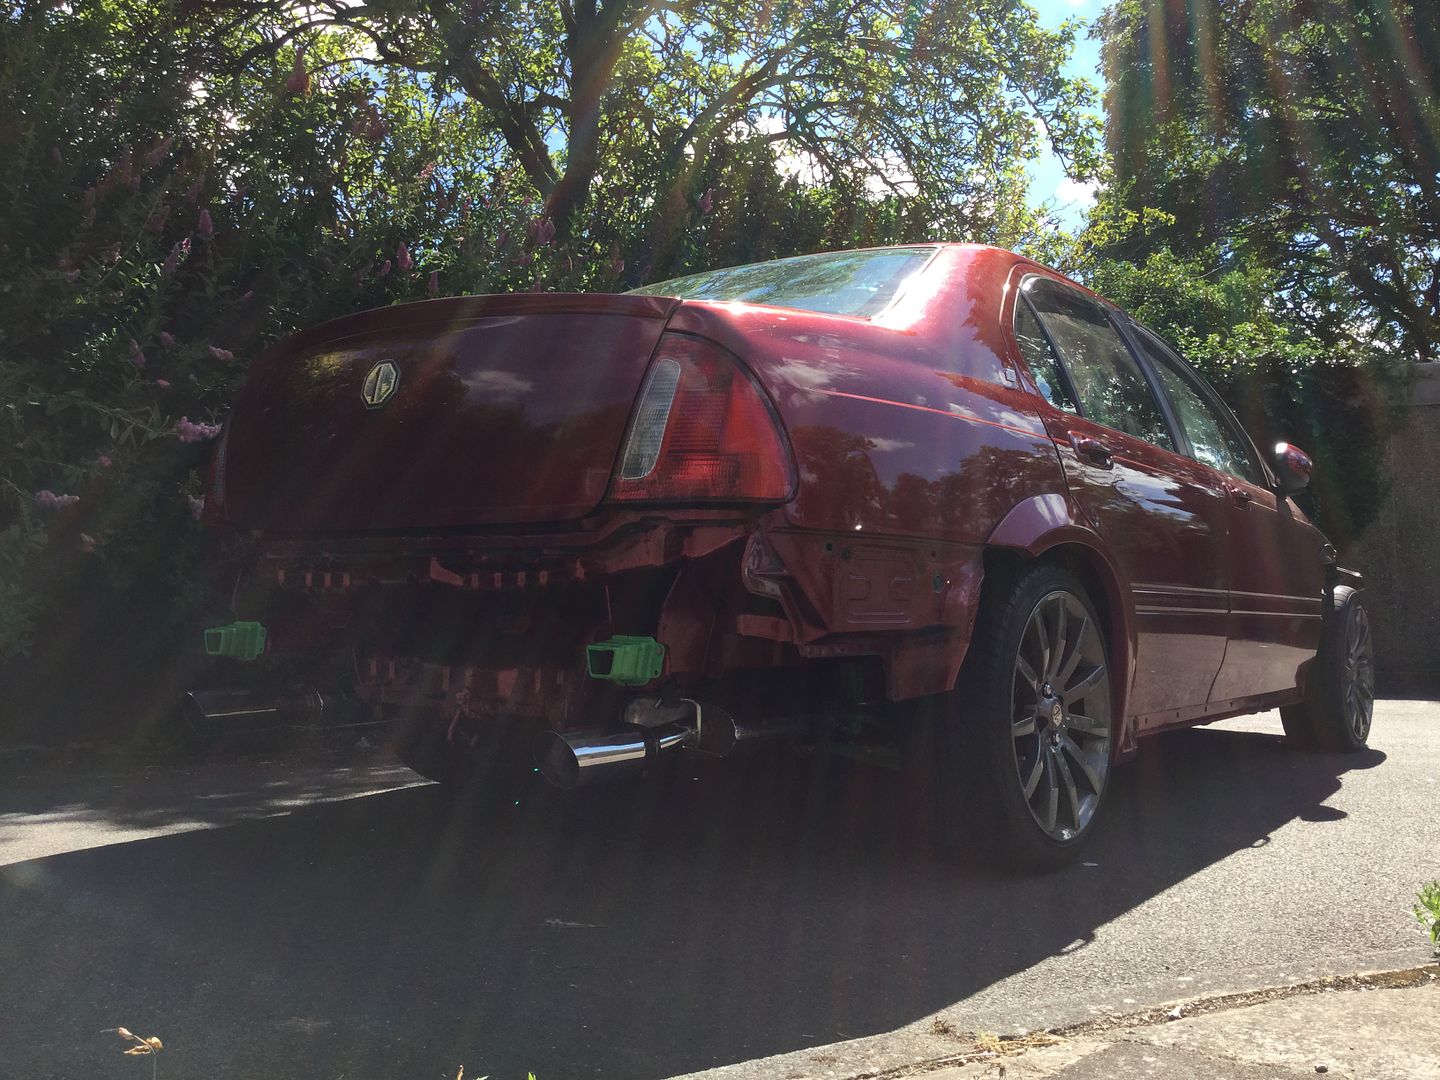
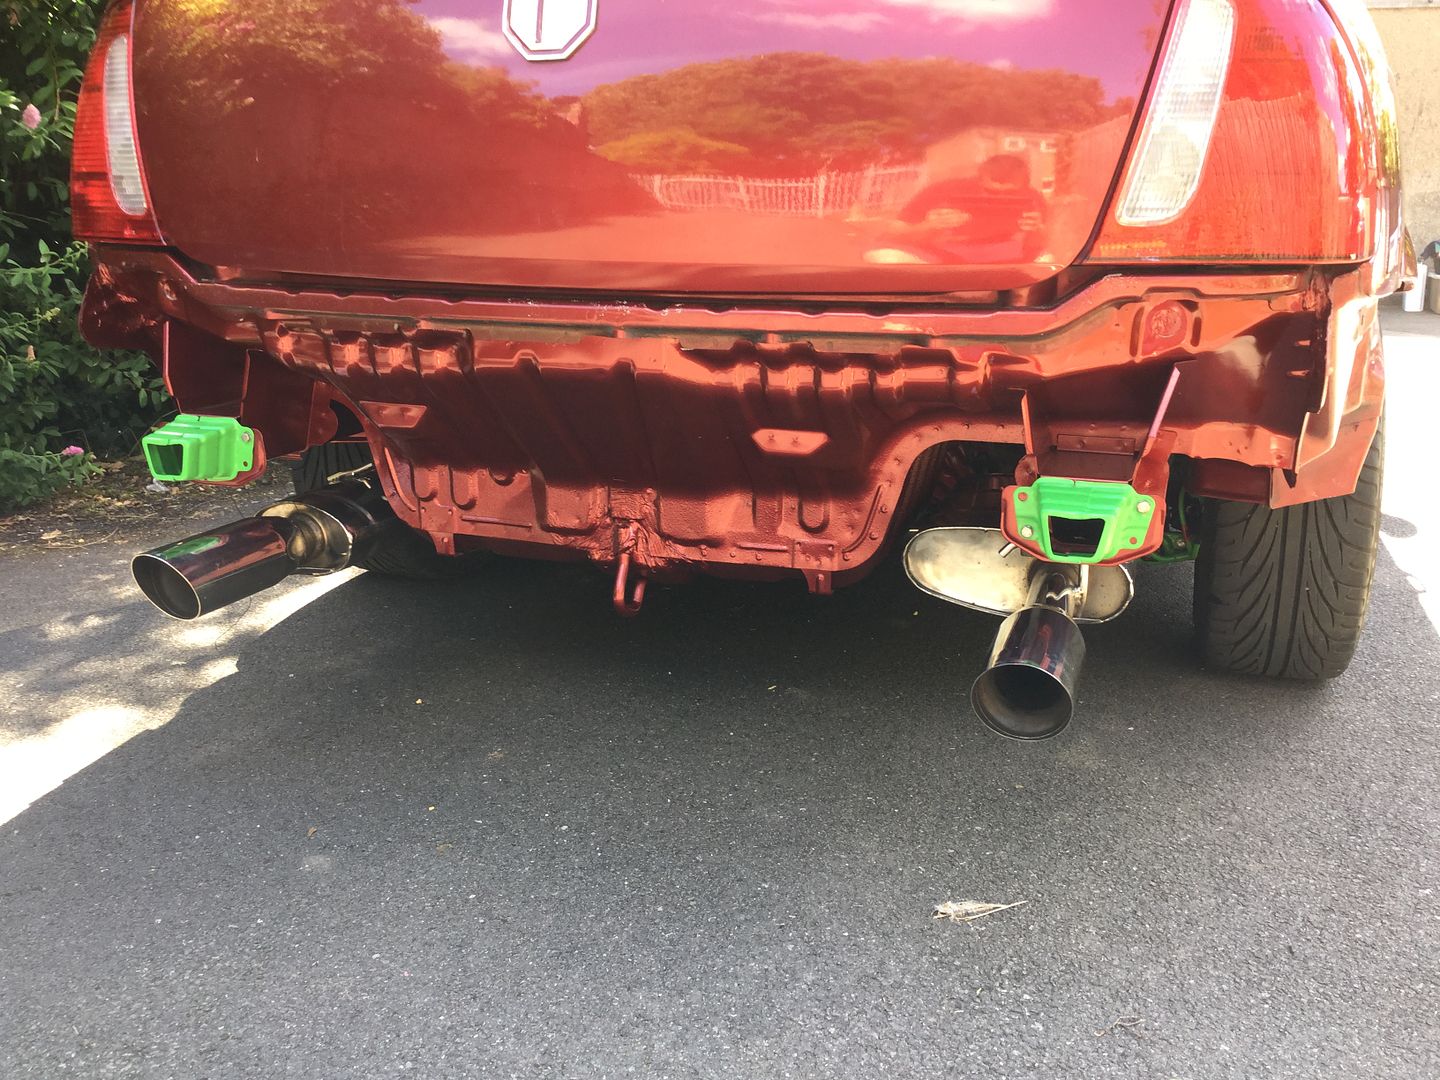
Still have a few more bits to finish off underneath but as soon as that's done I'll be moving onto the exterior paint work as this needs some serious attention !
Jay.