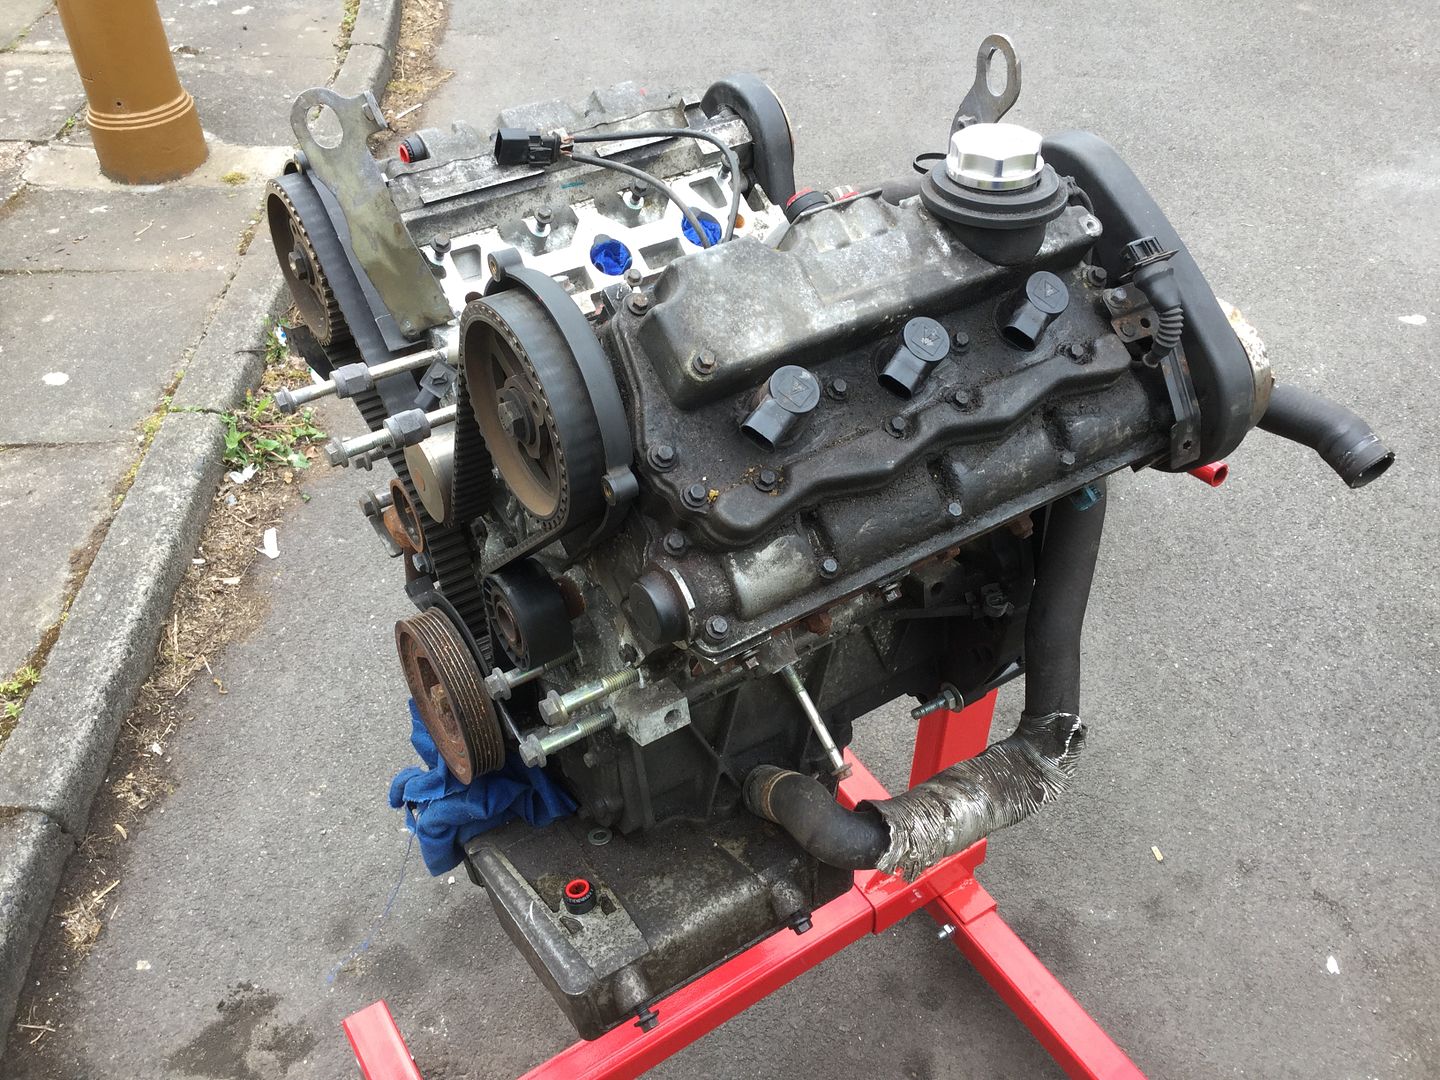
Got quite a bit done over the last couple of weeks. I'll start with the engine.
Here it is on the stand in all it's oily glory, I've stripped off most bits for cleaning -
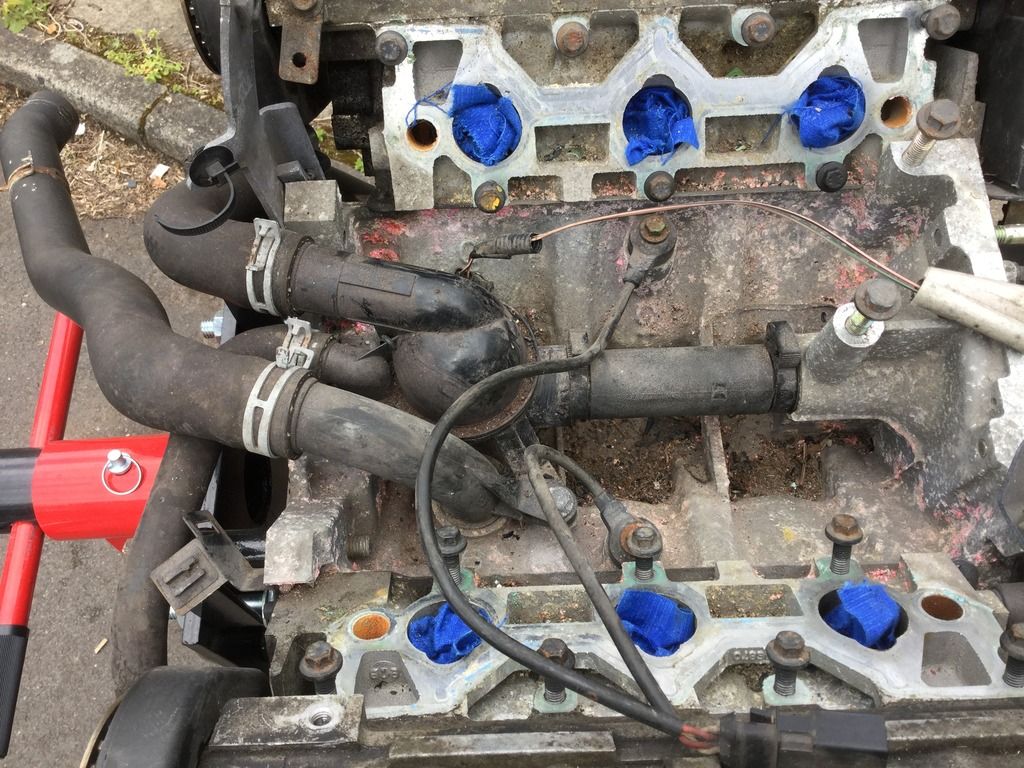
You can see the 'V' is full of muck and there's also evidence of a possible leaky thermostat -
Gave the whole thing a good degreasing and then set the engine to the 'Safe' position and locked off the fly wheel. With that done I removed the thermostat, the old belt, pulleys and the water pump -
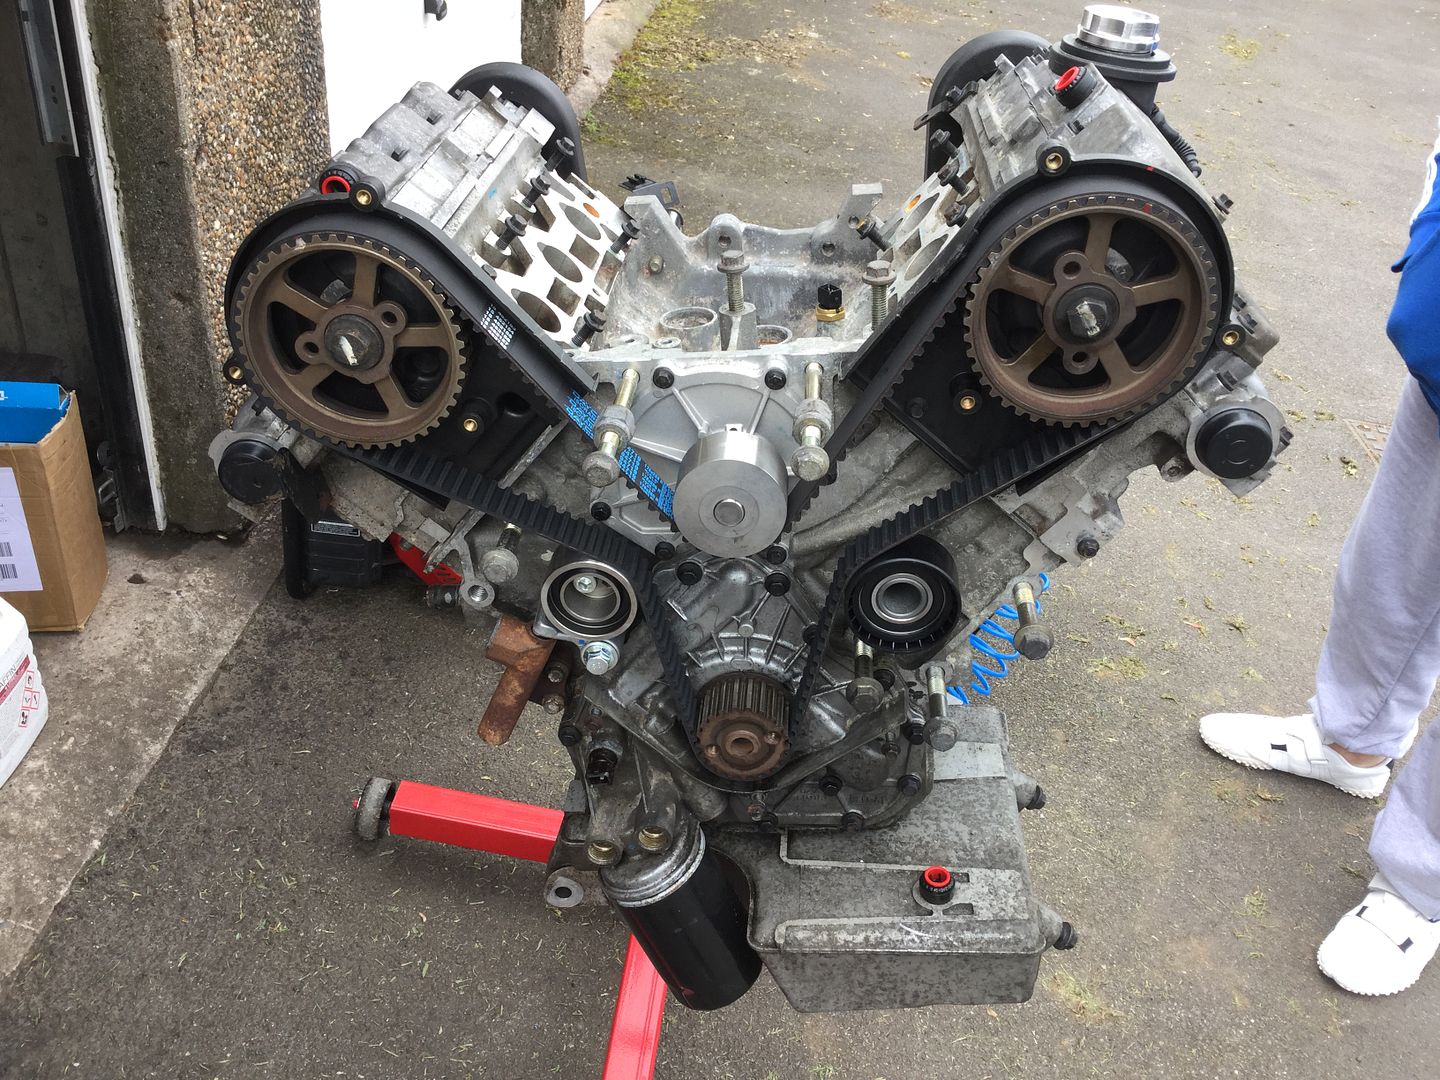
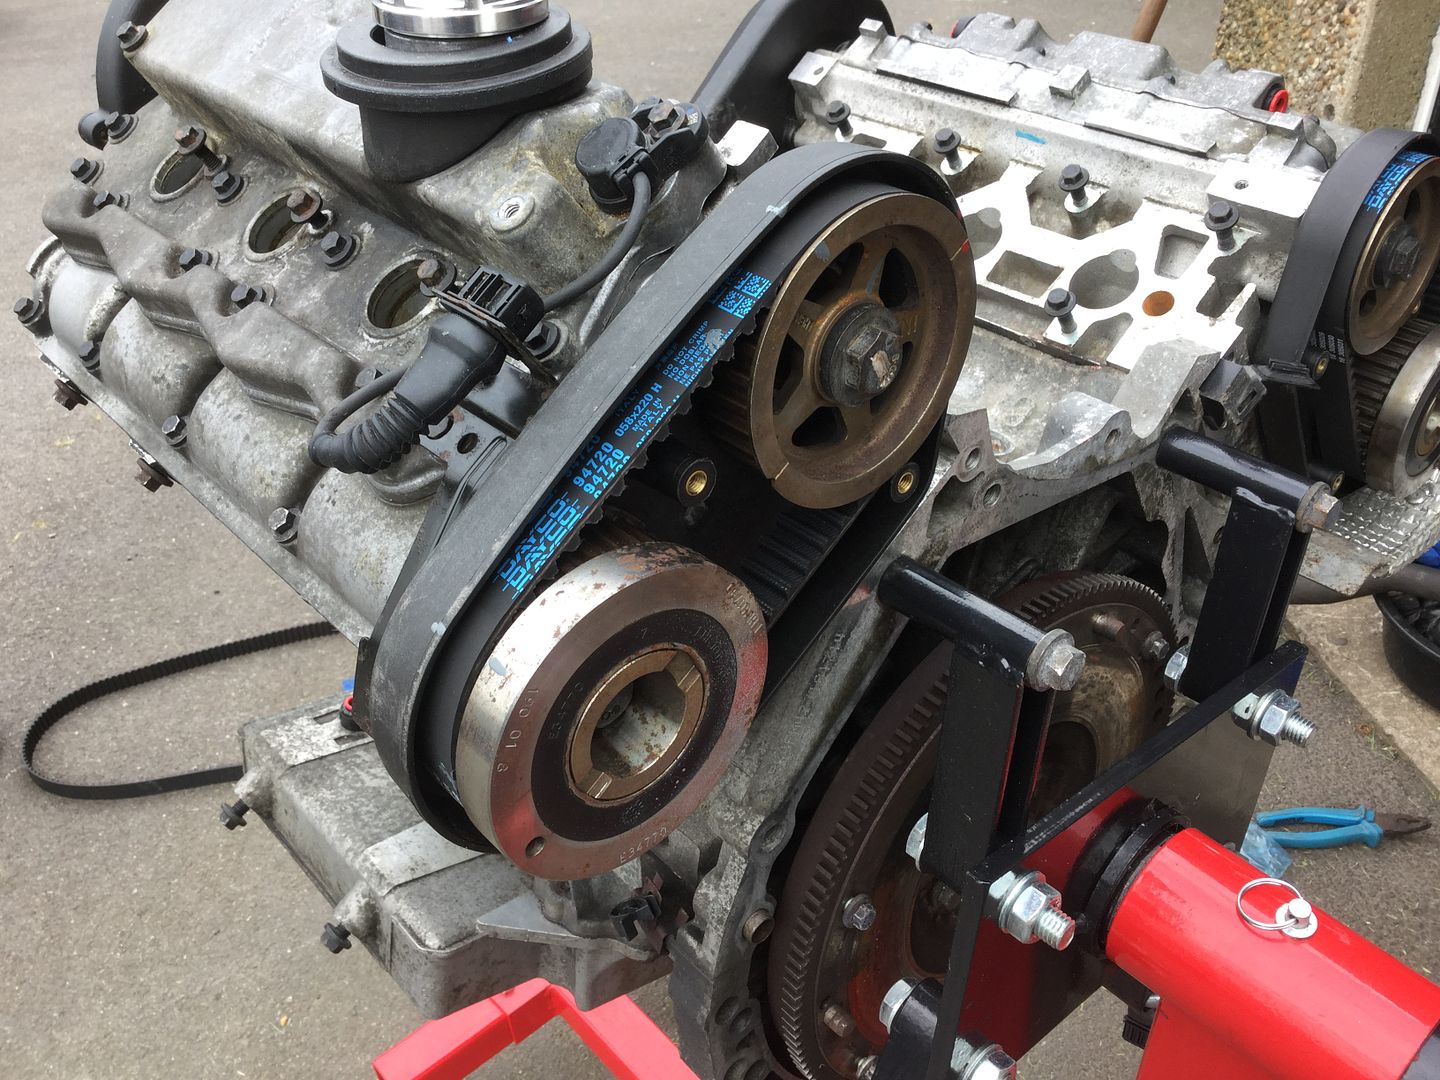
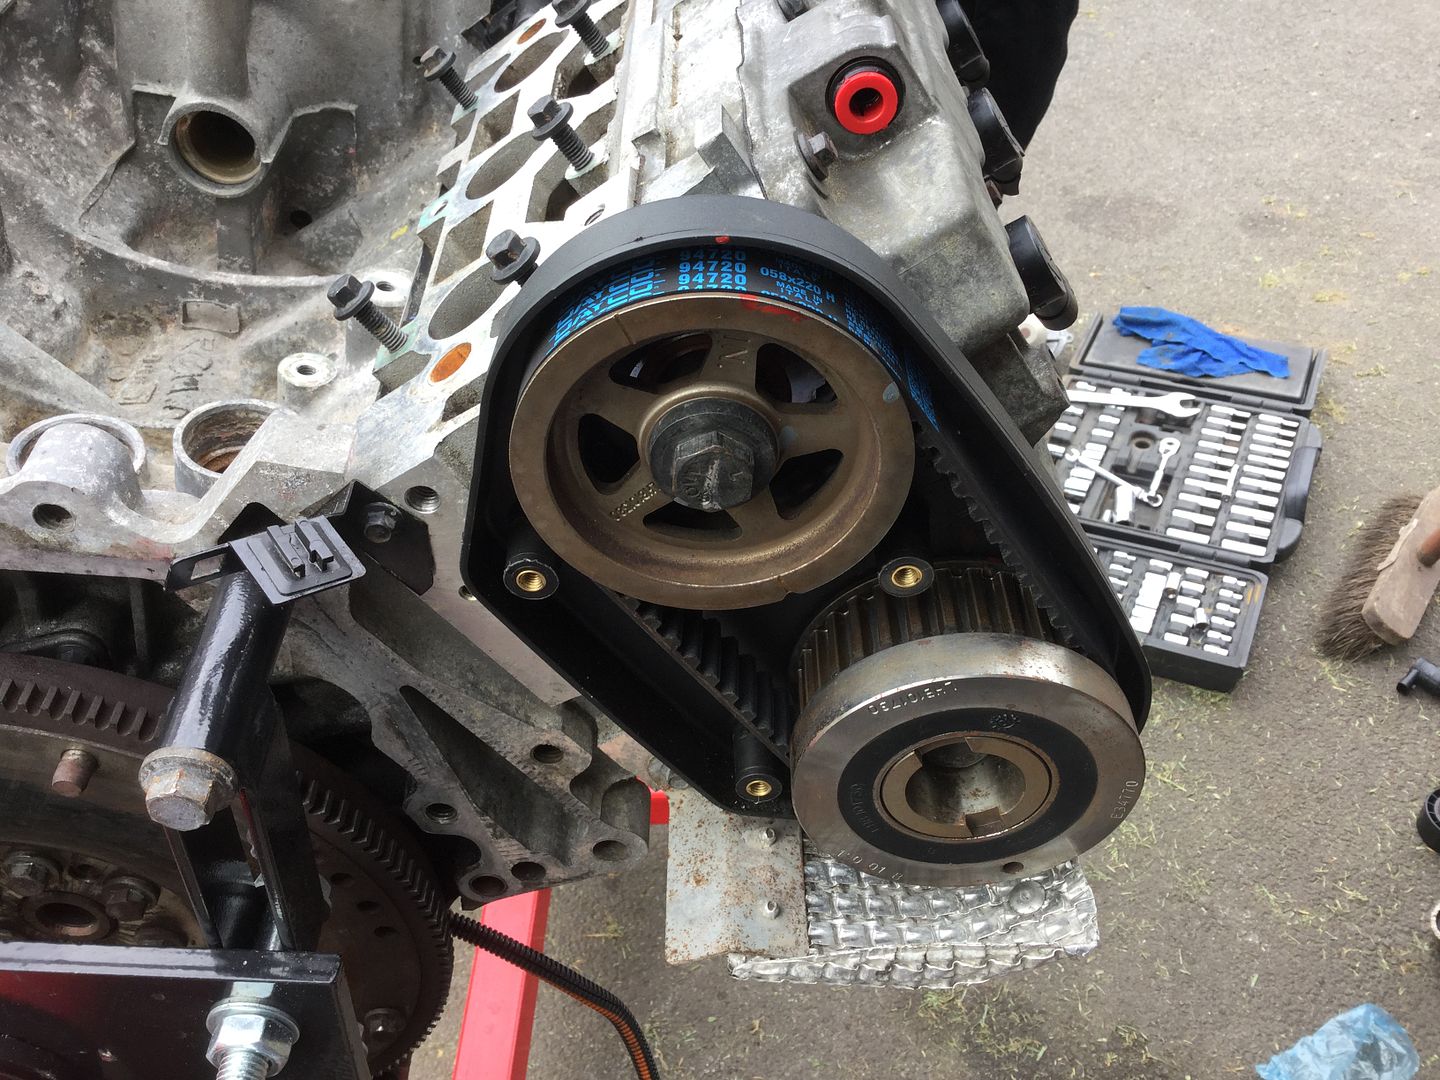
I've been over how I done the front belt on the XPG ZS without the service tools in a previous thread so I won't go over it again in this thread. Here's the engine with the new belt, pulleys and water pump fitted -
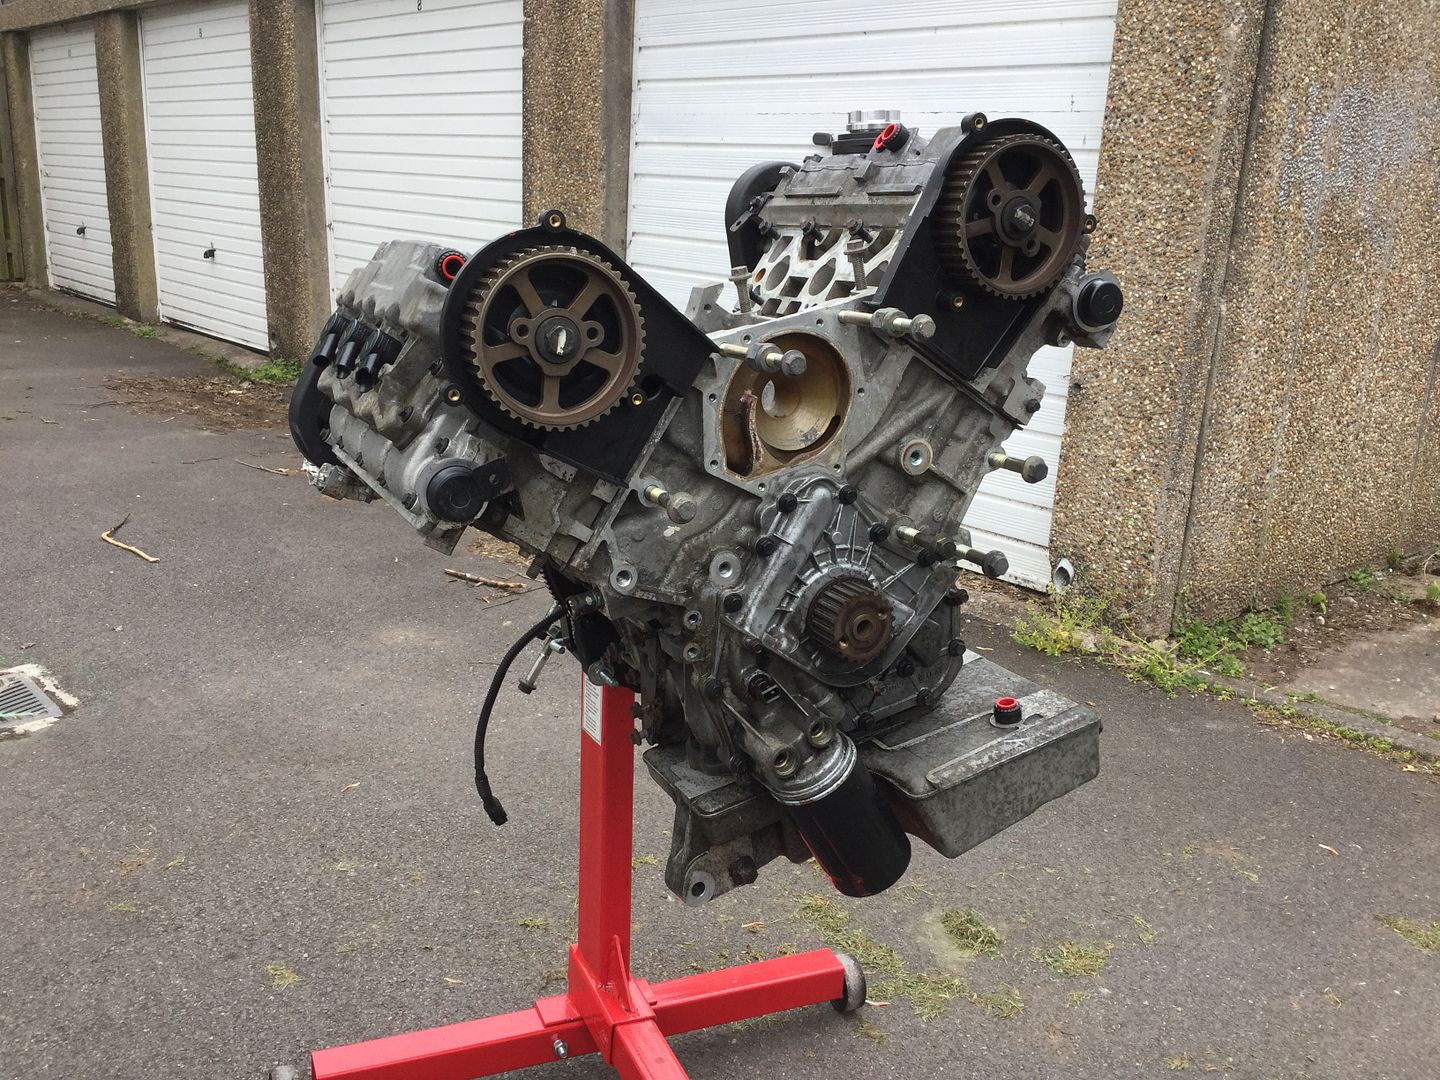
Then it was onto the rears. These are easy peasy to change !
With the engine still in the 'Safe' position, I marked the exhaust cam pulley, the old belt and the plastic housing case with grey paint so all the individual markings lined up. I also did the same for the inlet cam pulley. This gives me a datum point for when I fit the new belt -
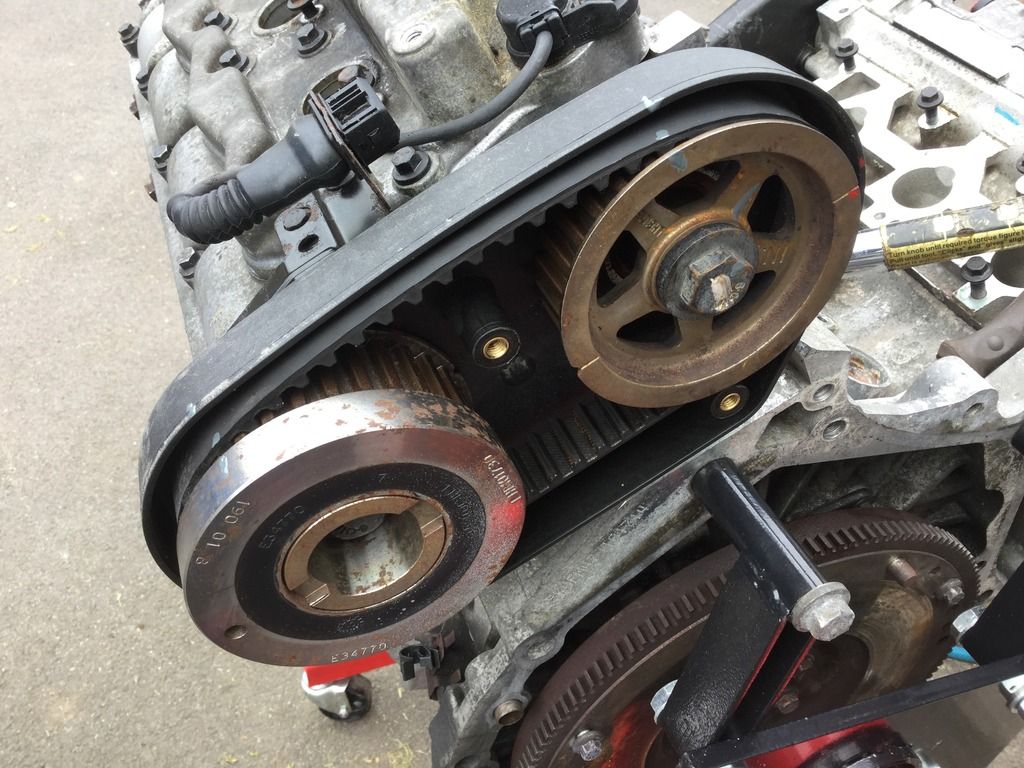
In the above photo you can also see I marked the inlet pulley and the centre pulley bolt with grey paint. I'll explain why later on in the post.
With those marked up I then removed the inlet cam pulley along with the old belt, (this is the opposite side as I forgot to take a picture) -
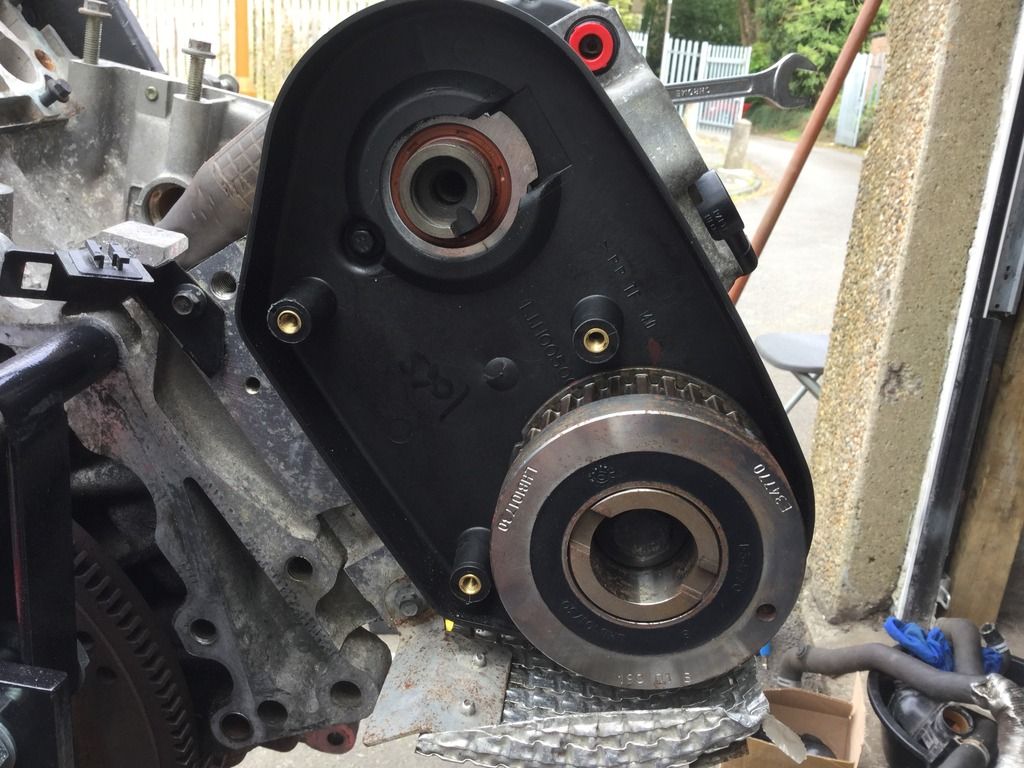
The exhaust cam pulley doesn't need to be removed.
Upon removing the inlet cam pulley and the old belt the exhaust cam pulley sprung forward around 3 teeth. This is where the markings on the pulley and the casing become invaluable as it will allow me to line everything back up later on.
There's no need to worry about the inlet cam moving though as the locked flywheel and the front belt won't allow it to.
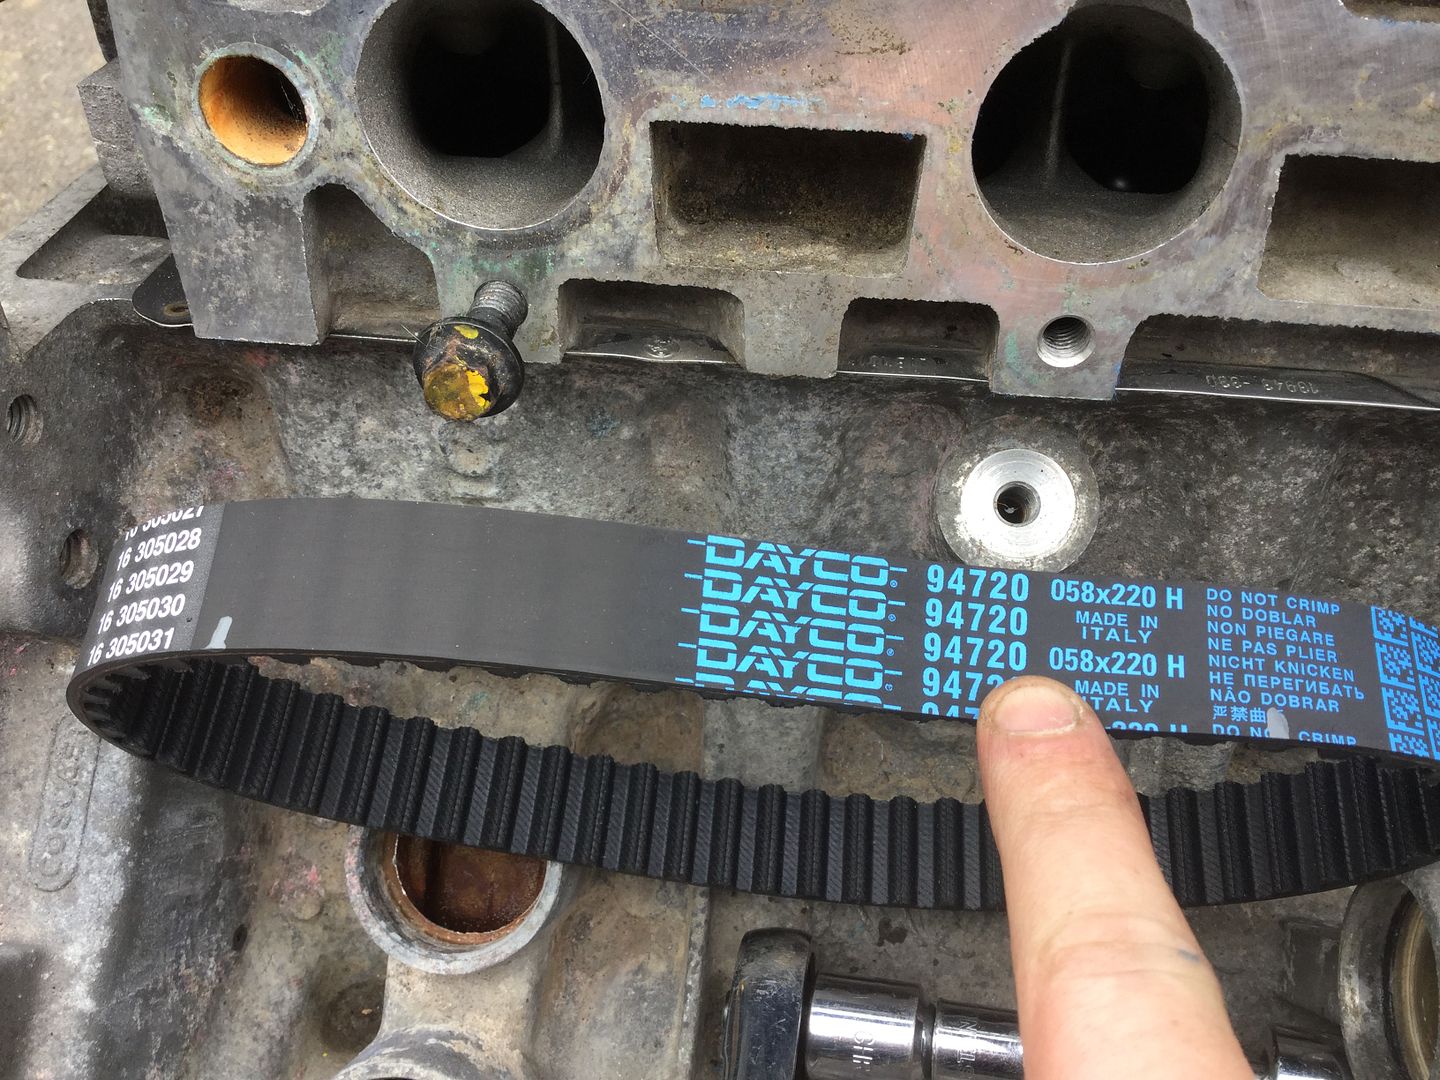
With those off I marked up the new belt with grey paint to match the old one. There's no real reason for marking the belt but it just allows me to be certain all the markings line up when fitted back onto the engine -
Then it was onto the re-fitting, this is where you need a friend or in my case, my dad showed up ! Firstly I fitted the new belt over the exhaust cam pulley and lined up the marking on the pulley with the marking on the belt. Then I had my dad turn the exhaust cam pulley back 3 teeth using a socket on a long bar and ratchet until the markings on the pulley and the belt lined up with the markings on the casing.
With those being held in position it was just a case of lining up the marks on the inlet cam pulley and the belt and then sliding that assembly up into its position until the inlet cam pulley popped into its woodruff key on the inlet cam -
Further up in the thread I mentioned i marked the camshaft pulley bolt and the inlet cam pulley. The reason why is when you refit the pulley bolt it requires you to torque it up to 27nm and then a further 90 degrees. Having made the marks earlier all you have to do is torque it up and then tighten it until the markings line up.
Here's the other side done too -
Hopefully that all makes sense. It's a lot easier than I may have made it sound and literally only takes around 10-15 minutes to change both belts.
Happy with the belts I than fitted the new thermostat and coolant plug -
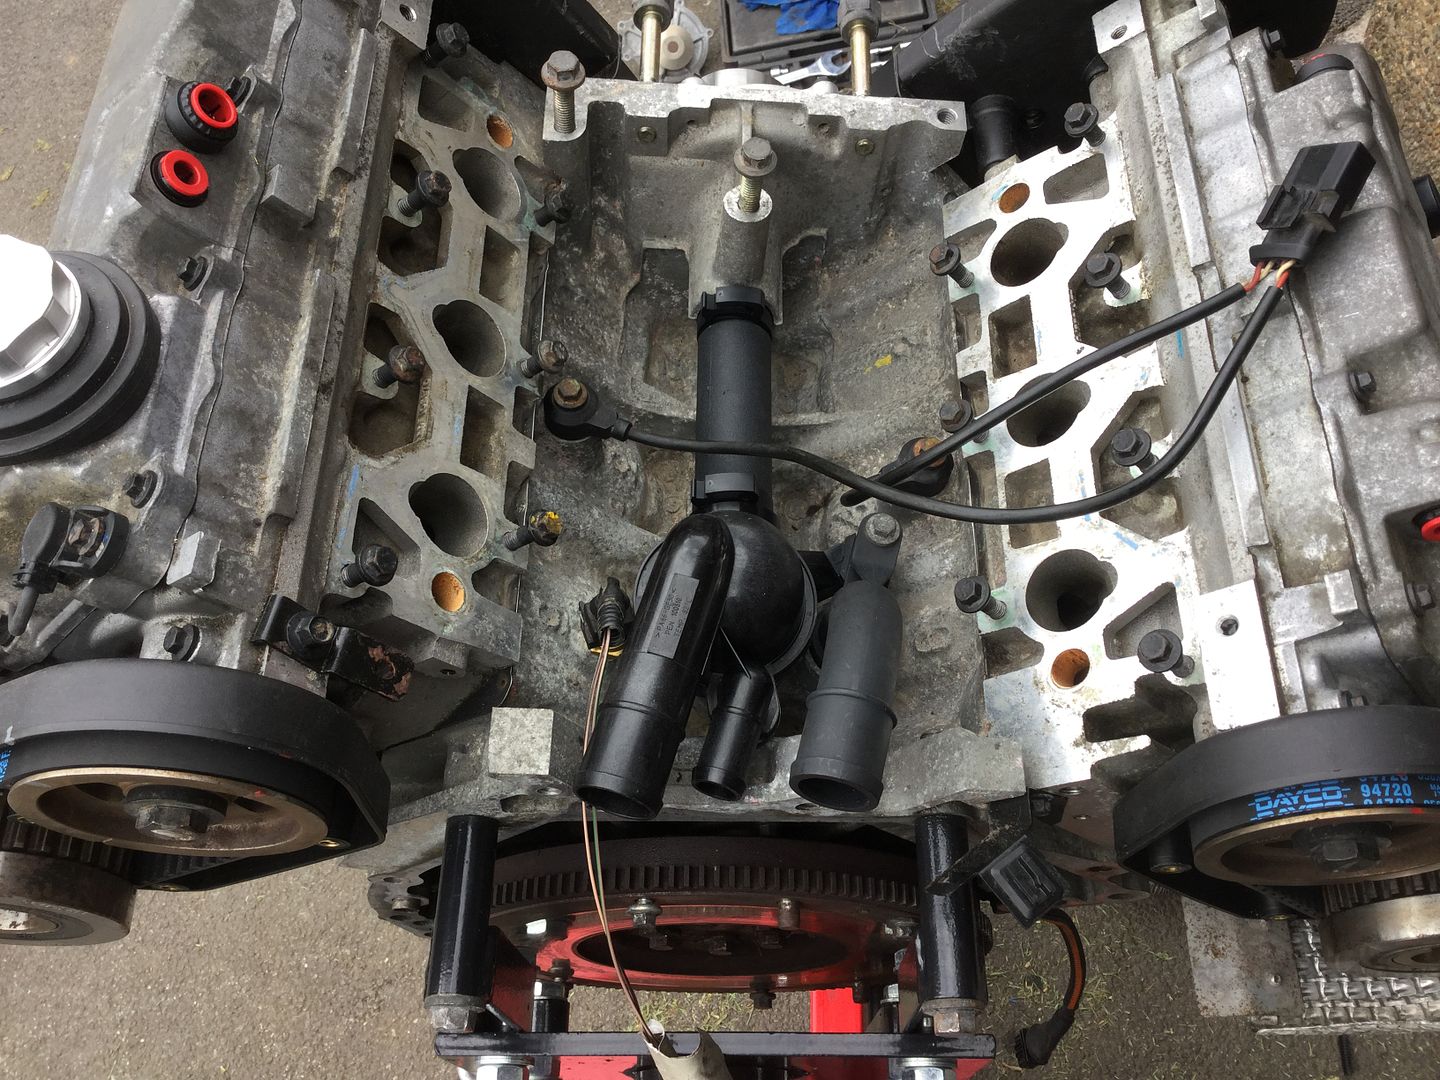
I also refitted the intake assemble with new gaskets and O-Rings and my refurbished VIS motors. I degreased all of the ancillaries and bolted those back on too with a new auxiliary belt.
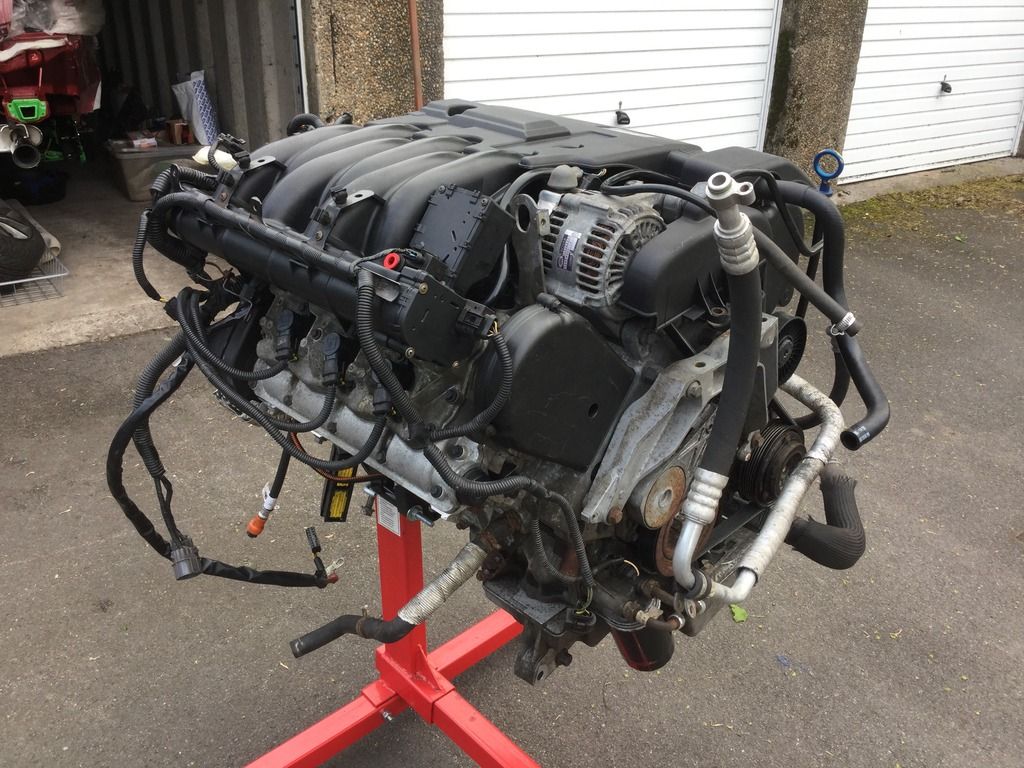
Nothing too fancy and I didn't paint anything up either as that's the beauty with these modern engines, nothing's really seen when the engines back in and what is seen is usually covered with a plastic cover anyway !
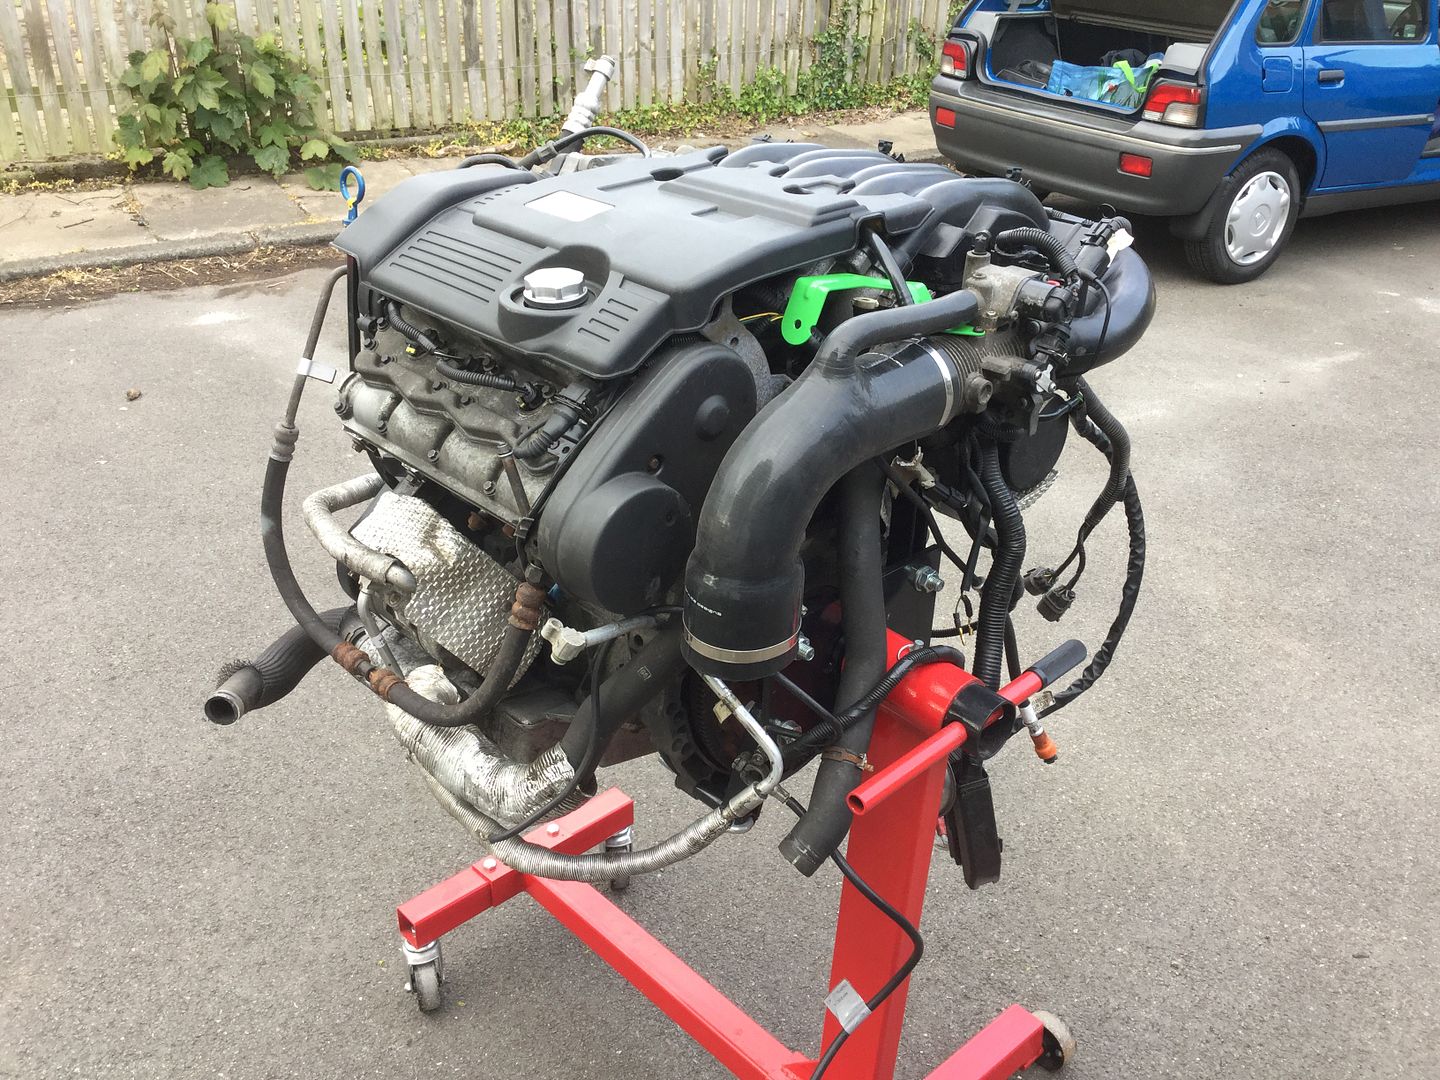
Heres the engine pretty much ready to go back in, just need a new clutch, new coil packs, a set of new plugs and some manifold gaskets which will be ordered this evening ready for next weekend -
That's all the progress on the engine up to this point. Now it's onto the body and running gear.
CONTINUED IN A SECOND POST....