Ok guys,
Big update !
Carrying on from where I left off, I cut out the rot from the jacking point -
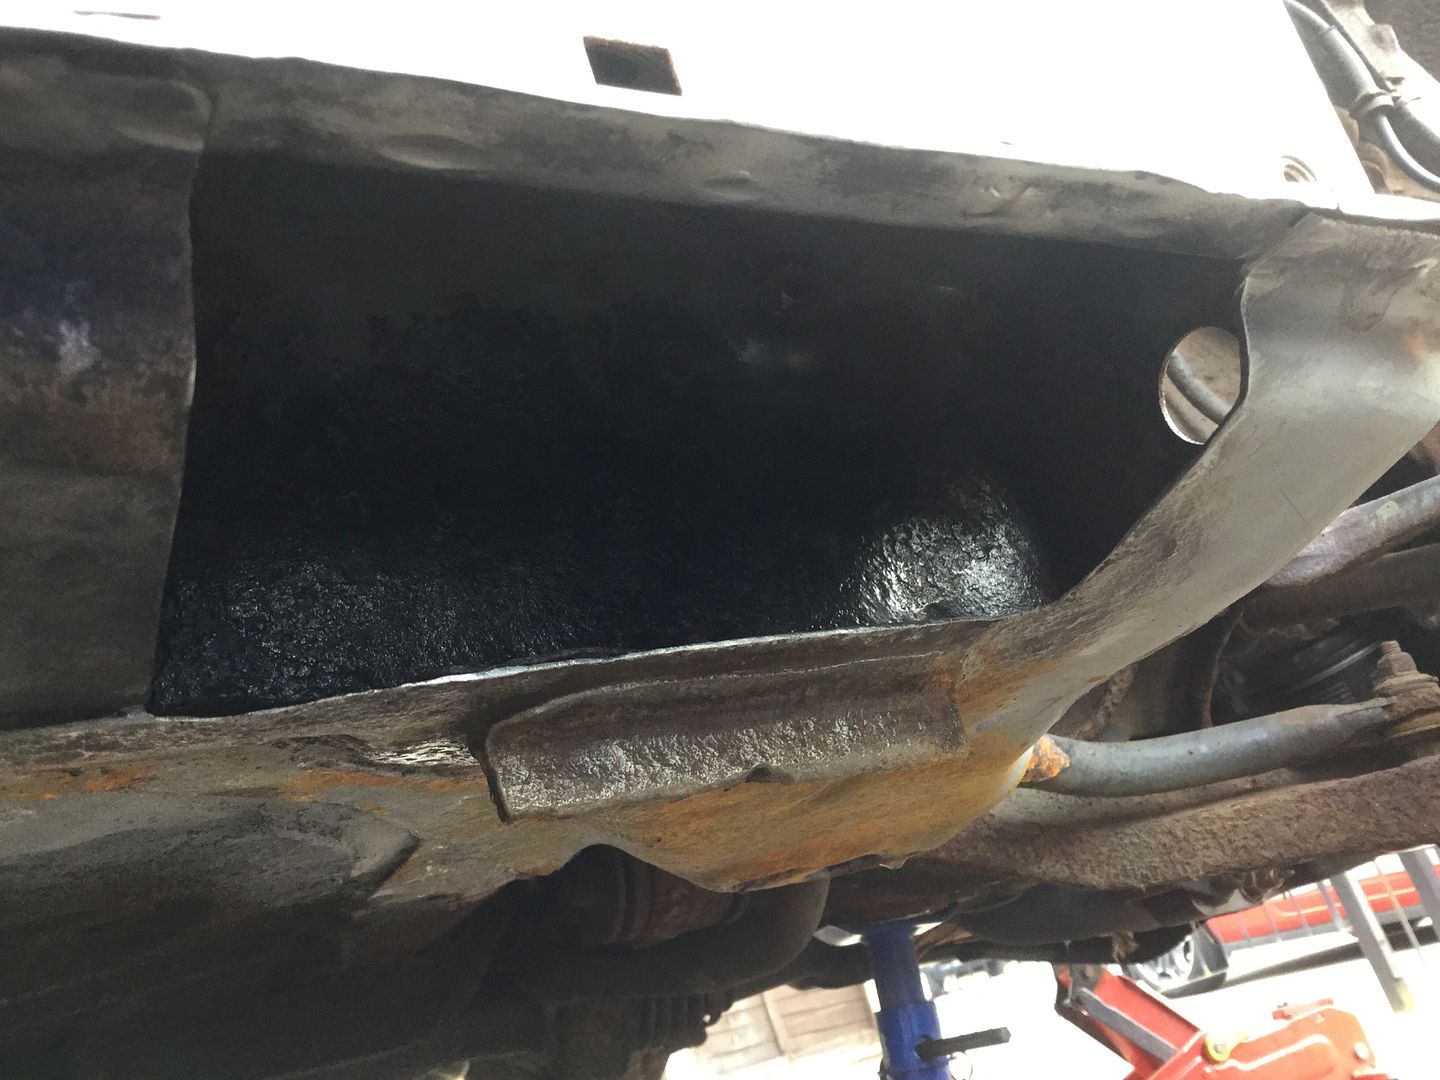
I gave the inner sill a good wire brushing back to bare metal where it had corroded -
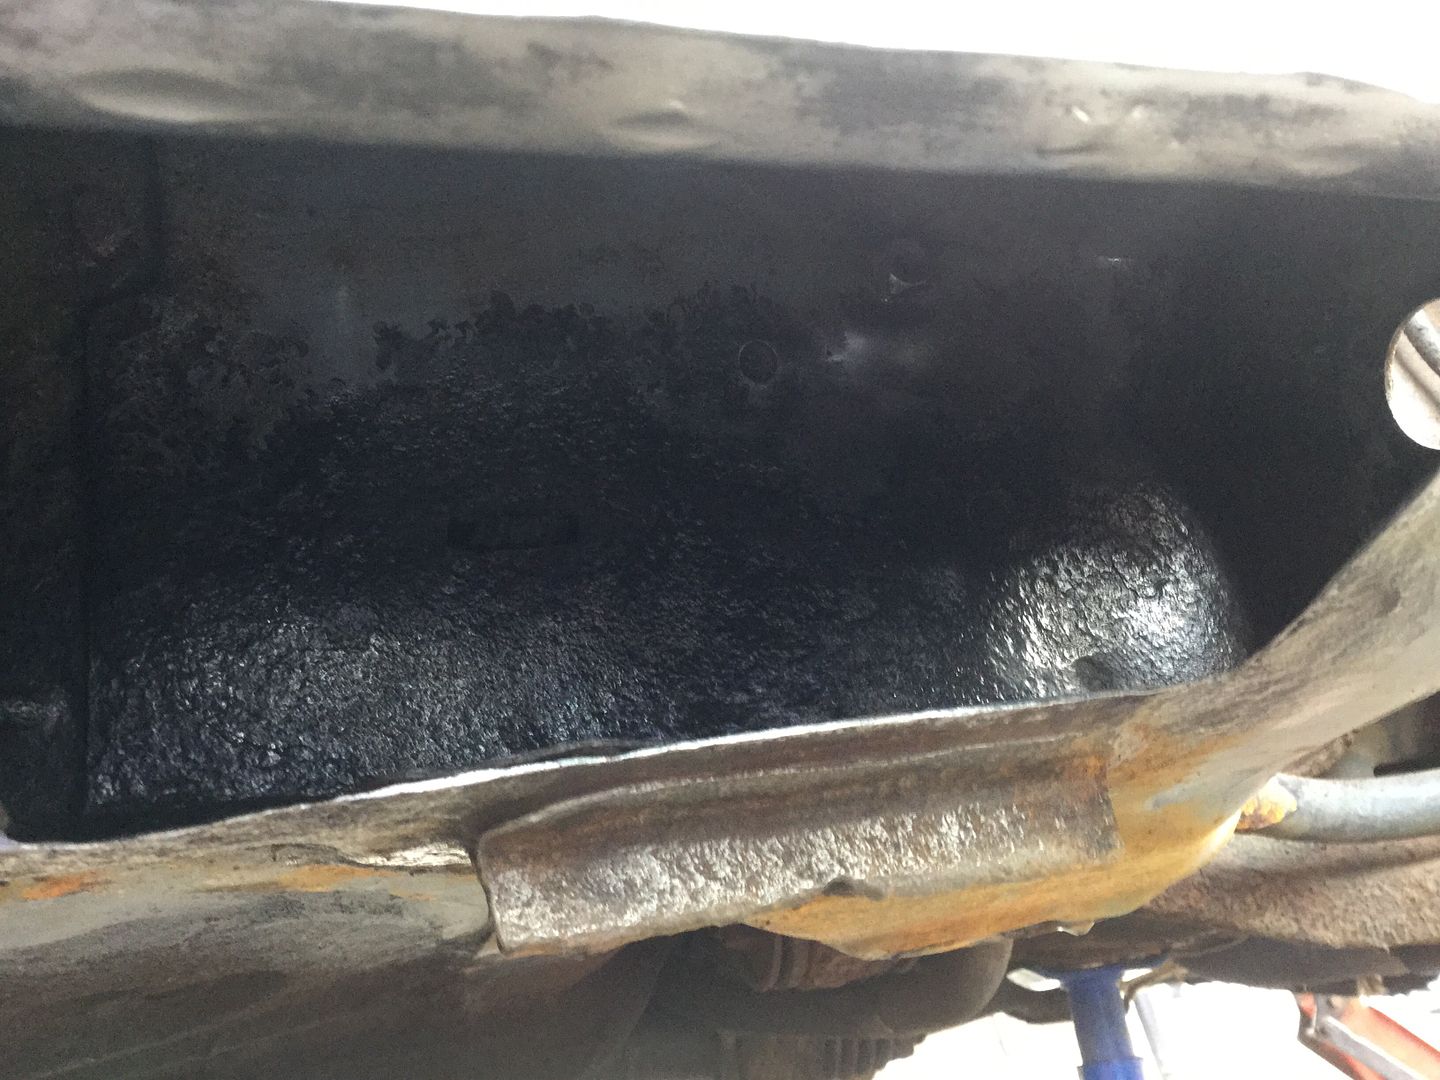
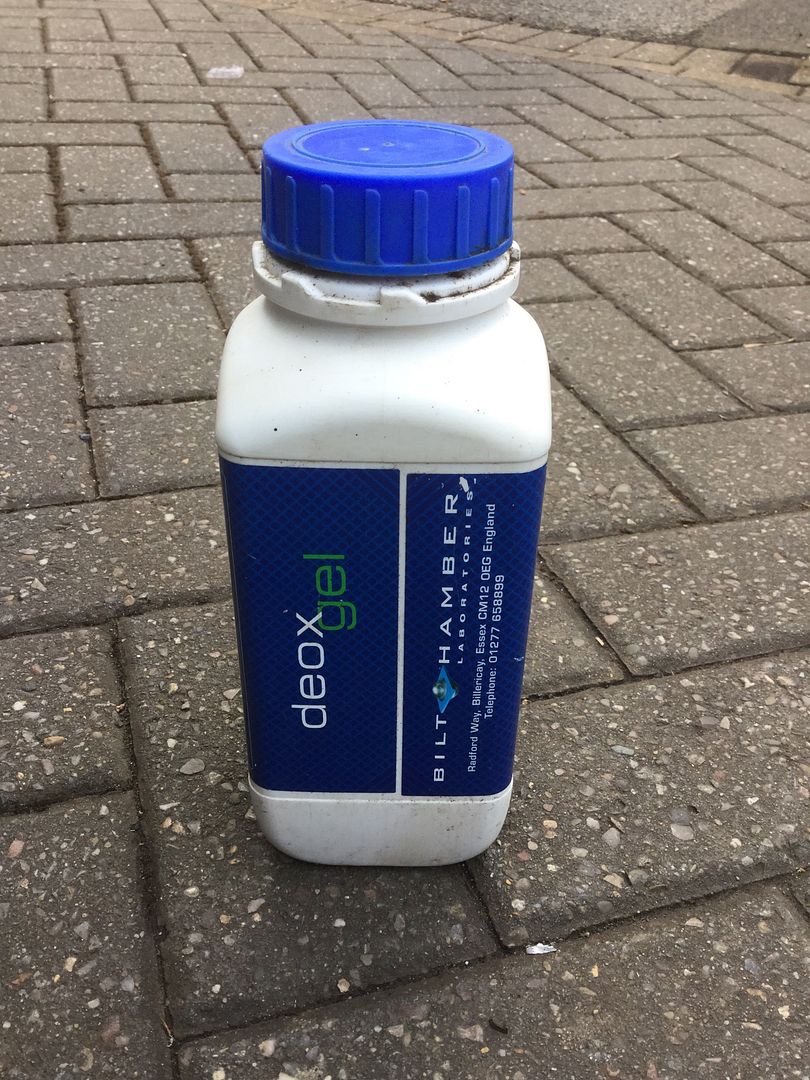
Then I used some Deox Gel to remove any left over rust -
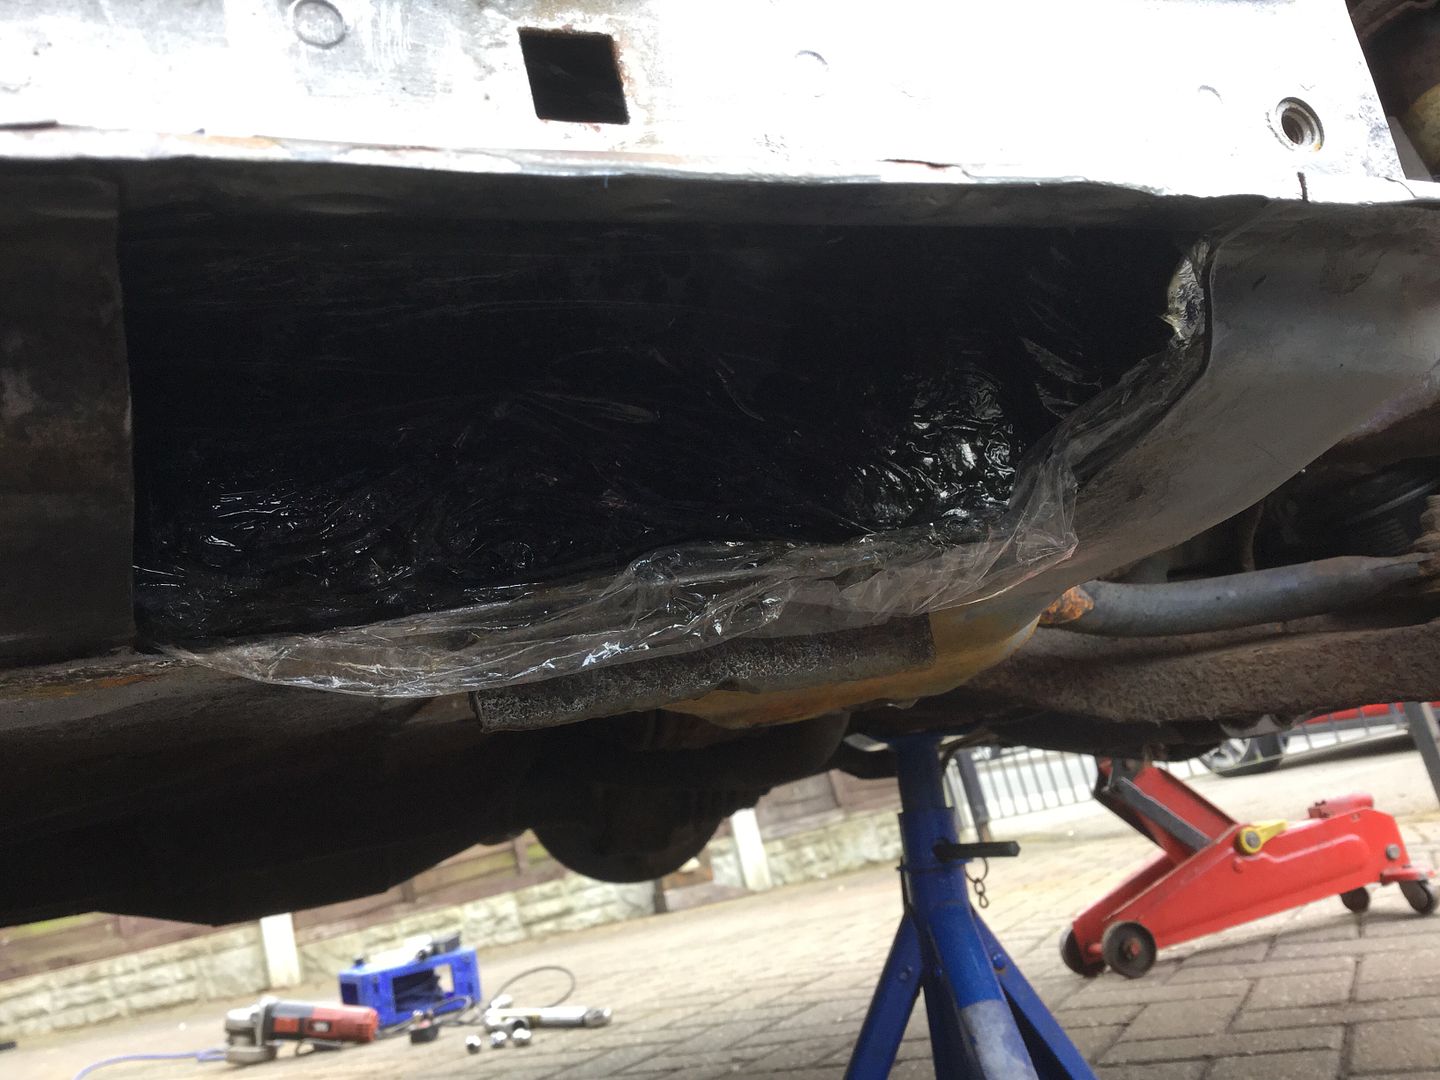
Left it to soak over night under some cling film so it didn't dry out -
Zinc primed after the Deox Gel had done its thing -
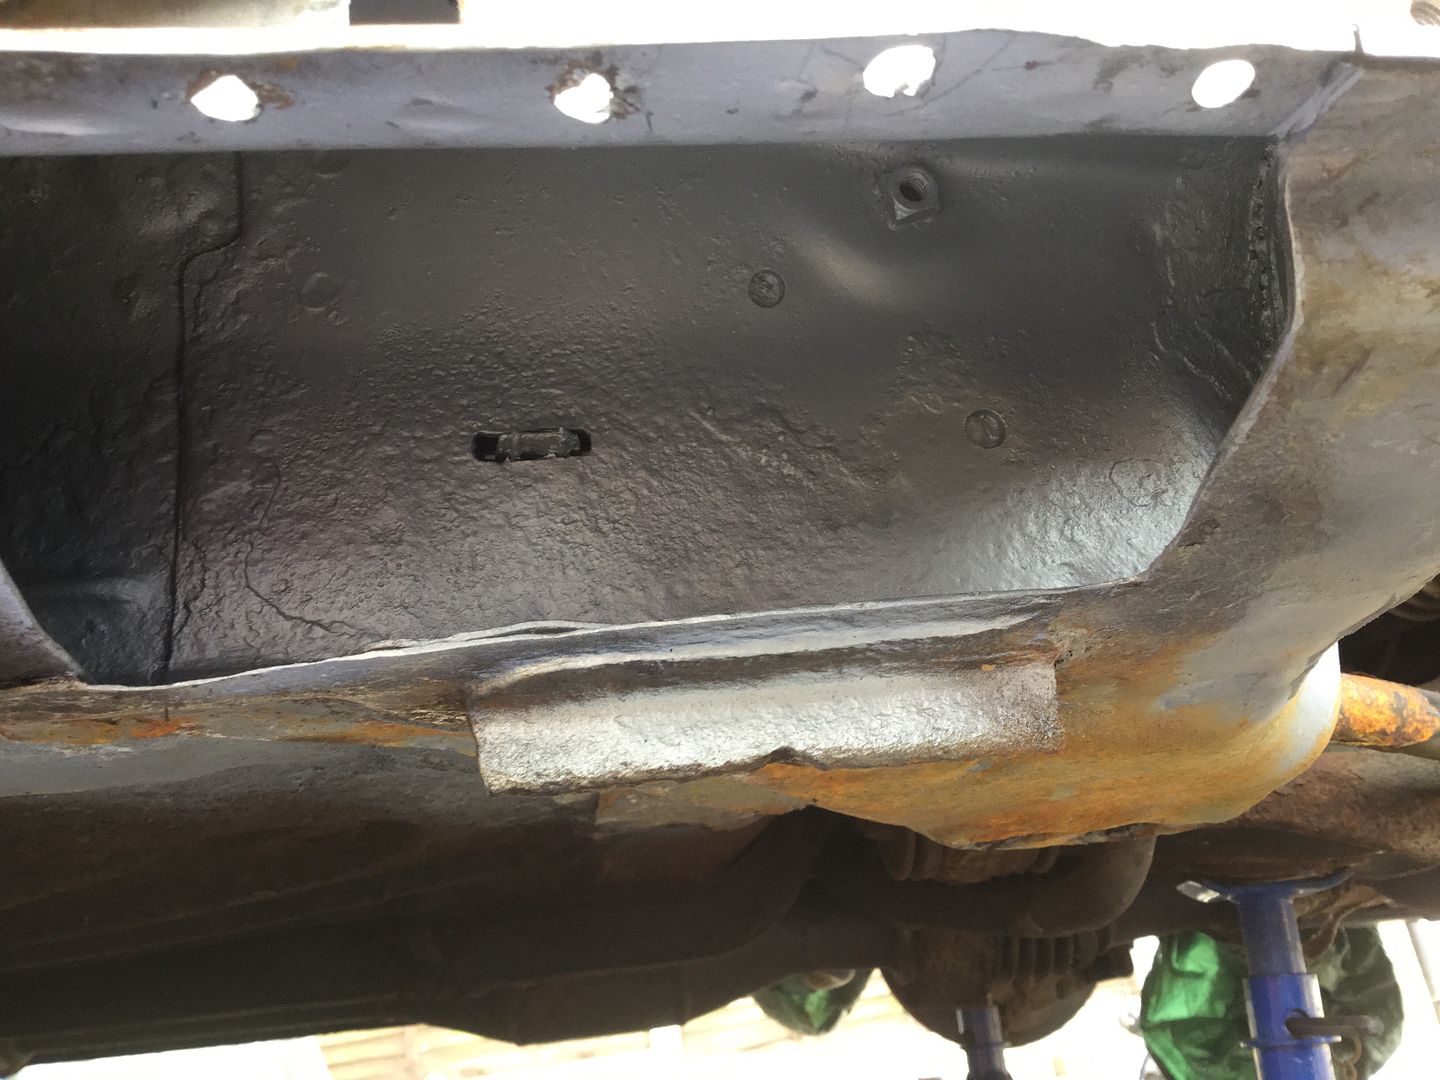
Plate made up, welded in and she's nice and solid again -
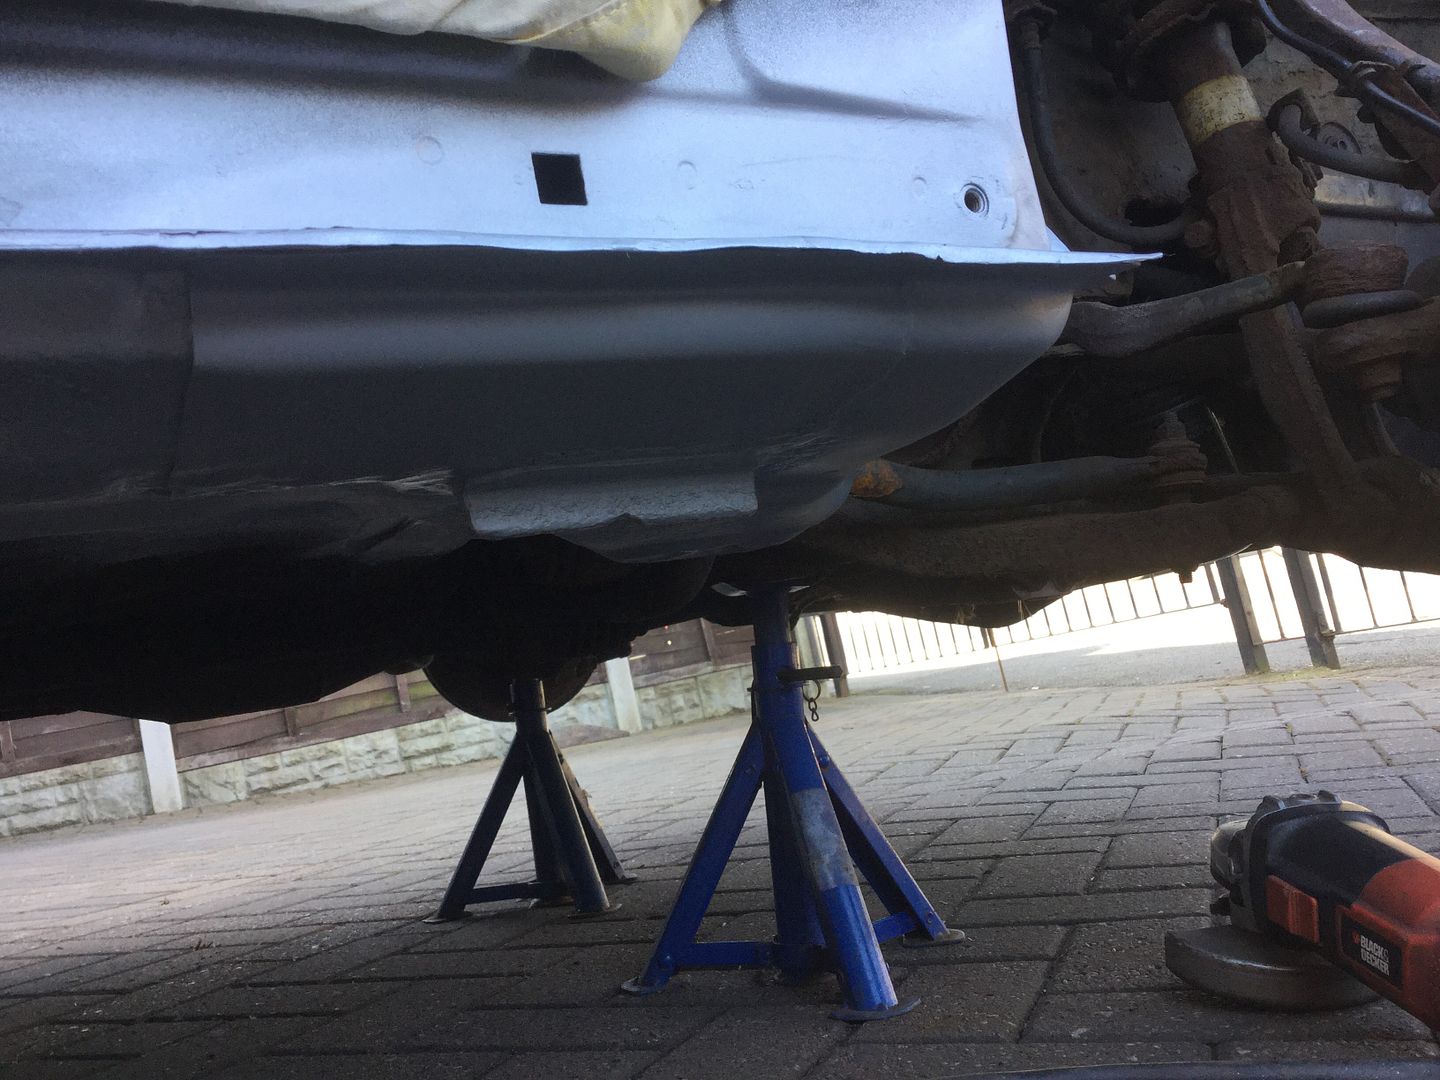
Rinse and repeat for the passenger side -
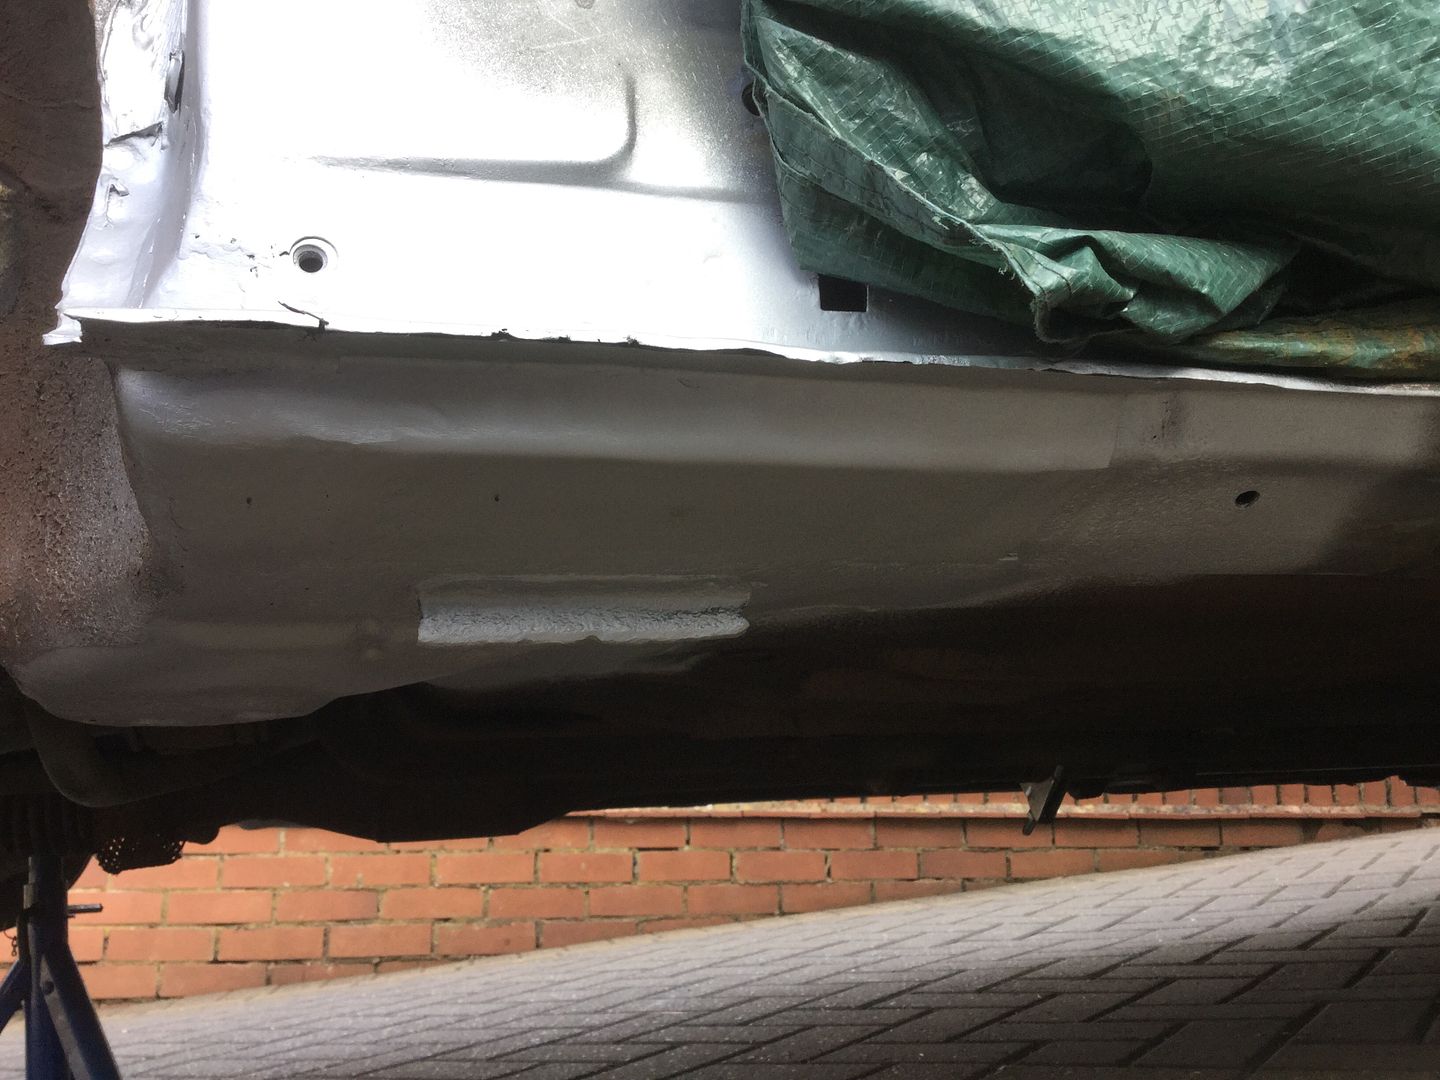
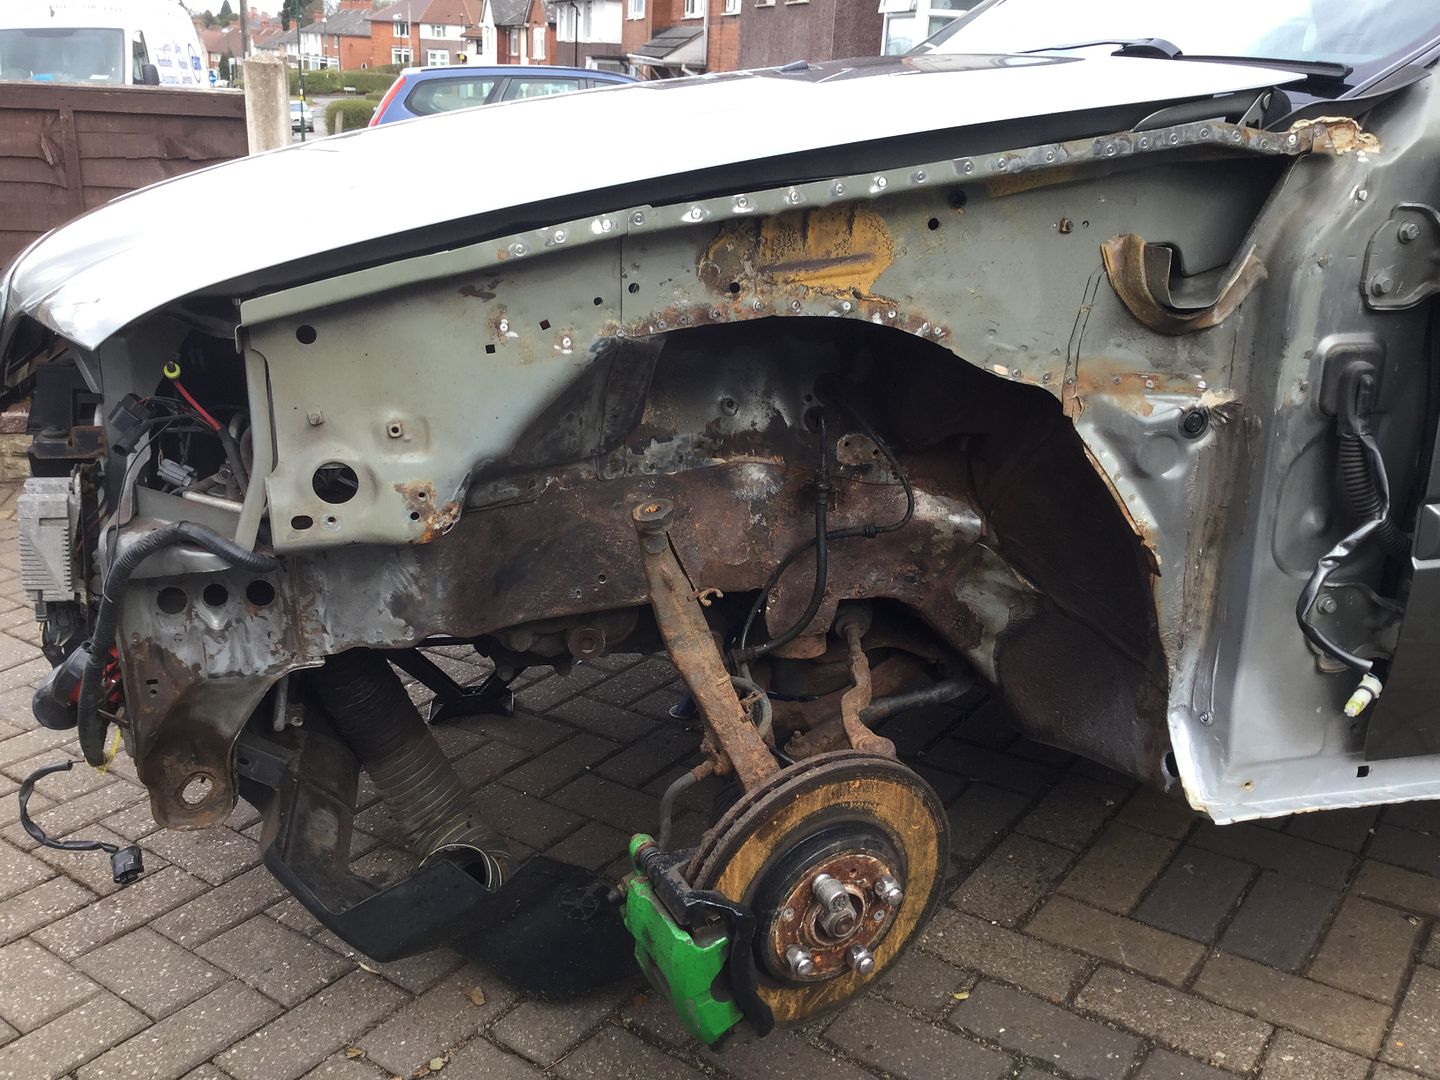
Happy with that I decided to attack the under arch with the wire brush to remove the masses of underseal -
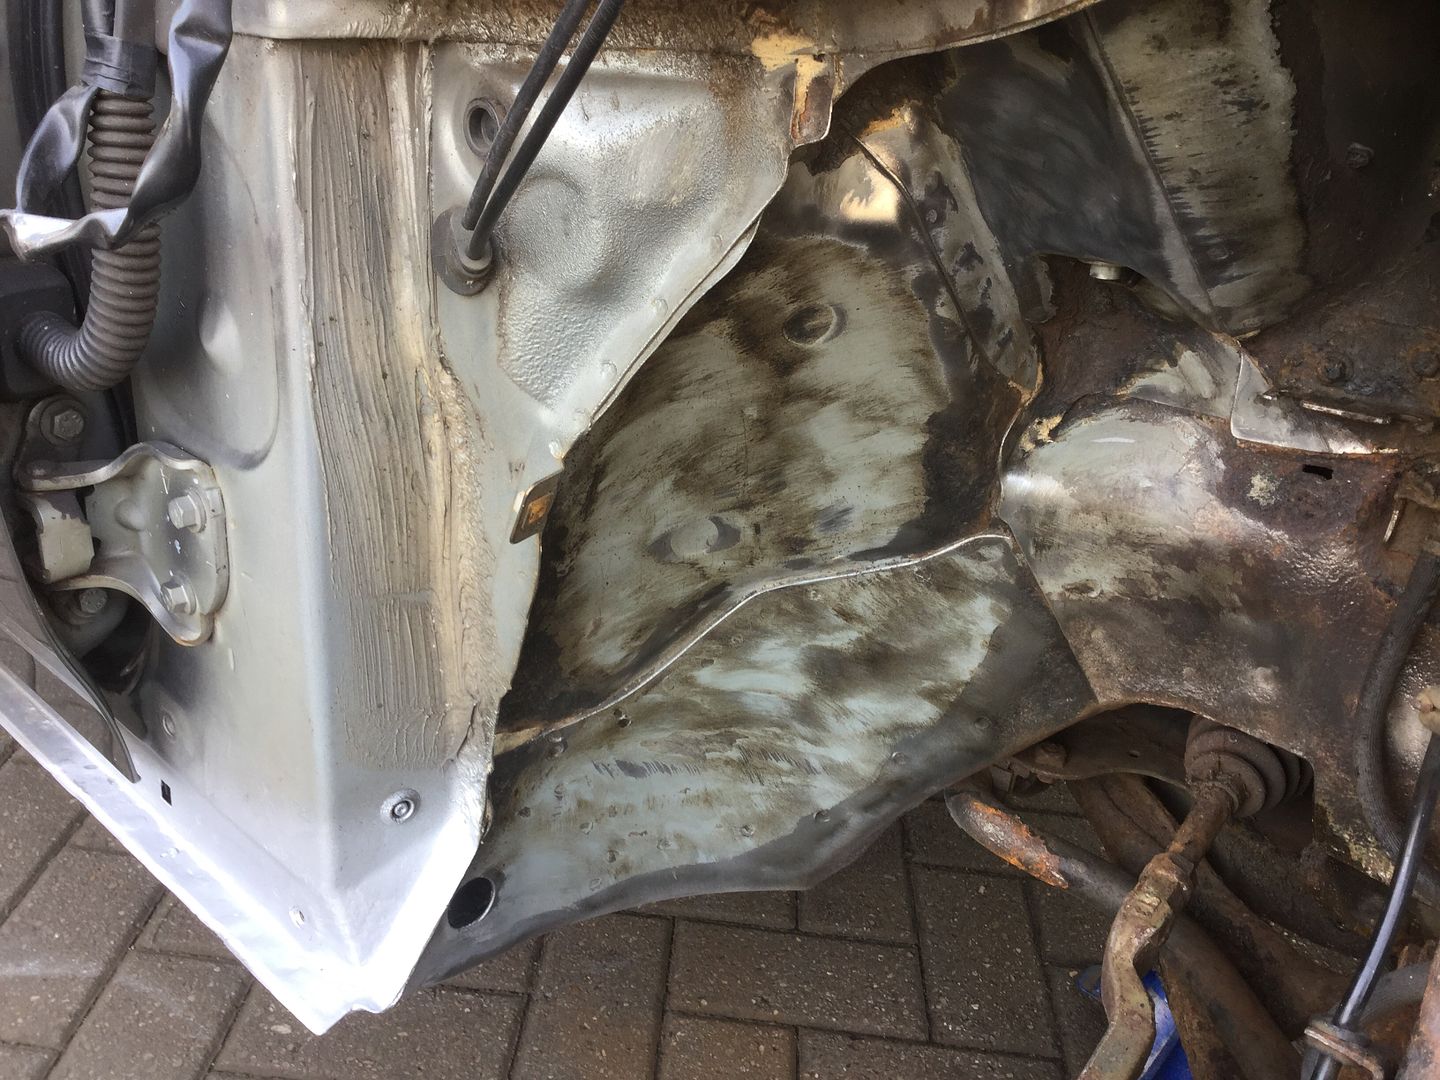
Was all going well until...Oh dear -
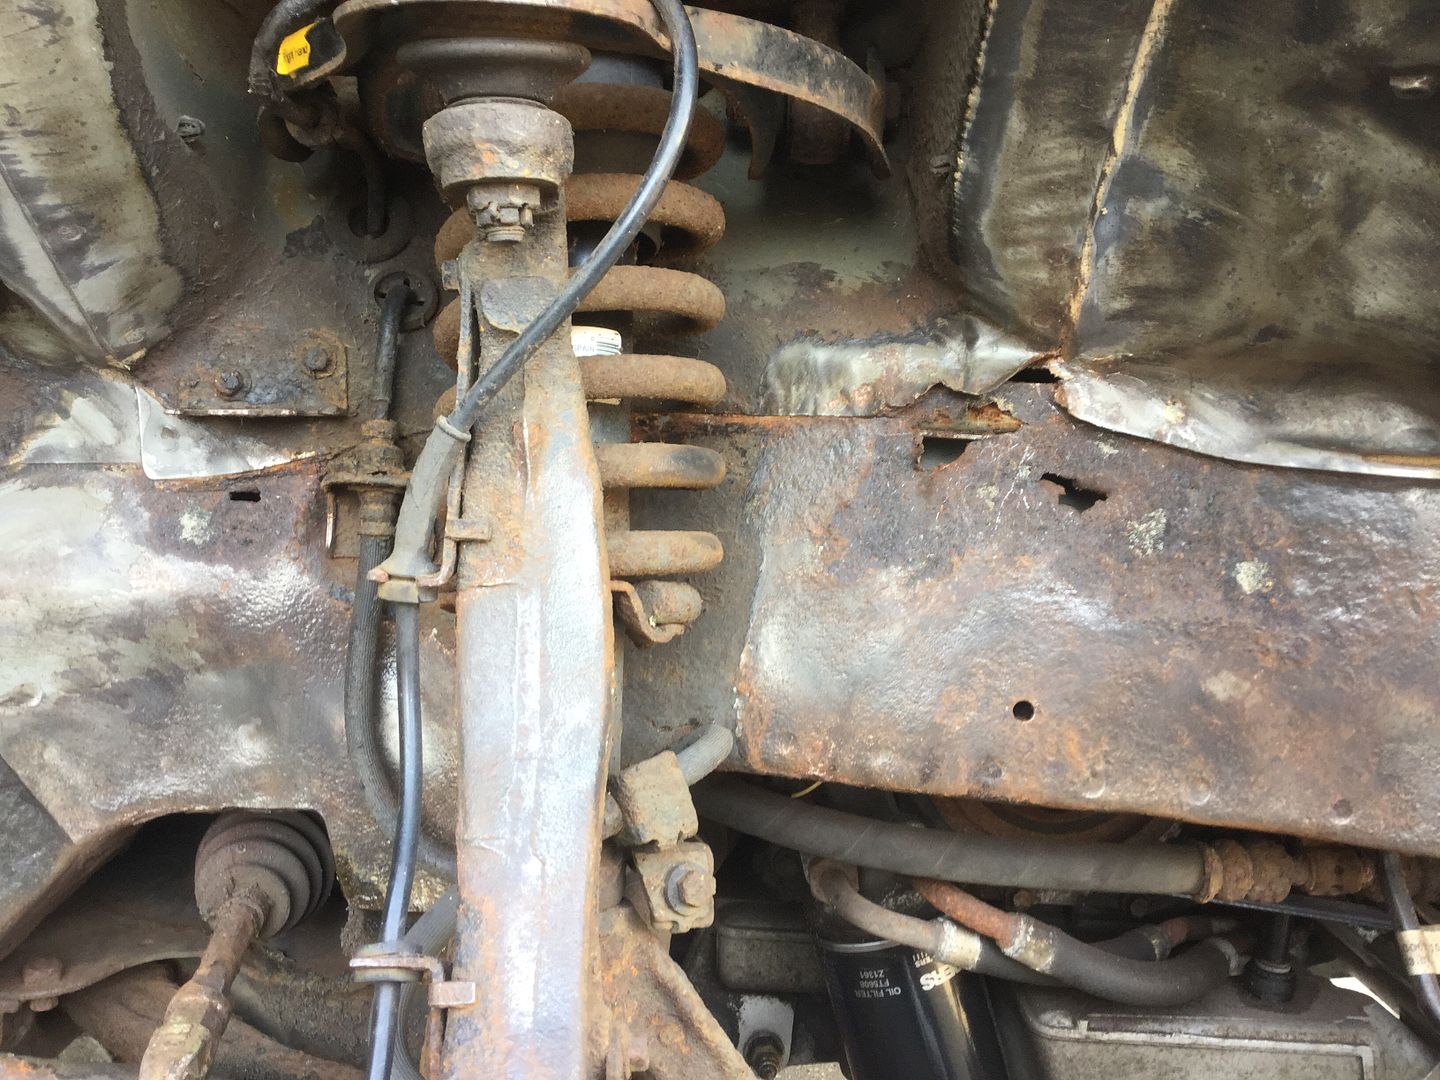
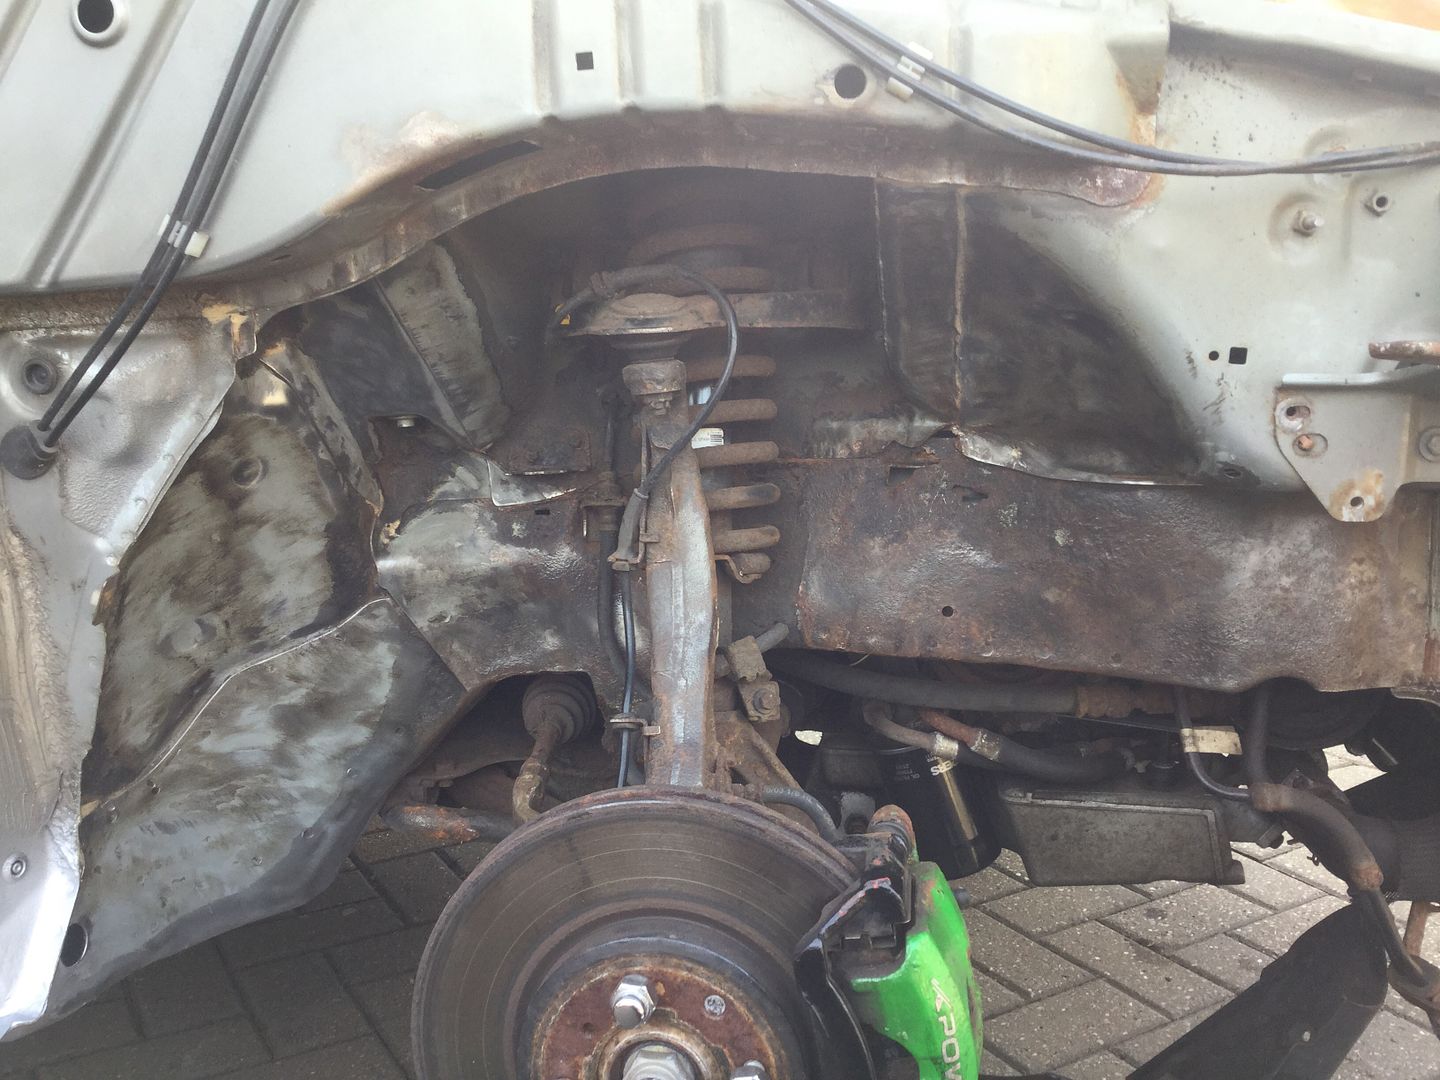
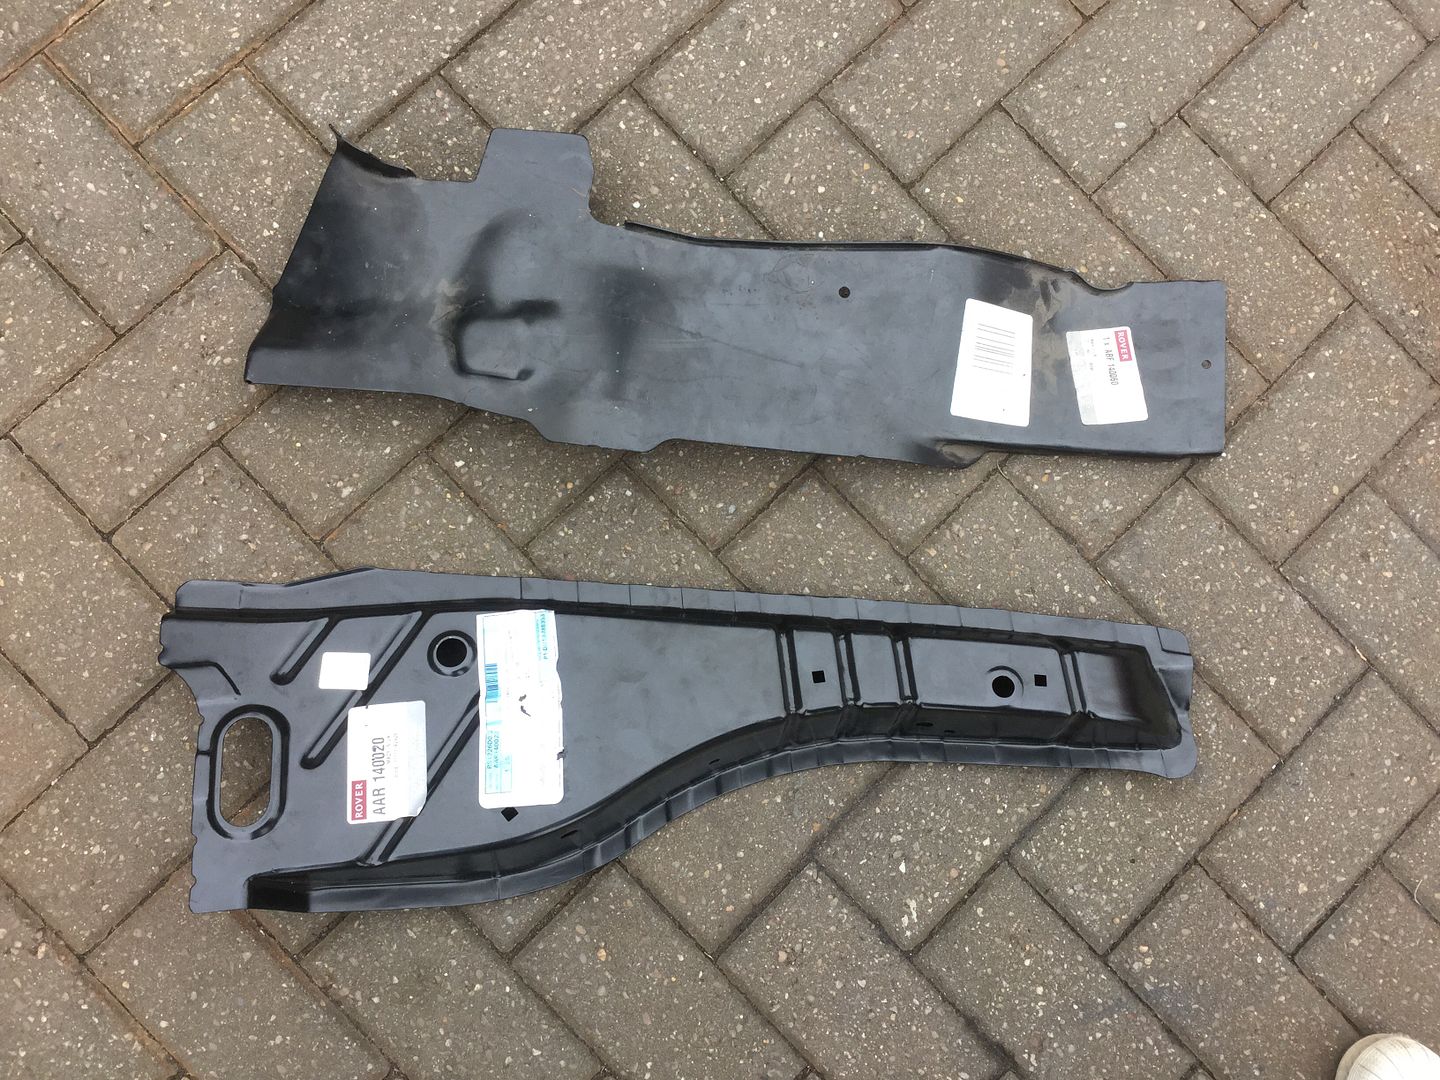
Unfortunately rimmer brothers let me down on the valence reinforcement panels so I had to source them else where, A.E Wilcox & Son MG dealers to be precise. Luckily they also had the crossmember closing panel for the R/H side too. So a trip down to Bristol and I came back with these -
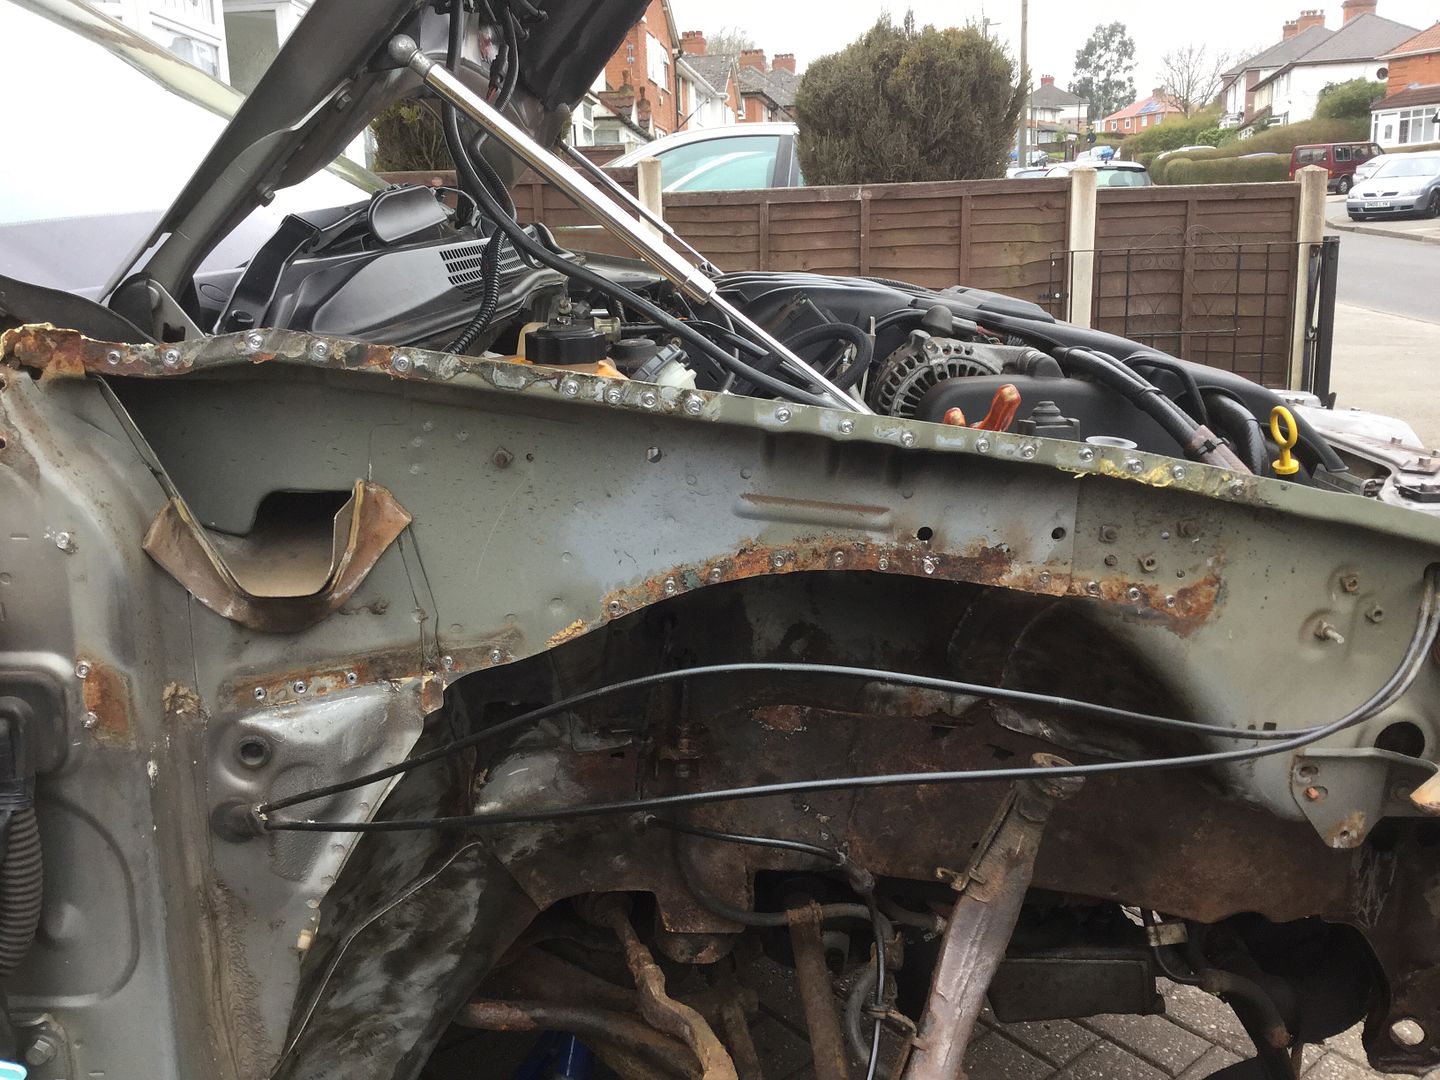
I've had to source the L/H side reinforcement panel from the Netherlands as no where in the UK has one in stock, this is due to be delivered hopefully on Tuesday.
I decided to start with the reinforcement panel, here it is removed -
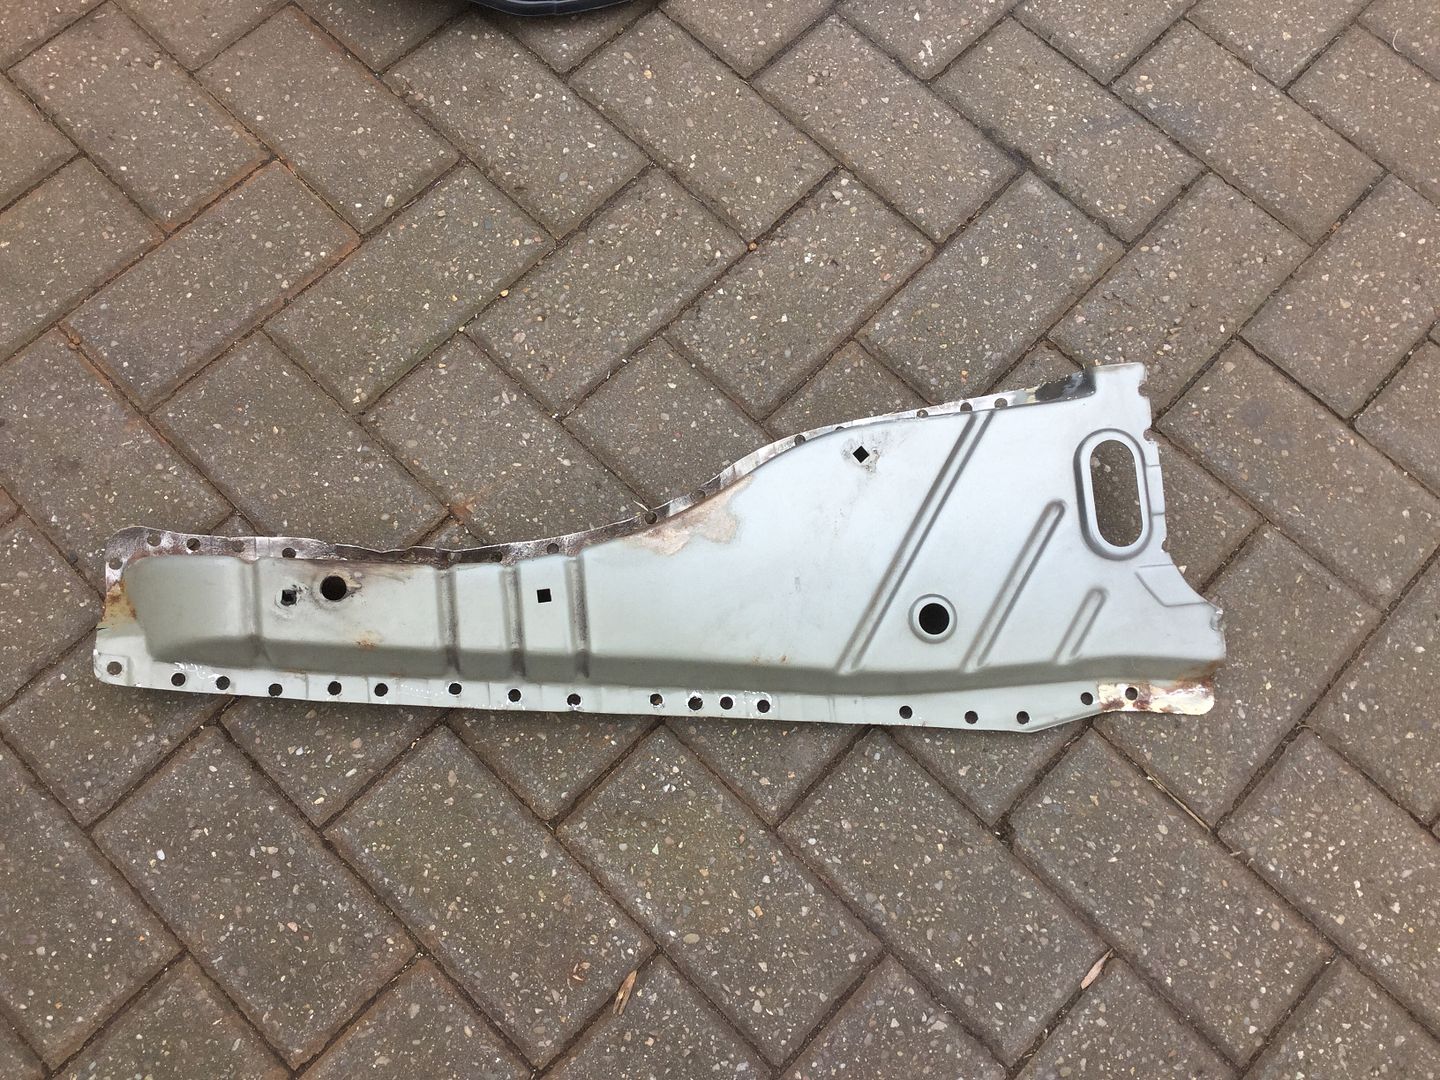
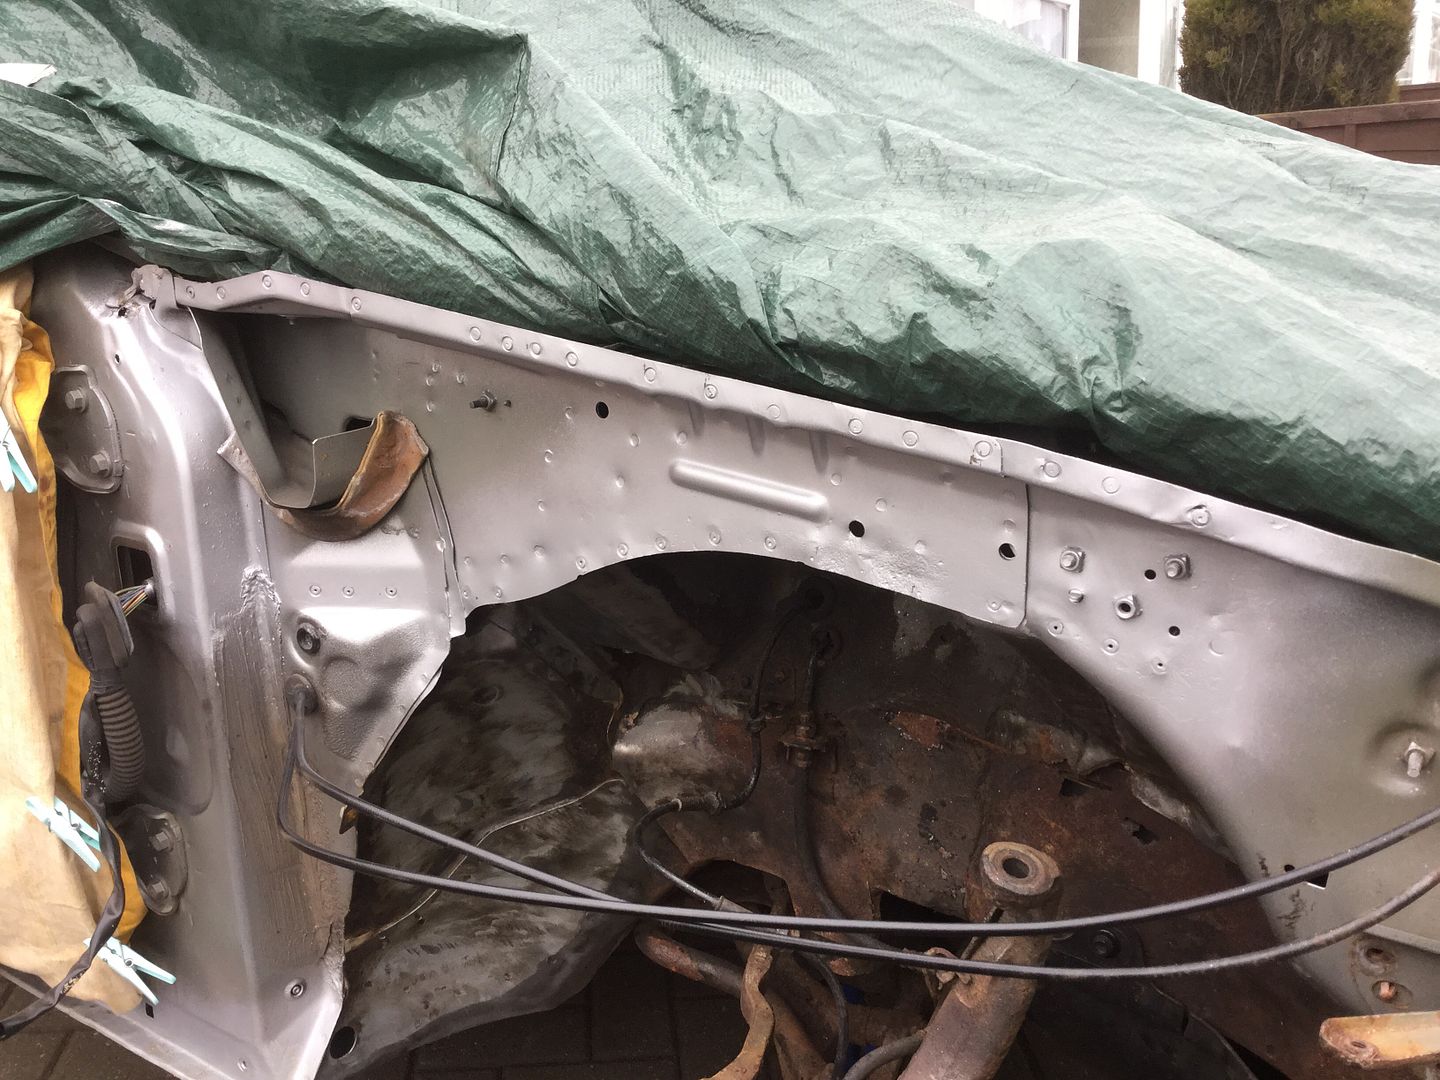
I ground down the left over metal from the spot weld cutter and gave the bare metal a coat of zinc -
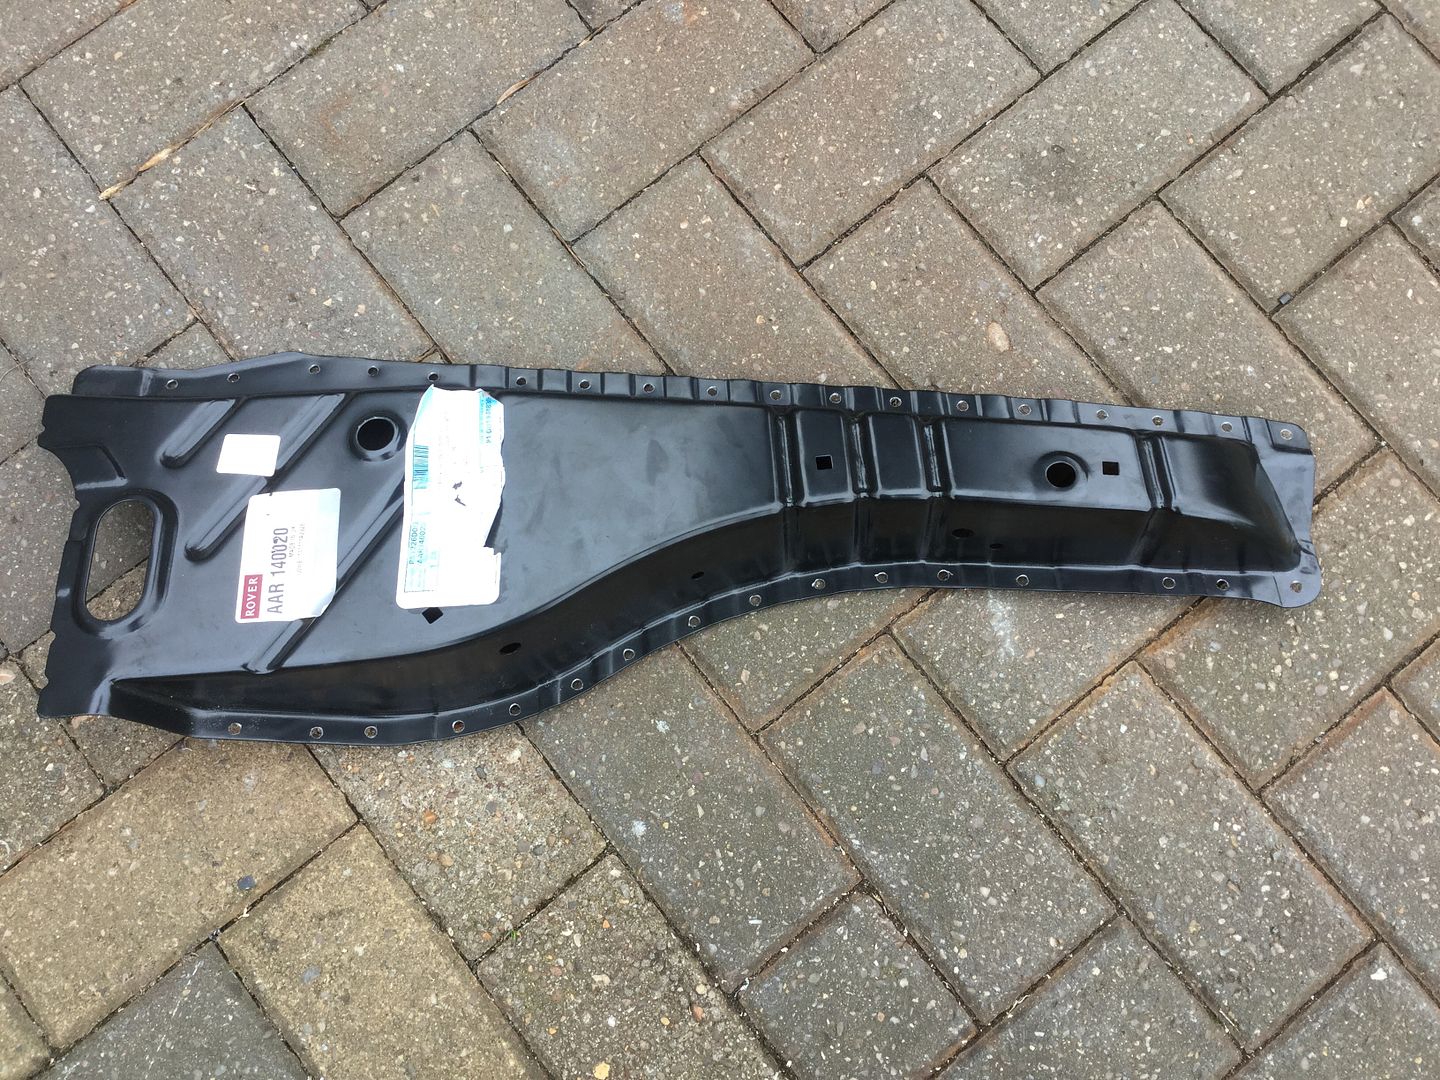
Holes drilled in the new panel ready for plug welding -
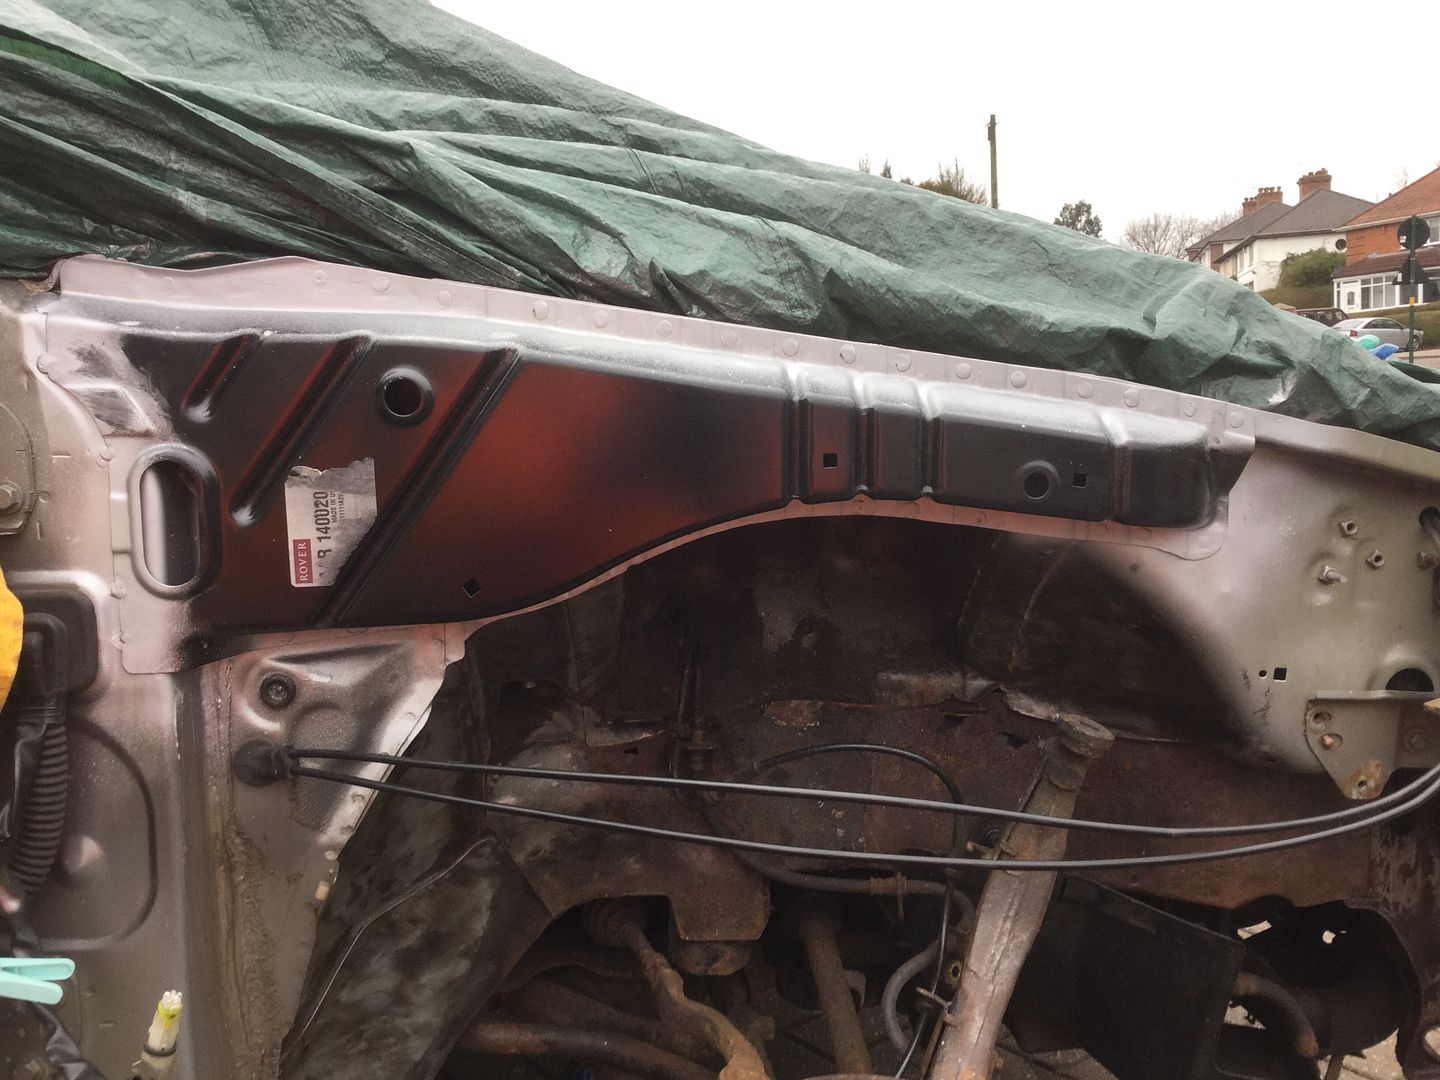
Welded on, ground down and zinc primed -
Happy with that I removed the closing panel, was a real PITA but got it off in the end. The box section behind is in perfect condition -
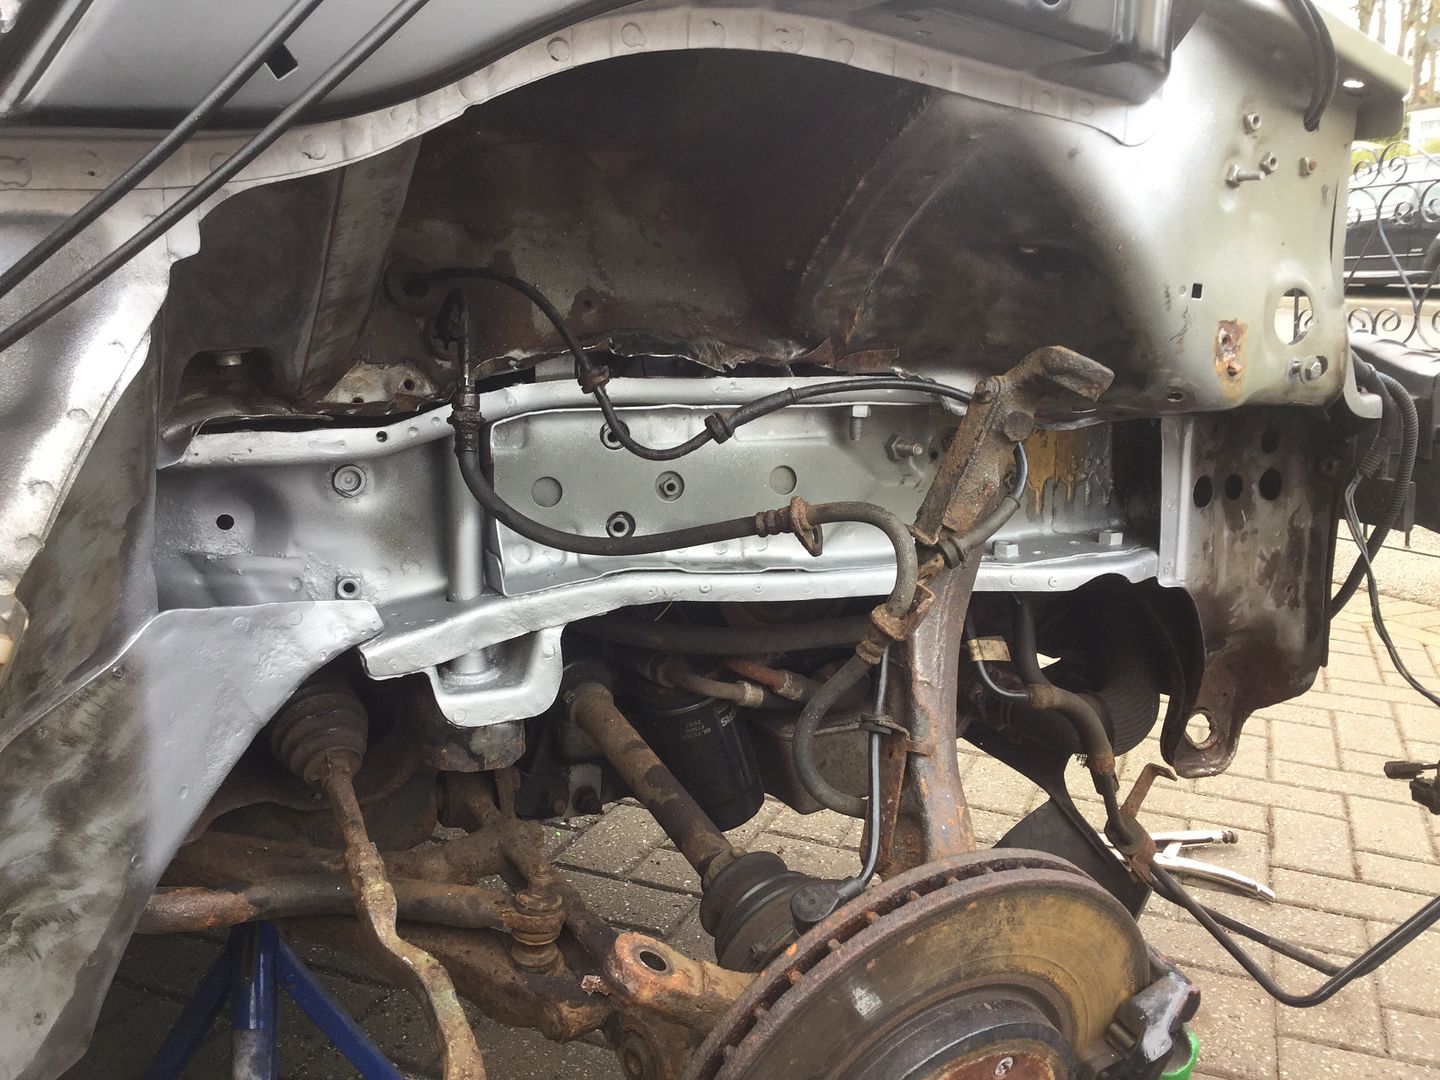
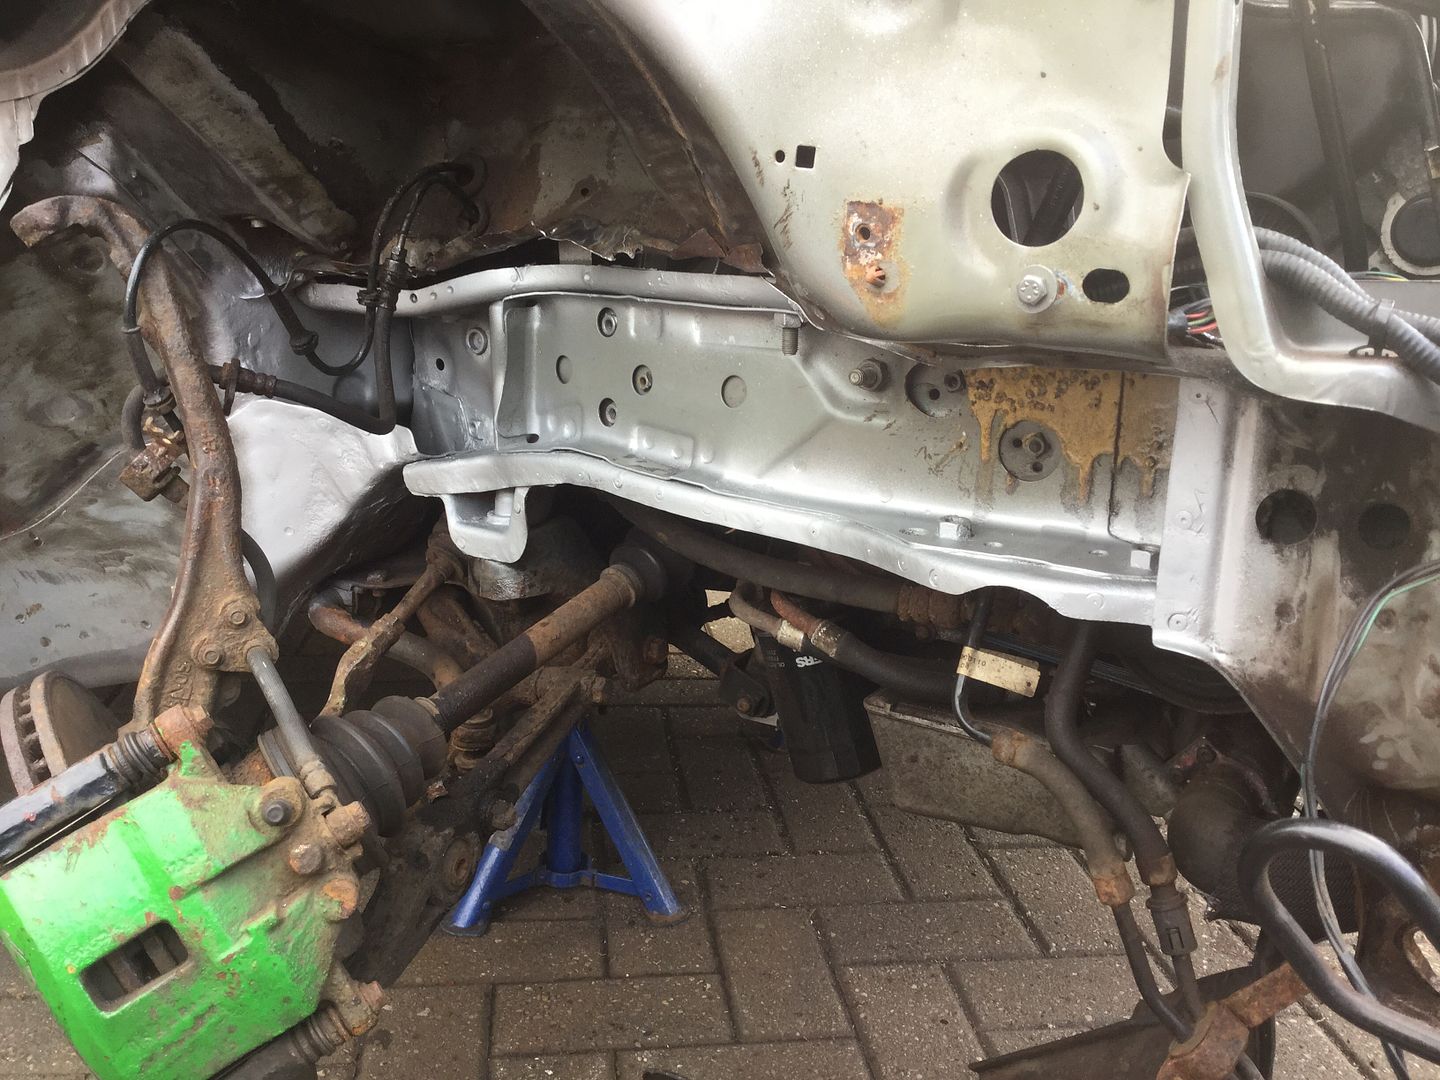
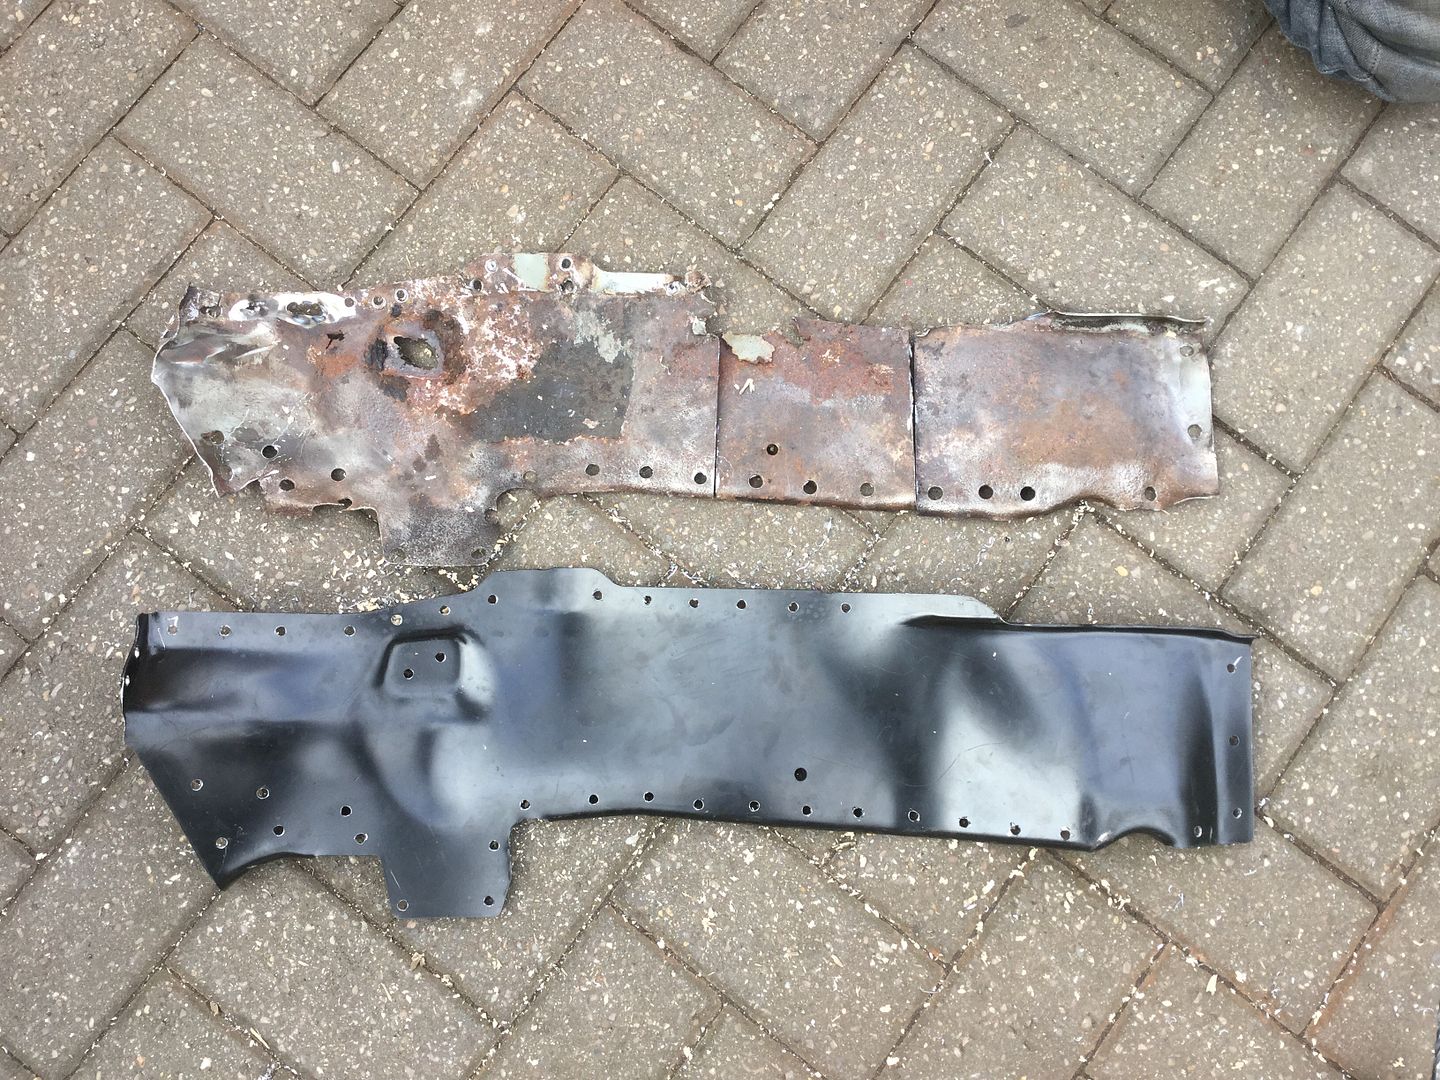
Comparison of the new panel and the old -
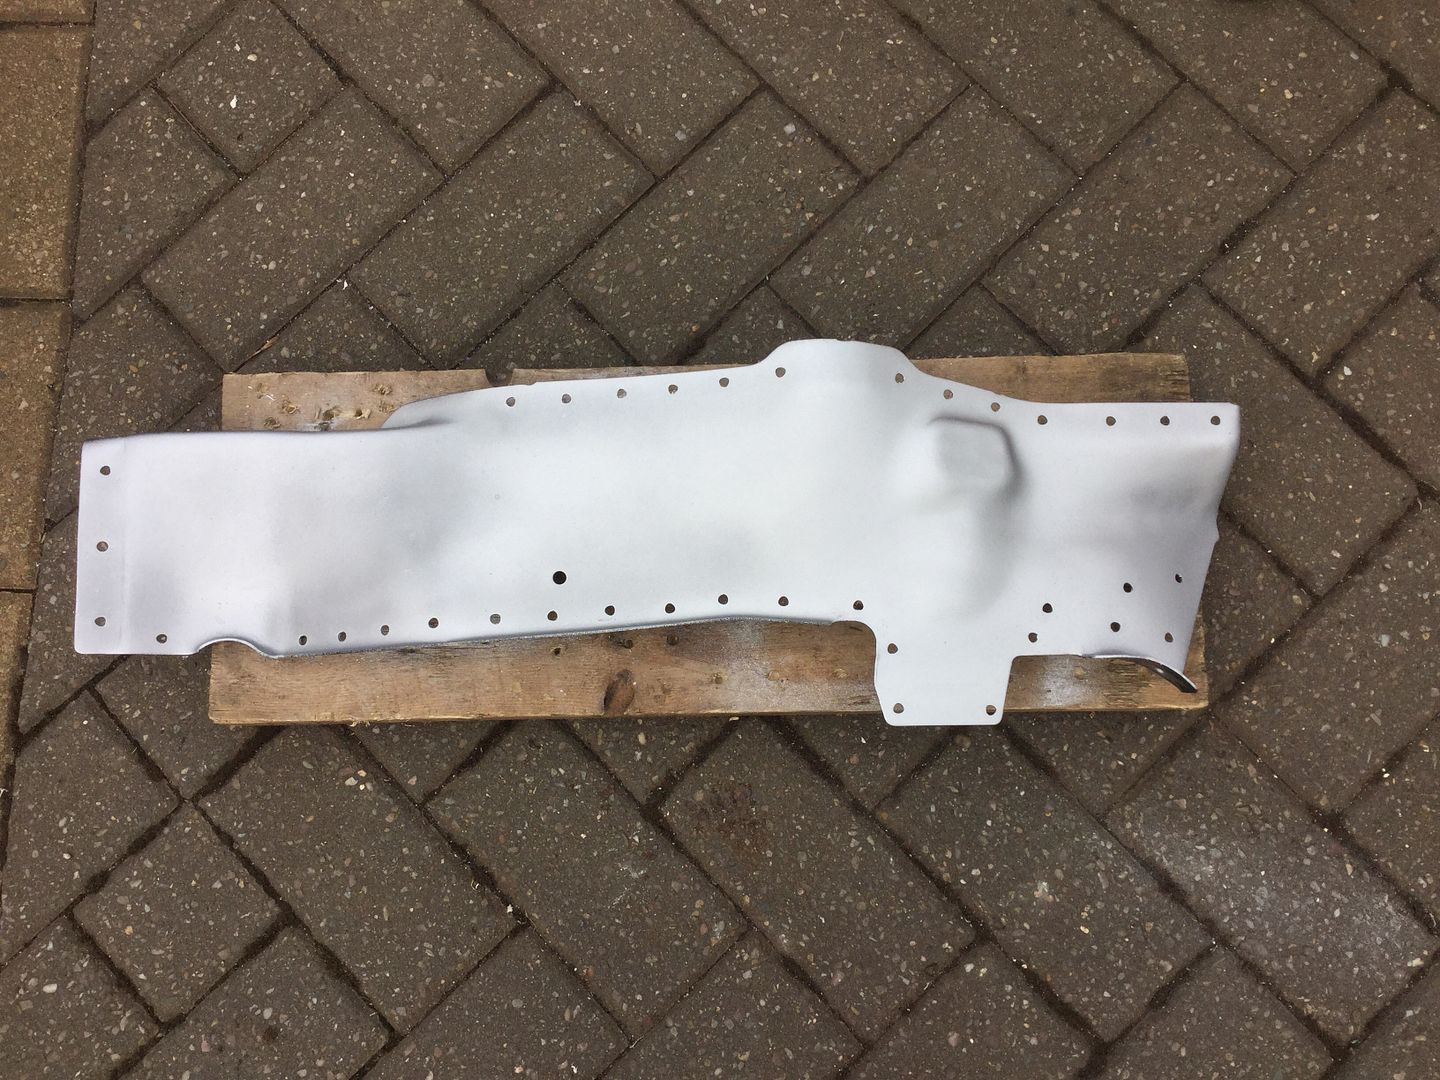
Zinc primed the back of the new panel -
And then I welded it in, I forgot to take pictures of the finished thing though so there's a bit of a jump here.
I then wire brushed the whole under arch back to bare metal and zinc primed the lot -
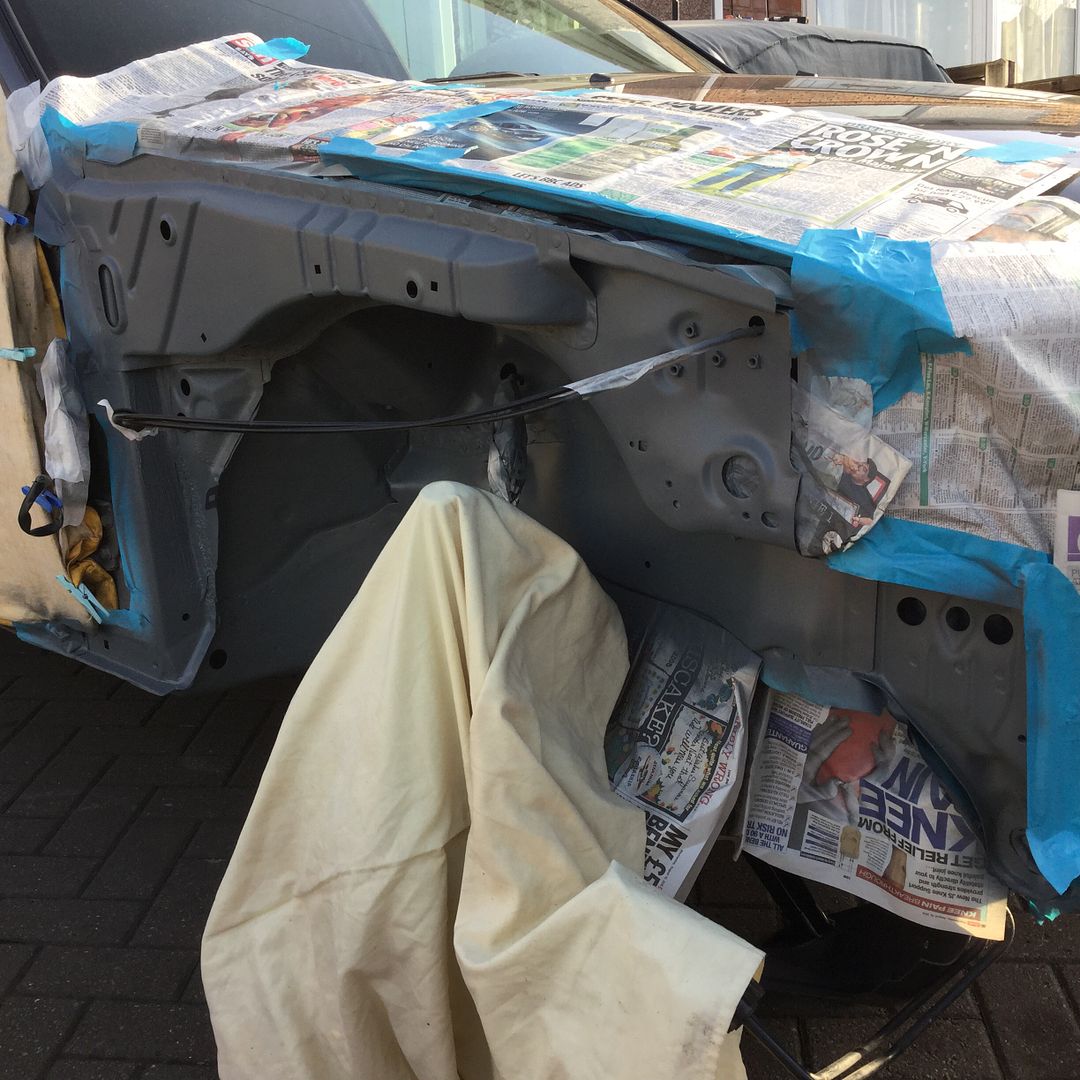
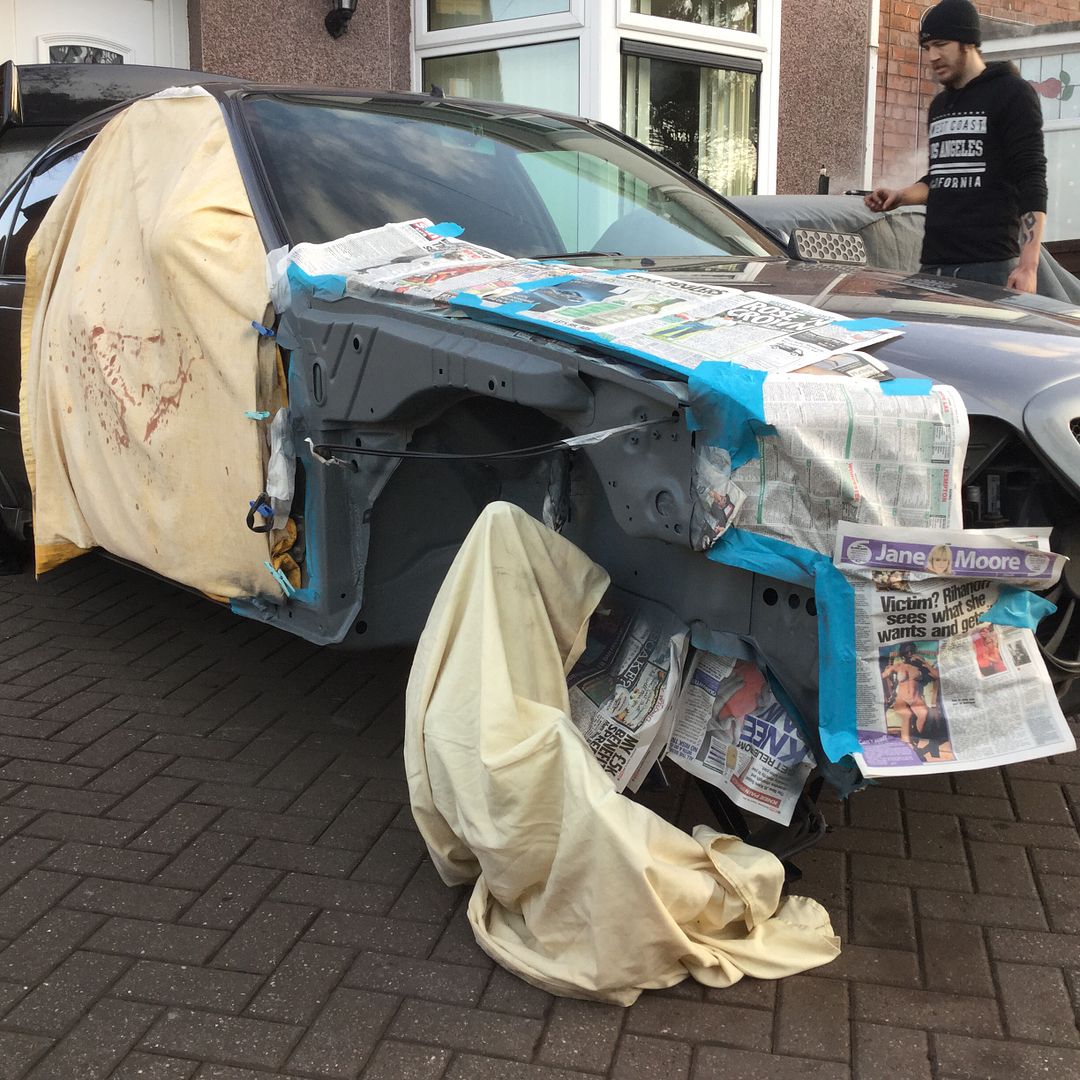
Next I used tiger seal to re-seal all of the seams and then gave it three coat's of Gravigard stone chip -
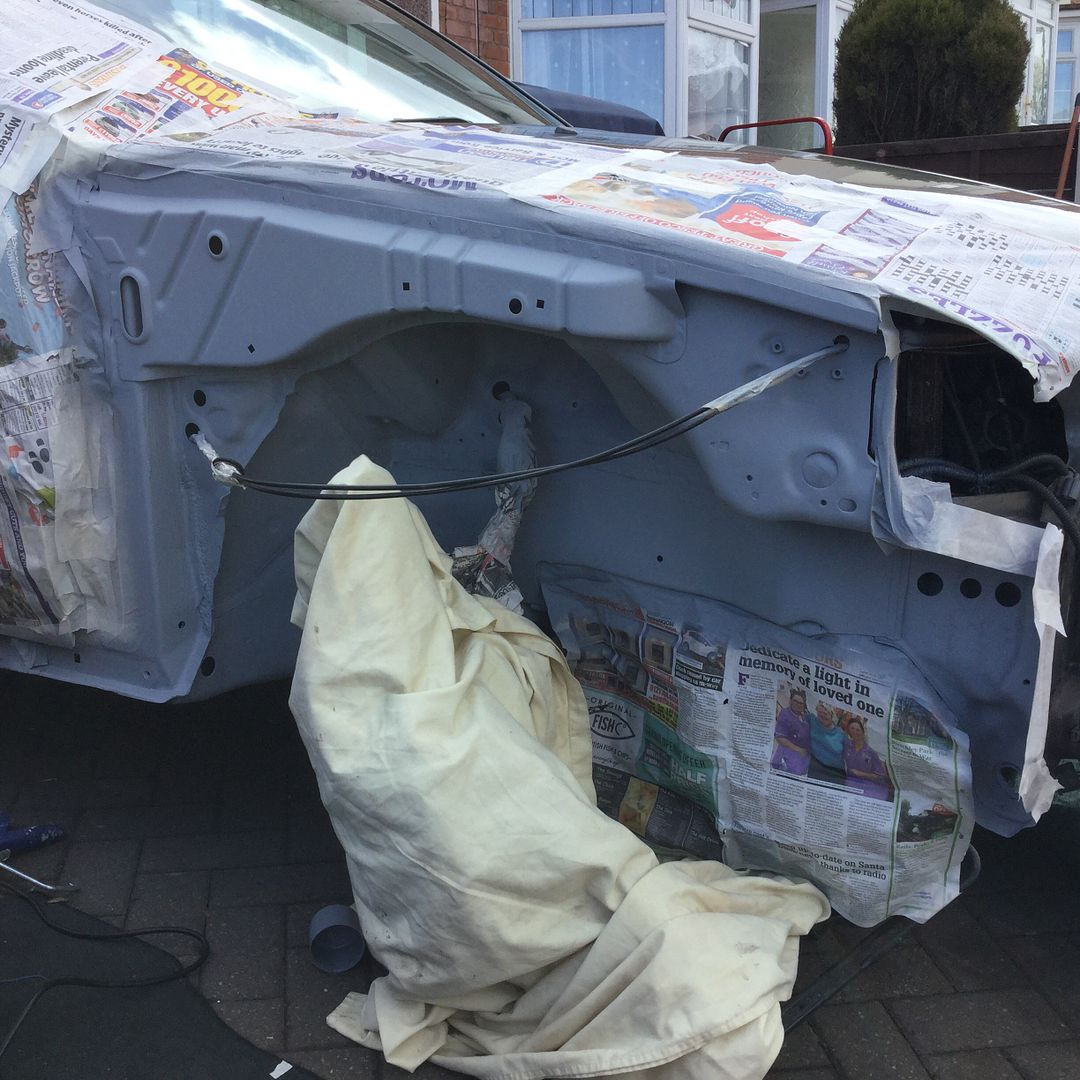
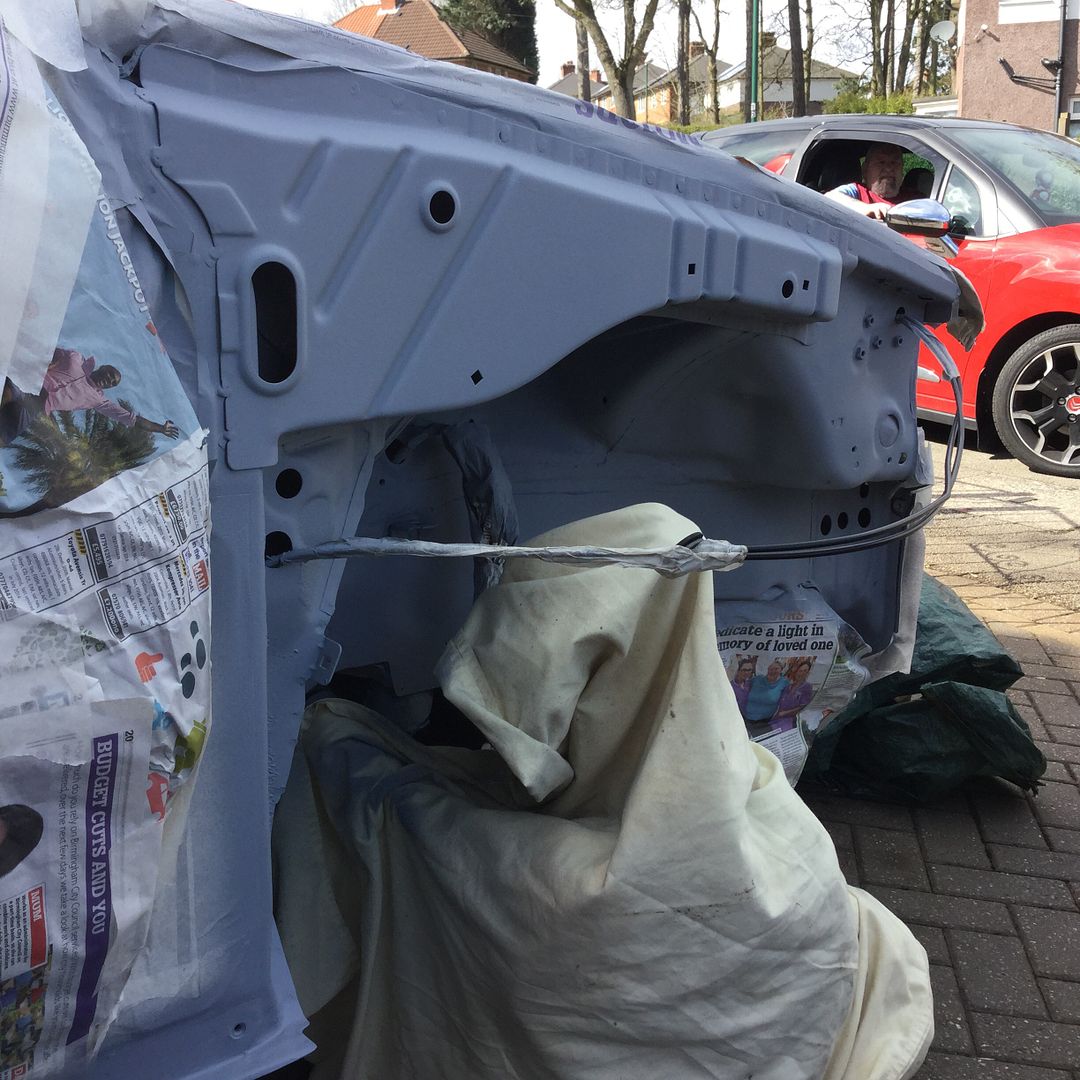
And then a couple of coats of X-Power Grey (or so it says on the tin) -
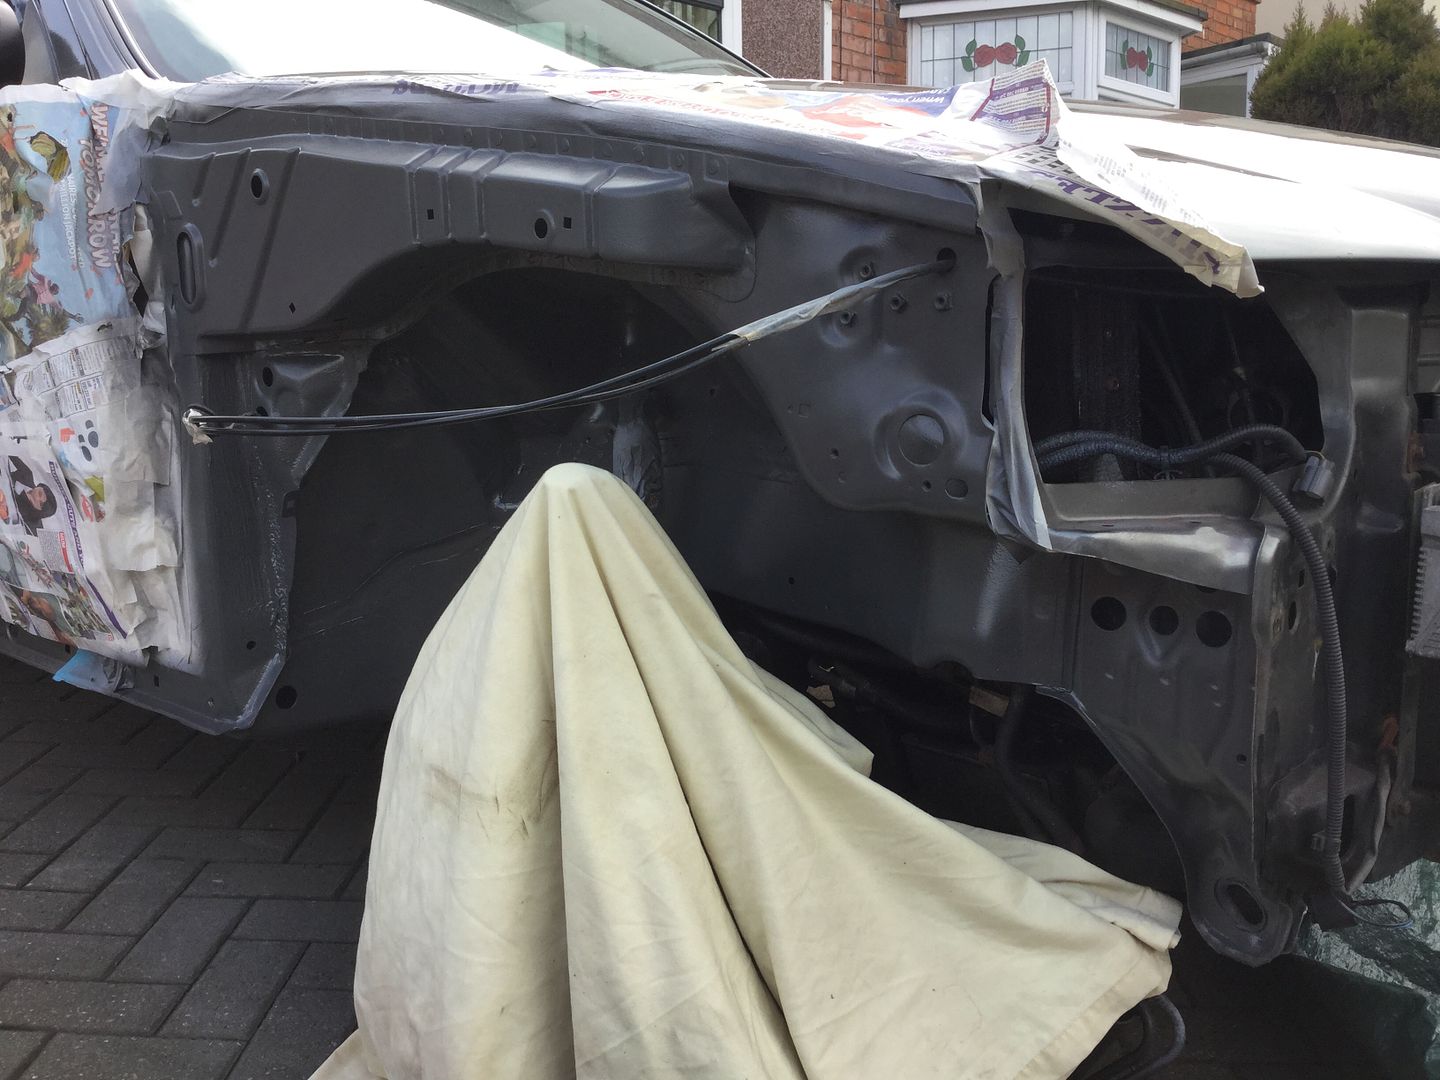
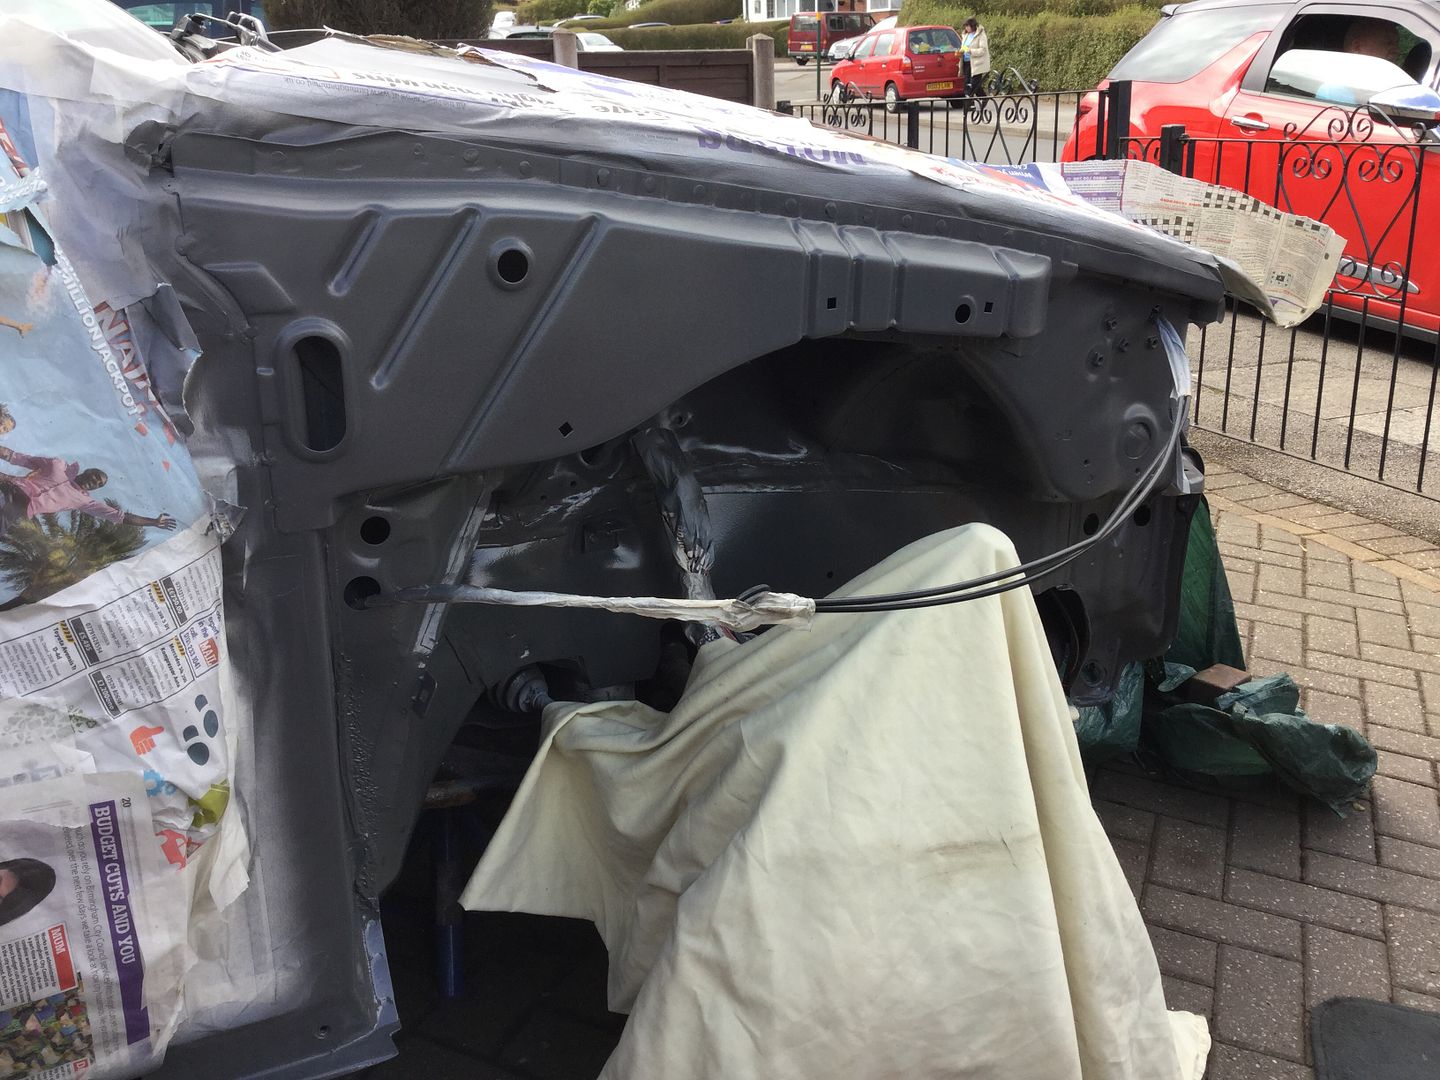
I've also given it a coating of Bilt Hambers clear wax and I've used S-50 in the cavities so she should last a good few years !
Just got to repeat it for the passenger side now, I've already removed the reinforcement panel in prep for the new one and the box section closing panel this side is looking in better condition -
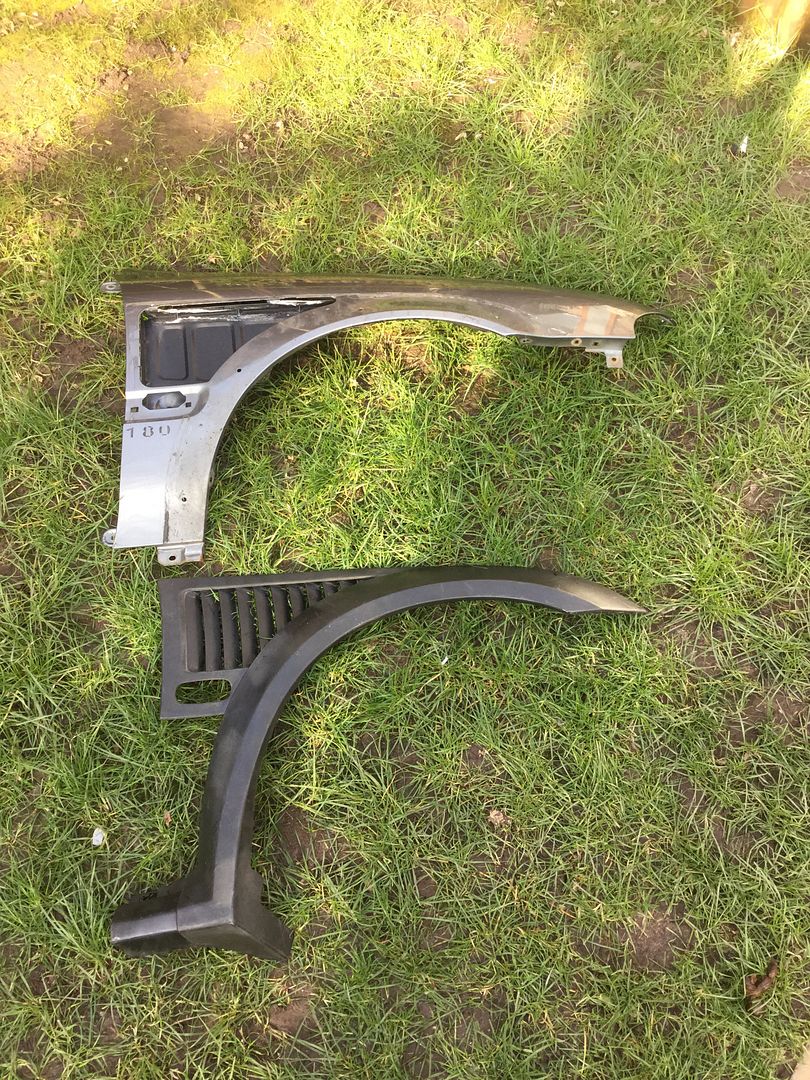
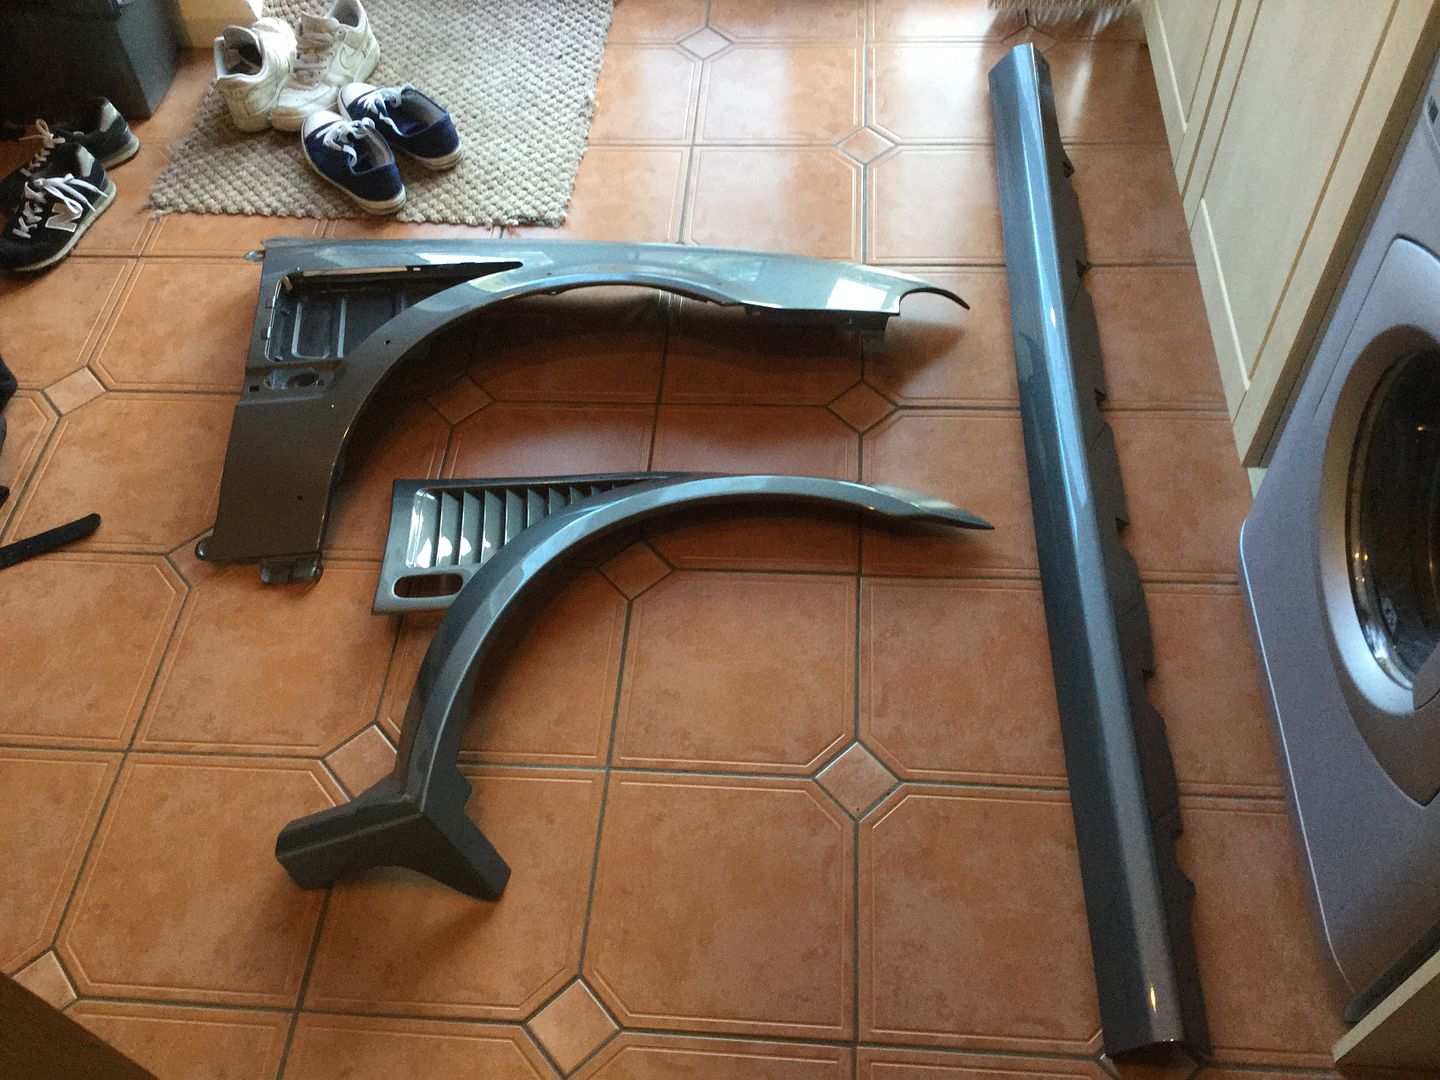
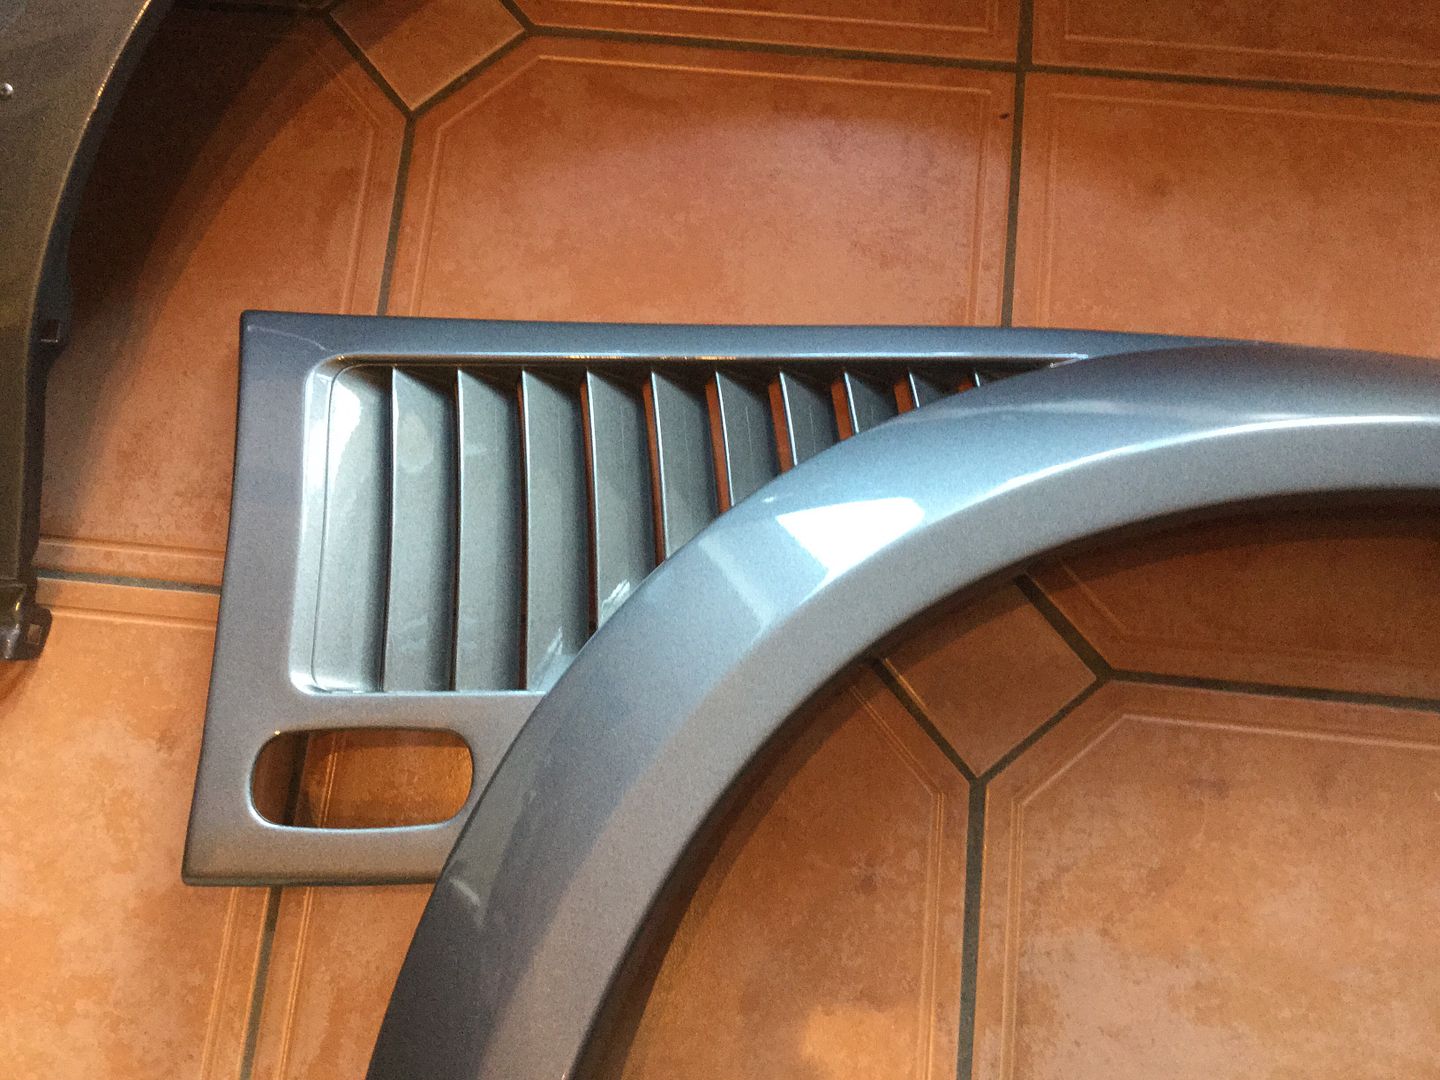
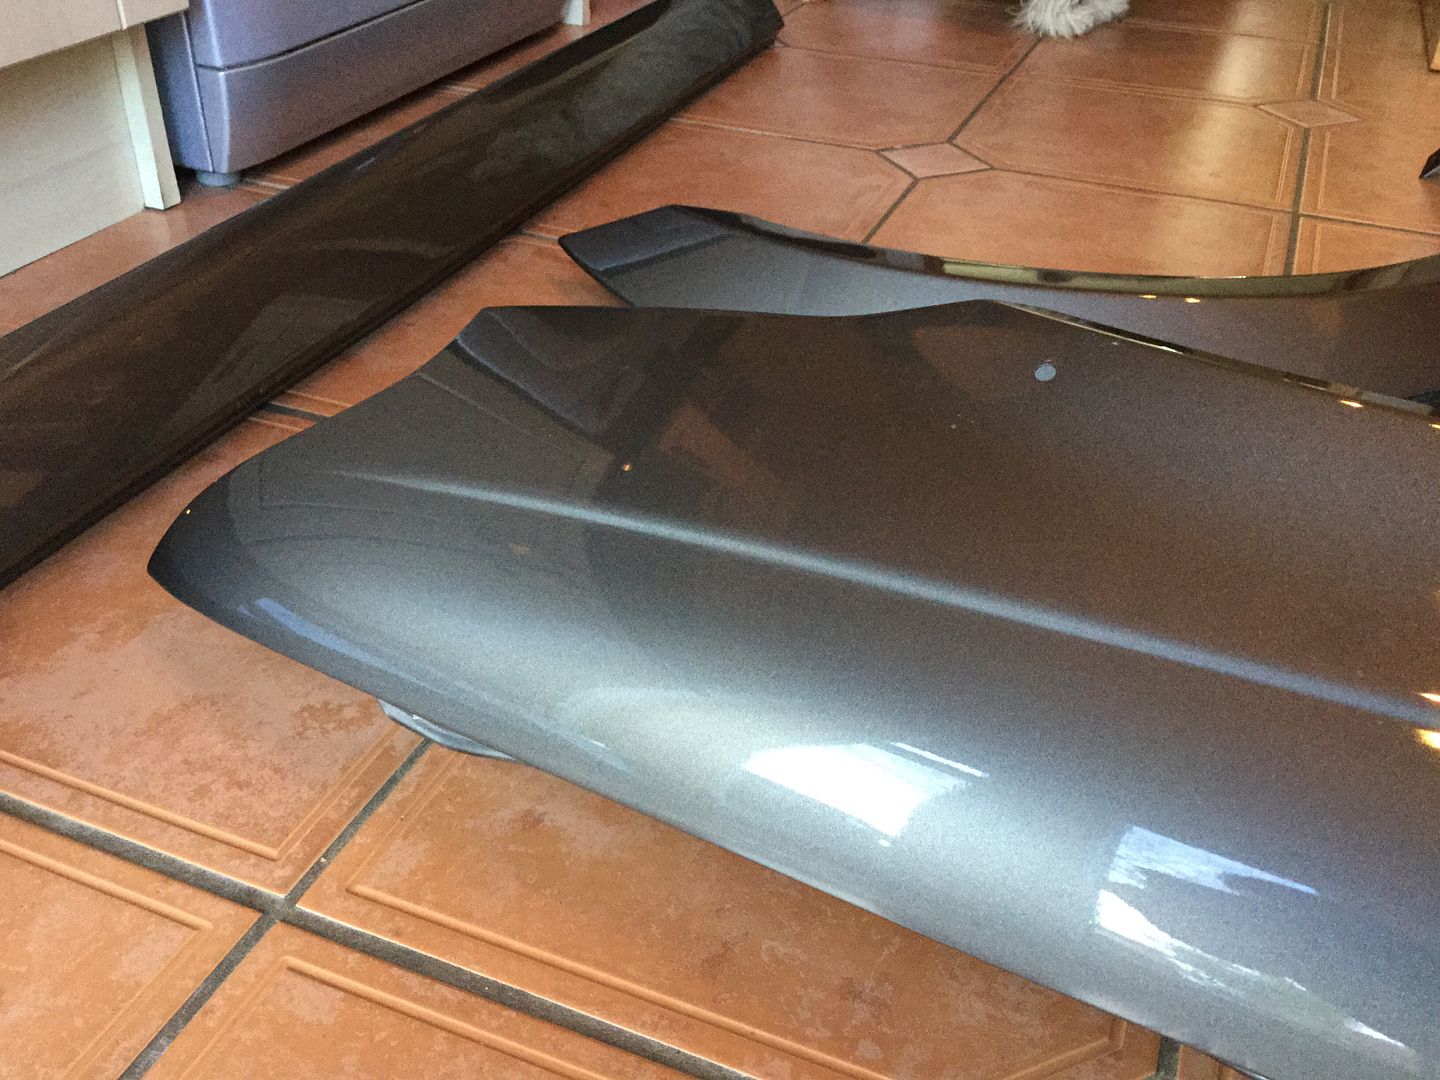
I've purchased a few other bits I required over the last couple of weeks too. When I removed the mudflap from the drivers side the body kit was cracked and ended up breaking off so I bought a new old stock body kit piece from eBay, here it is next to my wing -
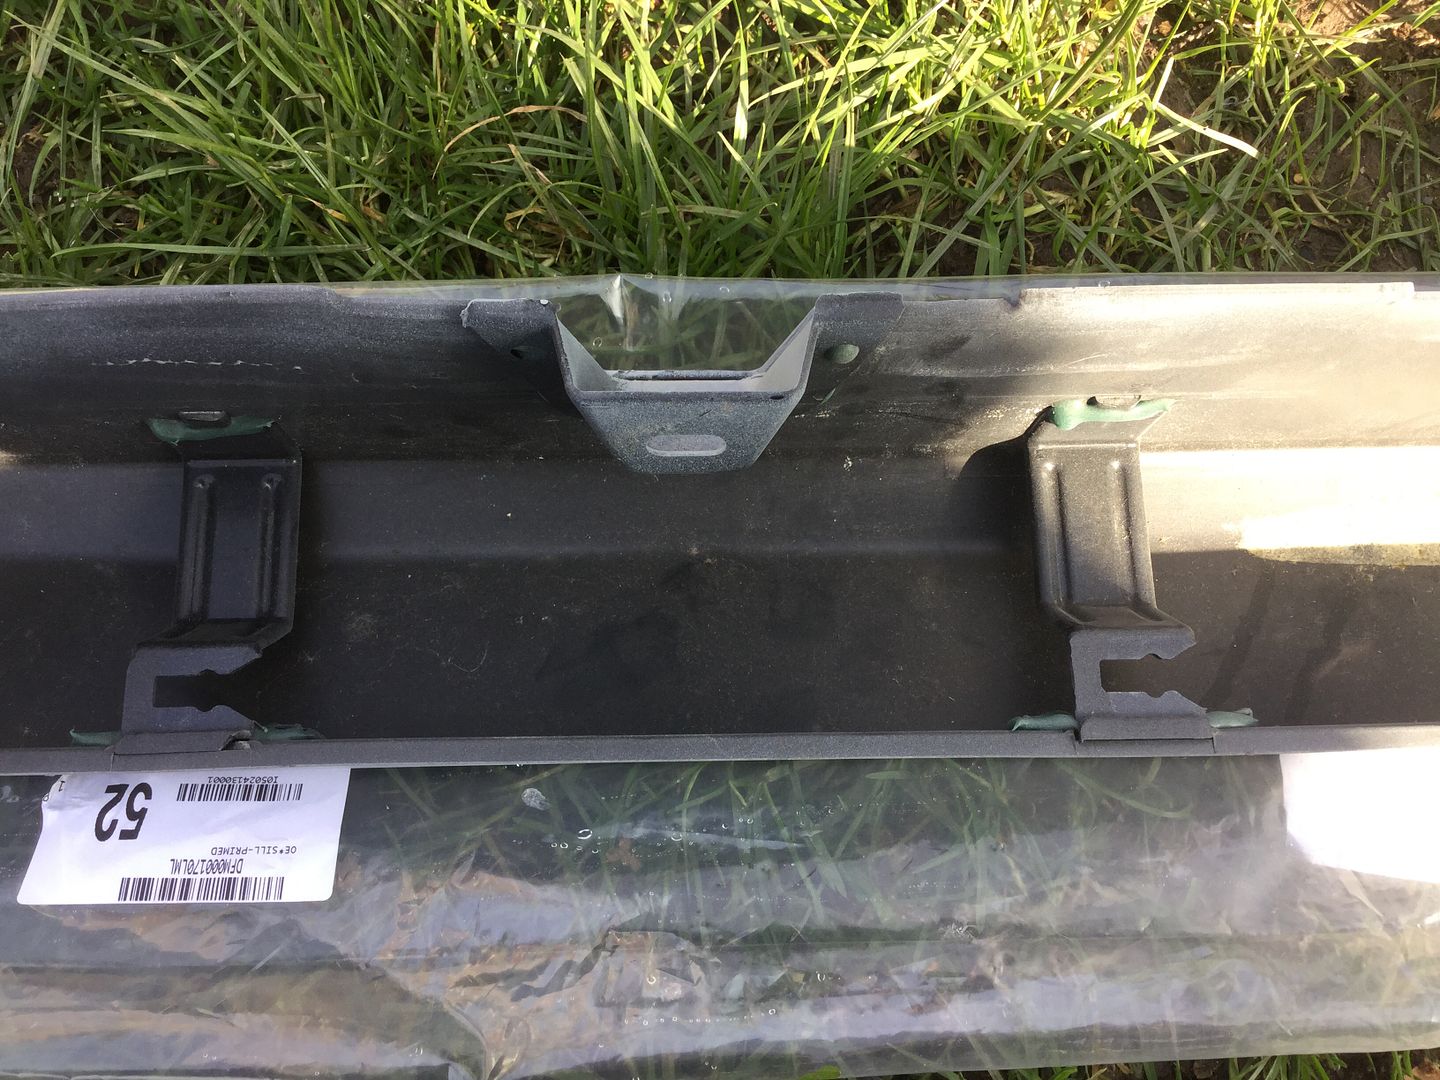
I also purchased a new passenger side skirt from rimmer brothers in primer for a whole £8.00, bargain ! -
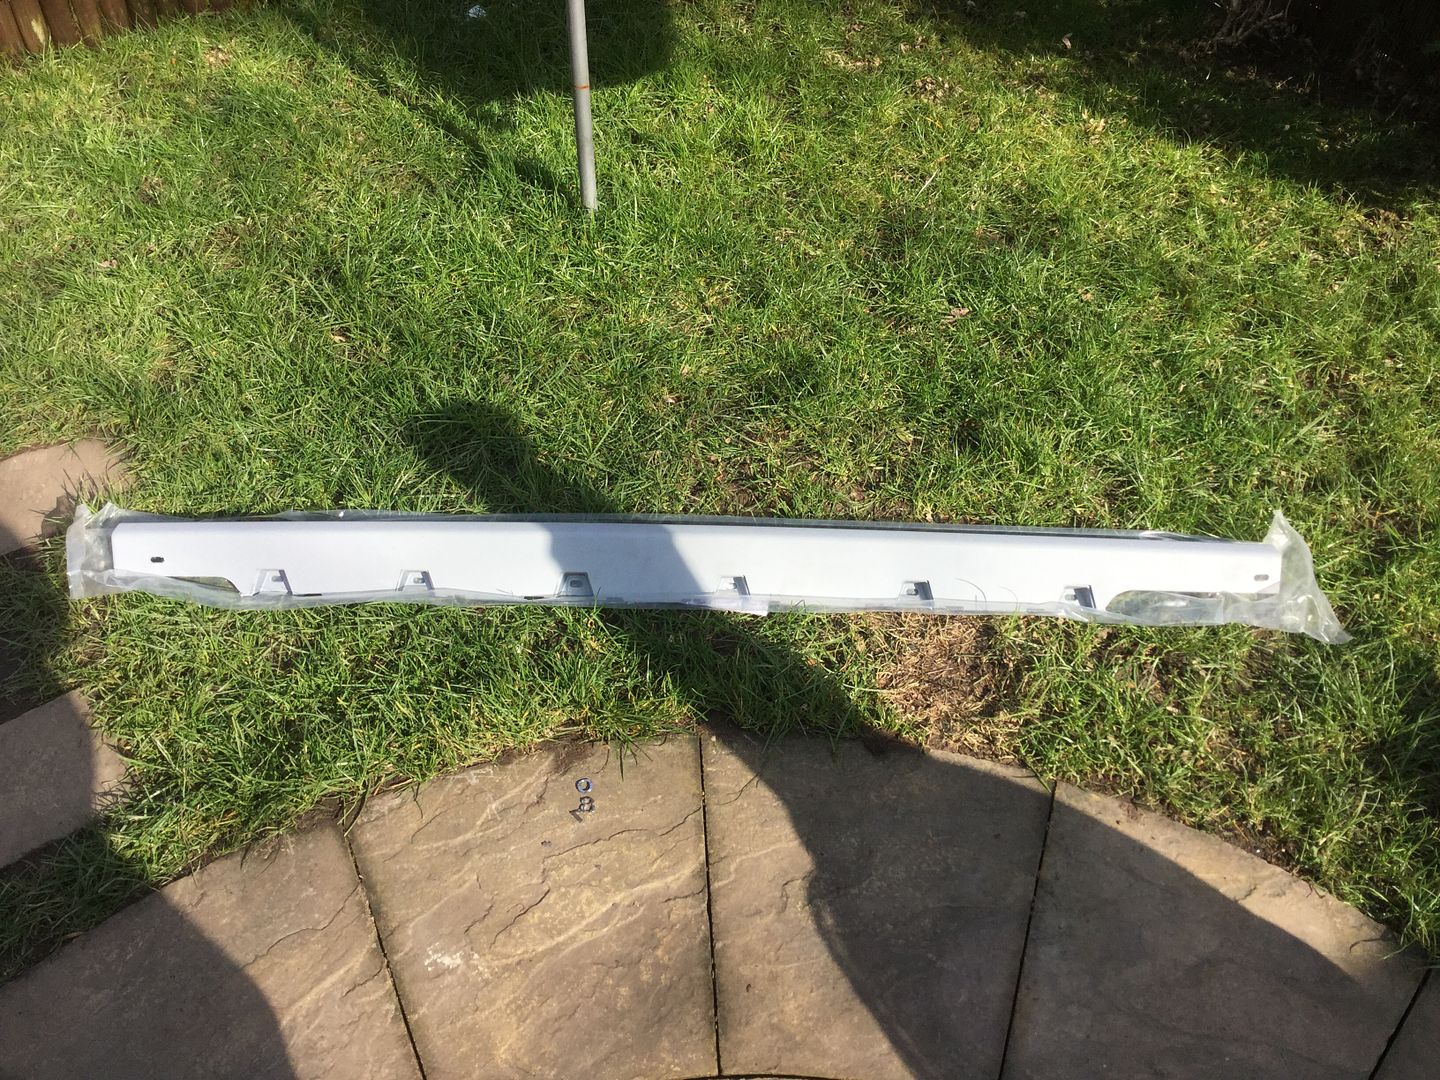
Funnily enough the clips have been replaced with plastic ones, must of been a known problem that the clips rusted to nothing so they changed the design I suppose -
I've now had both of those painted along with the R/H wing -
That's all the progress I've made so far, will update again when I've got the passenger side done !
Jay.