As the job is now finished I've decided to create a "how to" for the job.
I'll progress this in stages, adding pictures and text as I go.
So, the first thing you'll need is a Clio 197 diffuser, an 06 plate onwards is what your after, first picture below.

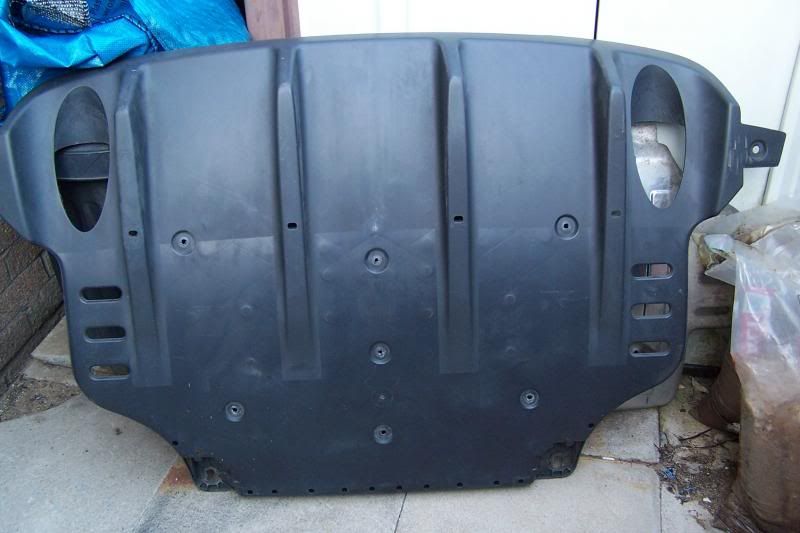
I sourced mine off ebay for about £75 delivered, there's a few on there at the moment ranging in price from £65 to £175, as standard it comes with a tin heat shield which may or may not be present, for a ZS it won't be required.
Before doing any trimming of the diffuser, you'll need to cut the bumper, usefully if you follow the moulded line of the section at the bottom of the bumper it will leave exactly the right shaped aperture for the diffuser to sit behind, when I did mine it was part of a repair on the bumper so it was just in primer, I reckon with some careful trimming and rubbing down you could very likely avoid damaging the paint, so avoiding the additional cost of spraying the bumper, cutting the bumper also sacrifices the 2 lower bumper mounts, the ones that normally connect to the rear edge of the spare wheel well.
I would recommend when you make the cut leave the bumper fitted to the car, it retains its shape better for the next stage which involves cutting some sections out of the diffuser, and beginning the fitting process.
Just on a side note the Janspeed type dual outlet system will fit the holes in the diffuser with no modification, I was going to use Prospeed for a custom build of the dual system, but Dan gave me the heads up a used system on ebay for a £120 which i snapped up.
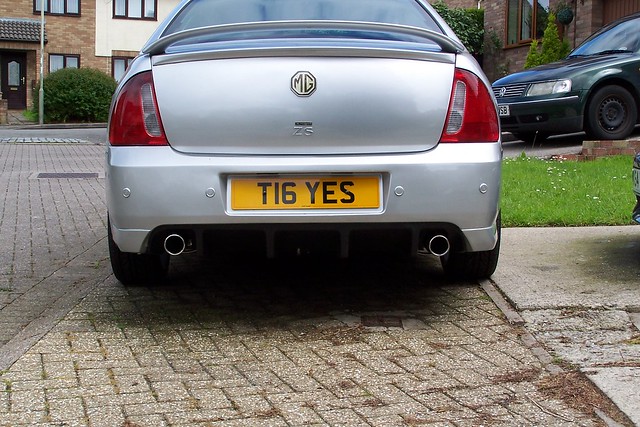
Hopefully you now have a diffuser shaped cut out in the bottom of the bumper.
Like this.
Now it's time to turn our attention to the diffuser, as standard it is too wide to sit inside the bumper, and the back boxes will stop it sitting correctly, when it's fitted, on the Clio the tail pipes exit from a central silencer box so clearance isn't an issue, on the zs dual systems the tailpipes have a silencer each side.
There are 3 areas that need trimming to ensure a good fit, the first is the rear locating tabs, they need shaping and reducing in size.
for the next series of pictures you'll need to compare them with the diffuser I posted earlier to see whats been cut, I haven't included measurements because I did it on the basis of trial fit, cut a bit, trial fit again until I arrived at the right size.
The first pictures are of the trimmed rear tabs.
Left hand one
Right hand.
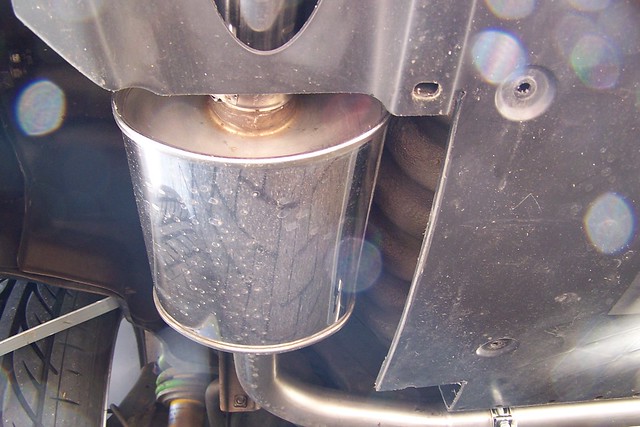
Next up are the sections removed to give clearance for the rear boxes, again Left and Right shown.
Left.
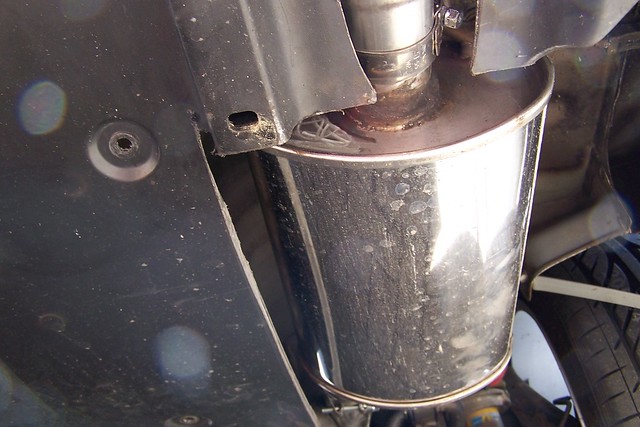
And right, the eagle eyed will spot the size of the cut out is different between left and right, this is because the right silencer box is longer than the left so requires a slightly larger cut out.
And finally the front mounting tabs, there was no adjacent bodywork to bolt these to, and they got in the way of the pipes so had to go.
Left one.
Right one.
That takes care of the cutting required to make it fit, so now it's the how too attach it to the car.
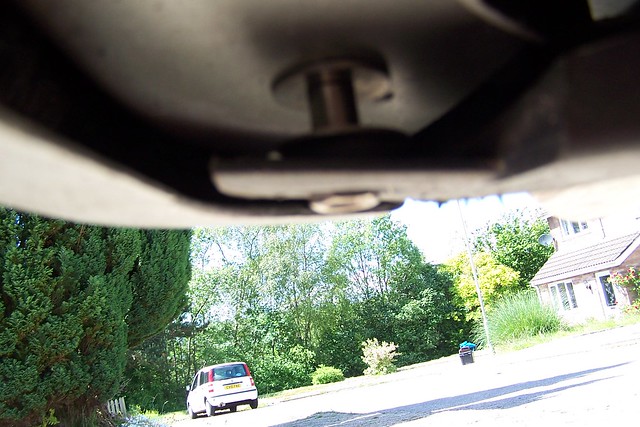
I used ratchet type clamps on the rear tabs, and a block of wood and a trolley jack on the front edge of the diffuser to make sure it was snugly fitted against the spare wheel well.
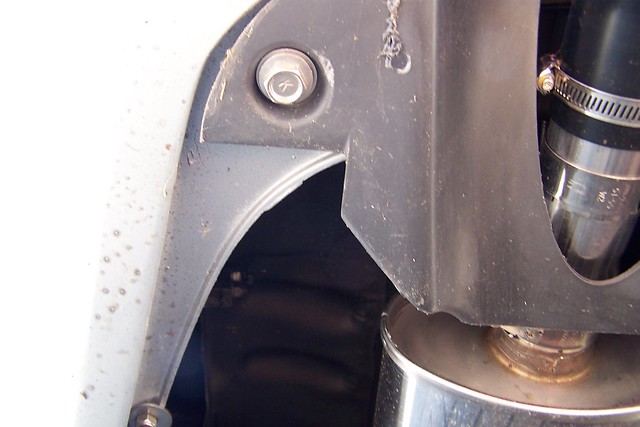
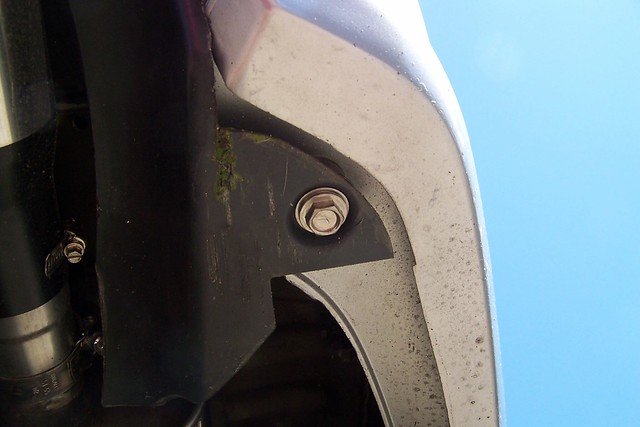
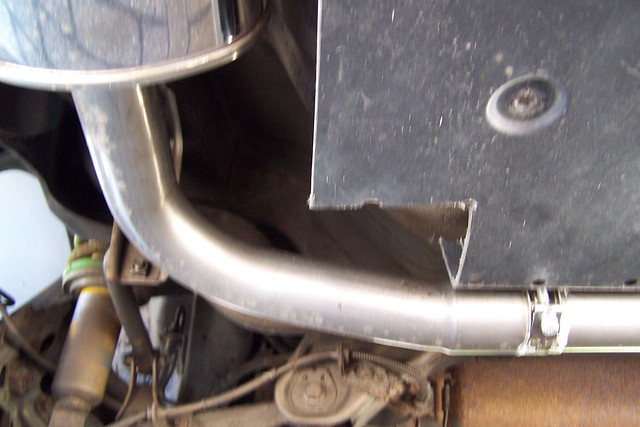
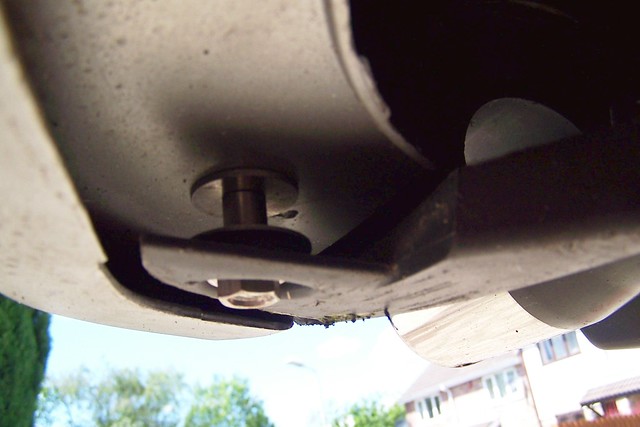
Once you have it clamped you need to check that the diffuser is central in the cut out on the bumper, some measuring and by eye judgement will be needed, also make sure the diffuser is far enough back to sit against the rear face of the bumper, once you are happy with the fit, side to side, and front to rear, it will be obvious that the diffuser is sitting too high in relation to the cutout in the bumper, this problem will be remedied by the rear mounts later, but for now it is time to mark the position of the rear mounting holes onto the bottom face of the bumper, I found a marker pen worked best, then drill a 10mm hole each side, and this is where the height of the diffuser in relation to the cut out gets corrected, I used M10x70 stainless flange bolts, some stainless penny washers, and a stainless Nyloc nut for the rear attachments, and also some 10mm I.D. stainless pipe to make the spacer that will go between the bumper and diffuser mount and make the diffuser sit correctly in relation to the bumper, the next few pictures show hoe the bolts, spacer, and washers should look when tightened up.
For the front mounting I was going to make a fandango bracket which fitted to the boot floor, but in the end went for a much simpler solution, by using one of the existing holes in the diffuser, and drilling a 10mm hole in the spare wheel well, the using another bolt and some washers to nip the front edge of the diffuser up against the boot floor, I only used one bolt centrally as the plastic is thick along the front edge, and is moulded with a lip to give it some rigidity, and strength, if you look at the original picture of the diffuser the hole I used is the most forward of the group of holes that run on the front to rear centre line of the diffuser, these holes were originally used to fit the heat shield to the inner face of the diffuser.
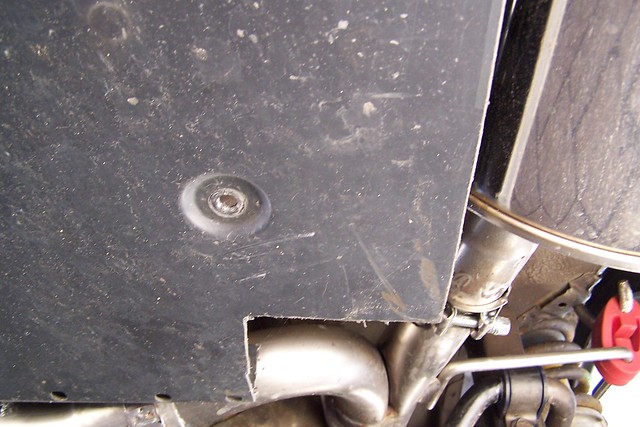
That is pretty much it for this guide, the only final detail is to make some small triangular fillers for the ends of the cut out in the bumper, these are to fill the small gaps that result from a slight difference between the profile of the edge of the bumper and the profile of the diffuser, I used some off the offcuts of plastic from making the cutout and plastic adhesive to do this part of the job, unfortunately because the bumper wasn't fitted they have cracked slightly due to the flexing of the bumper when I painted it, and also from fitting it back on the car, I'm not convinced that the filler pieces are 100% required as the gaps aren't obvious unless you look closely.
In this last picture you can see the cracks on the inner face of the cut out.

I hope this guide will be useful for anyone else who goes the diffuser route, if any more pictures, or expanation is required just yell.


 Linear Mode

