Tried to cure the rear bumper sag, got a good results in the end however I could do with a new rear bumper as sometime in its life the car has had a tiny knock enough to pop in the bumper on one corner (which I had realised ages ago).
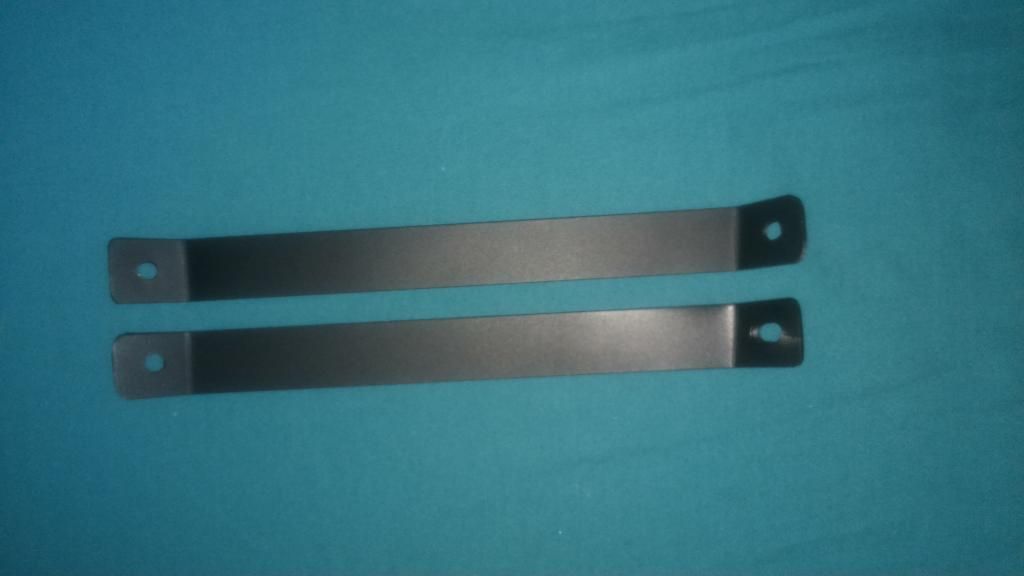
Made some support brackets to replace the plastic ones MGr used and Rimmers want £80 for (only used one ofcourse).
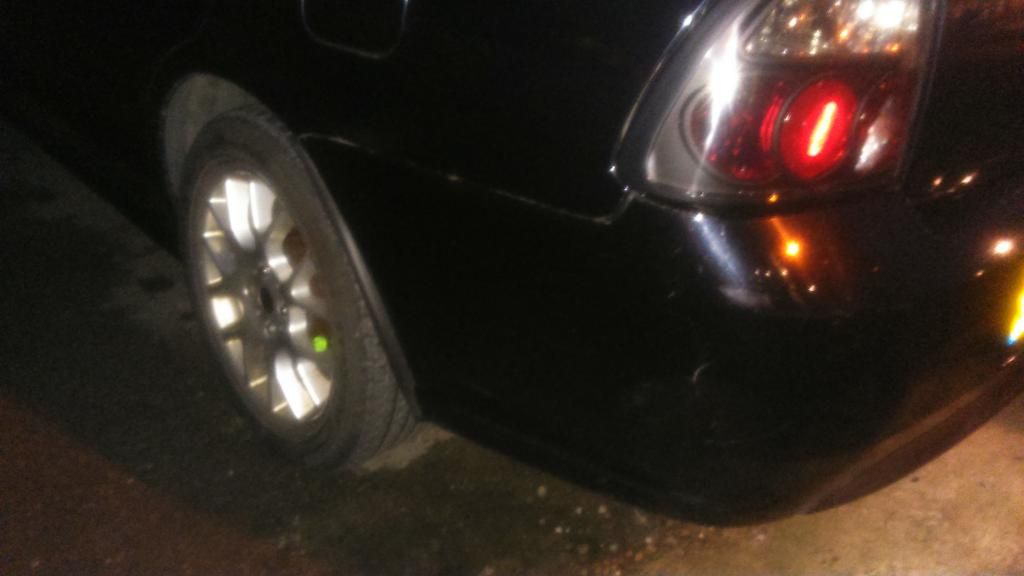
Allot of muck behind bumper
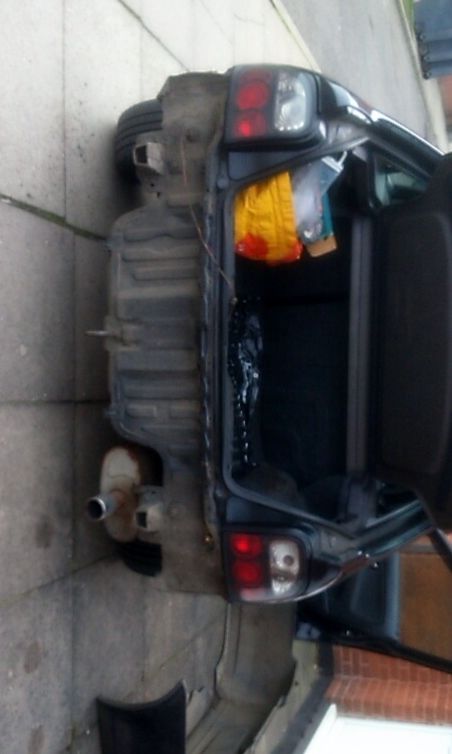
So cleaned it
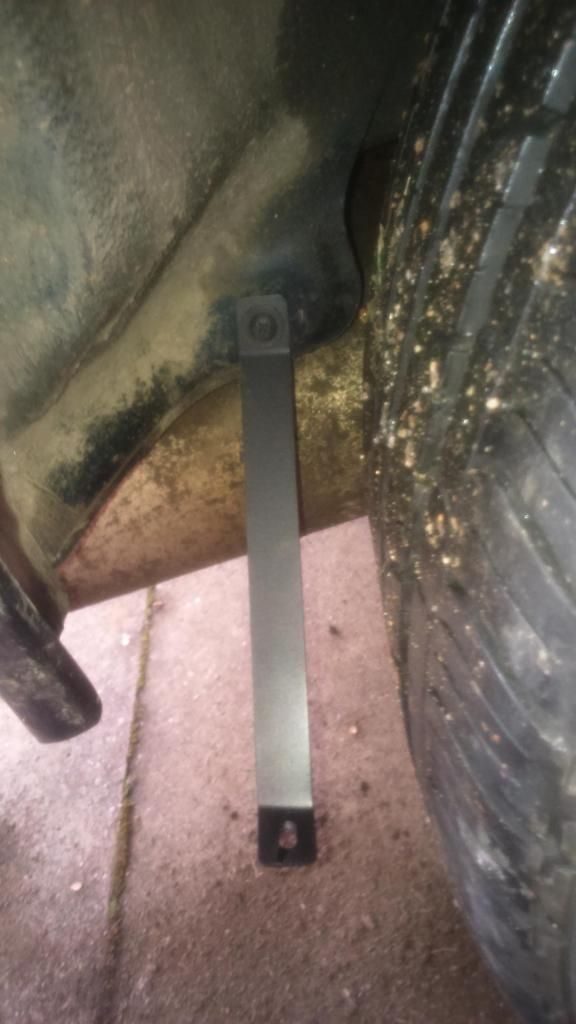
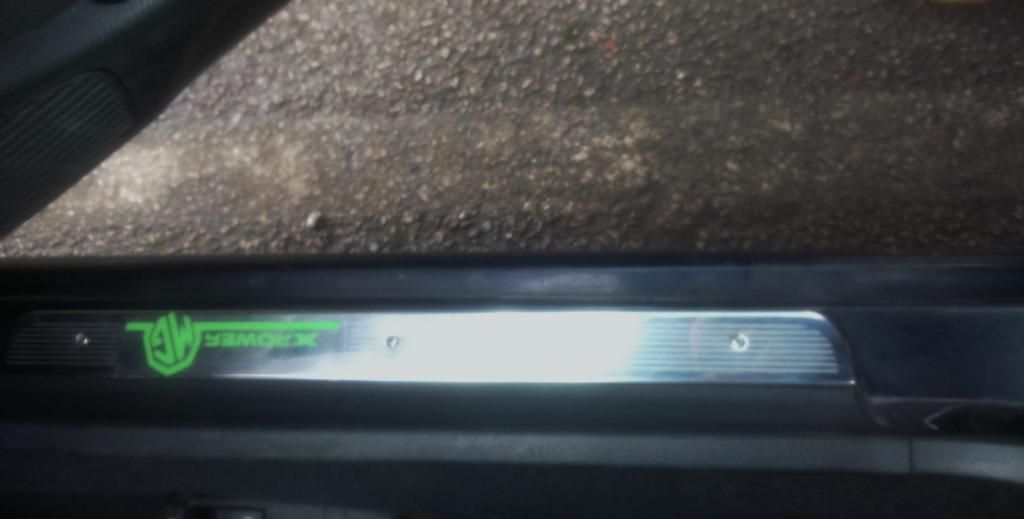
Side clip fix


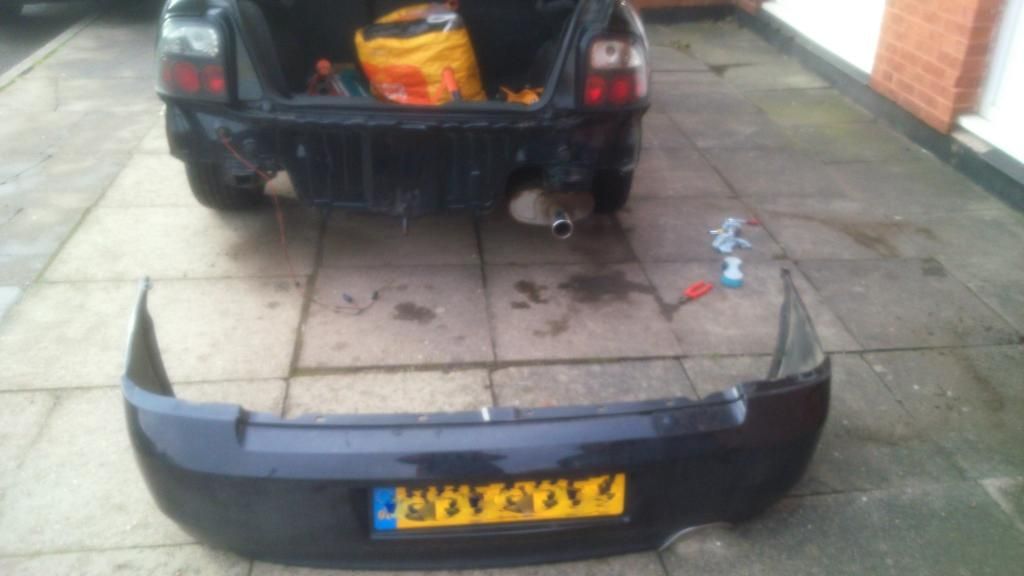
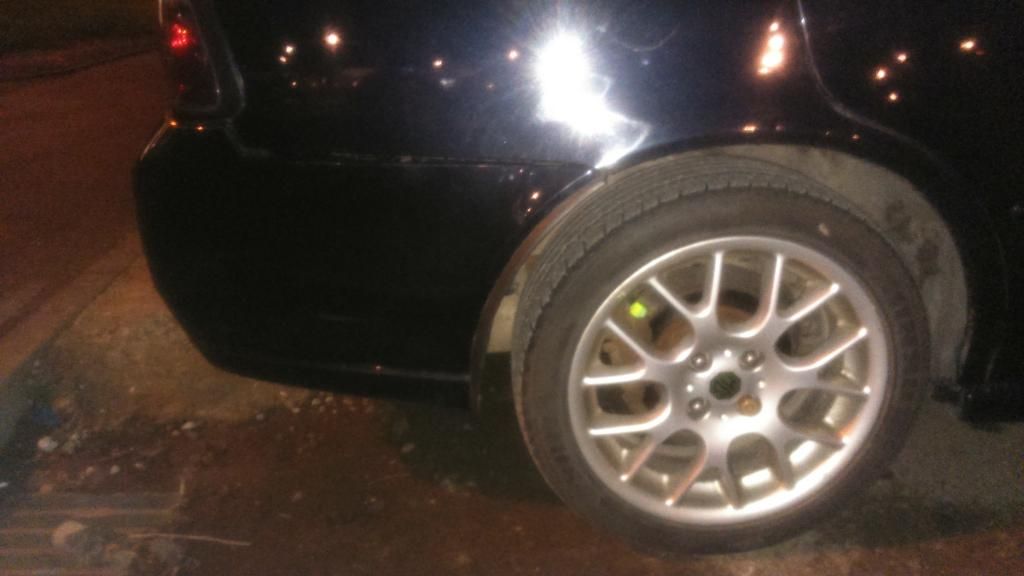
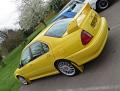
End Result after a car wash trip


 Linear Mode

