theMGZS.co.uk   Navigation

AboutNews Flyers Forum Events Home

Home
Go Back   theMGZS.co.uk :: MG ZS forum > Galleries > Members Cars

Reply
 
Thread Tools Display Modes
Old 27-03-16, 06:36 PM   #61
Big-Jay
Member
 
Big-Jay's Avatar
 
Join Date: Jan 2016
Posts: 121
Big-Jay has a spectacular aura aboutBig-Jay has a spectacular aura about
Ok guys,

Big update !

Carrying on from where I left off, I cut out the rot from the jacking point -


I gave the inner sill a good wire brushing back to bare metal where it had corroded -


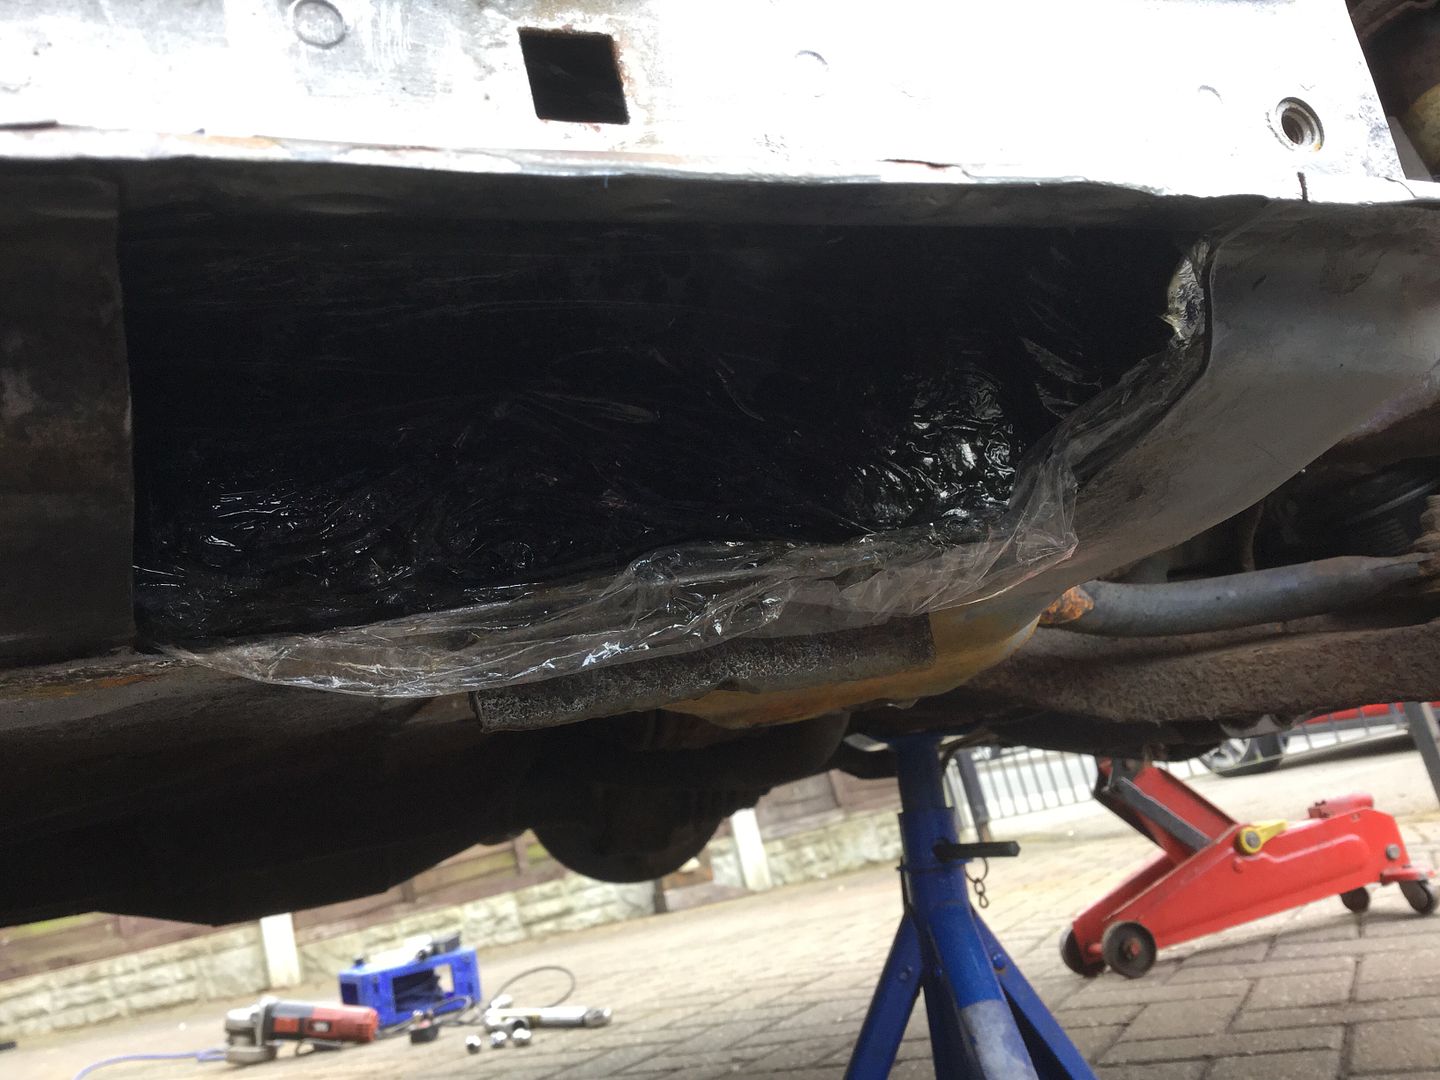
Then I used some Deox Gel to remove any left over rust -


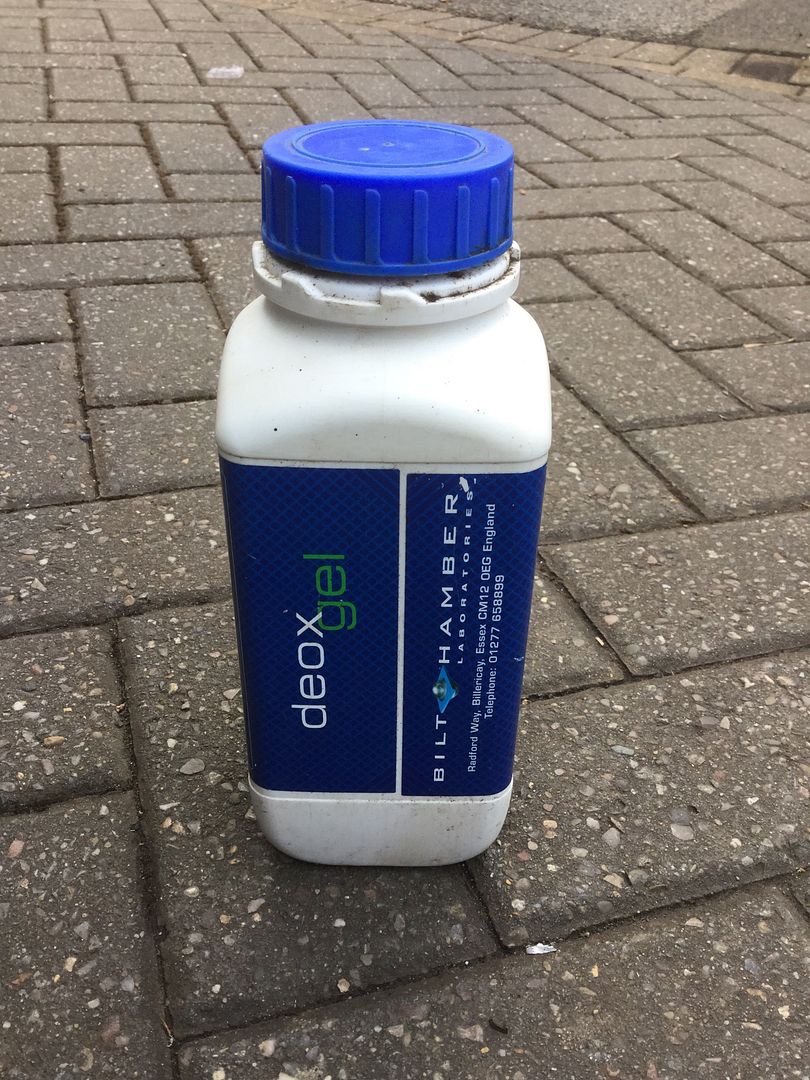
Left it to soak over night under some cling film so it didn't dry out -


Zinc primed after the Deox Gel had done its thing -


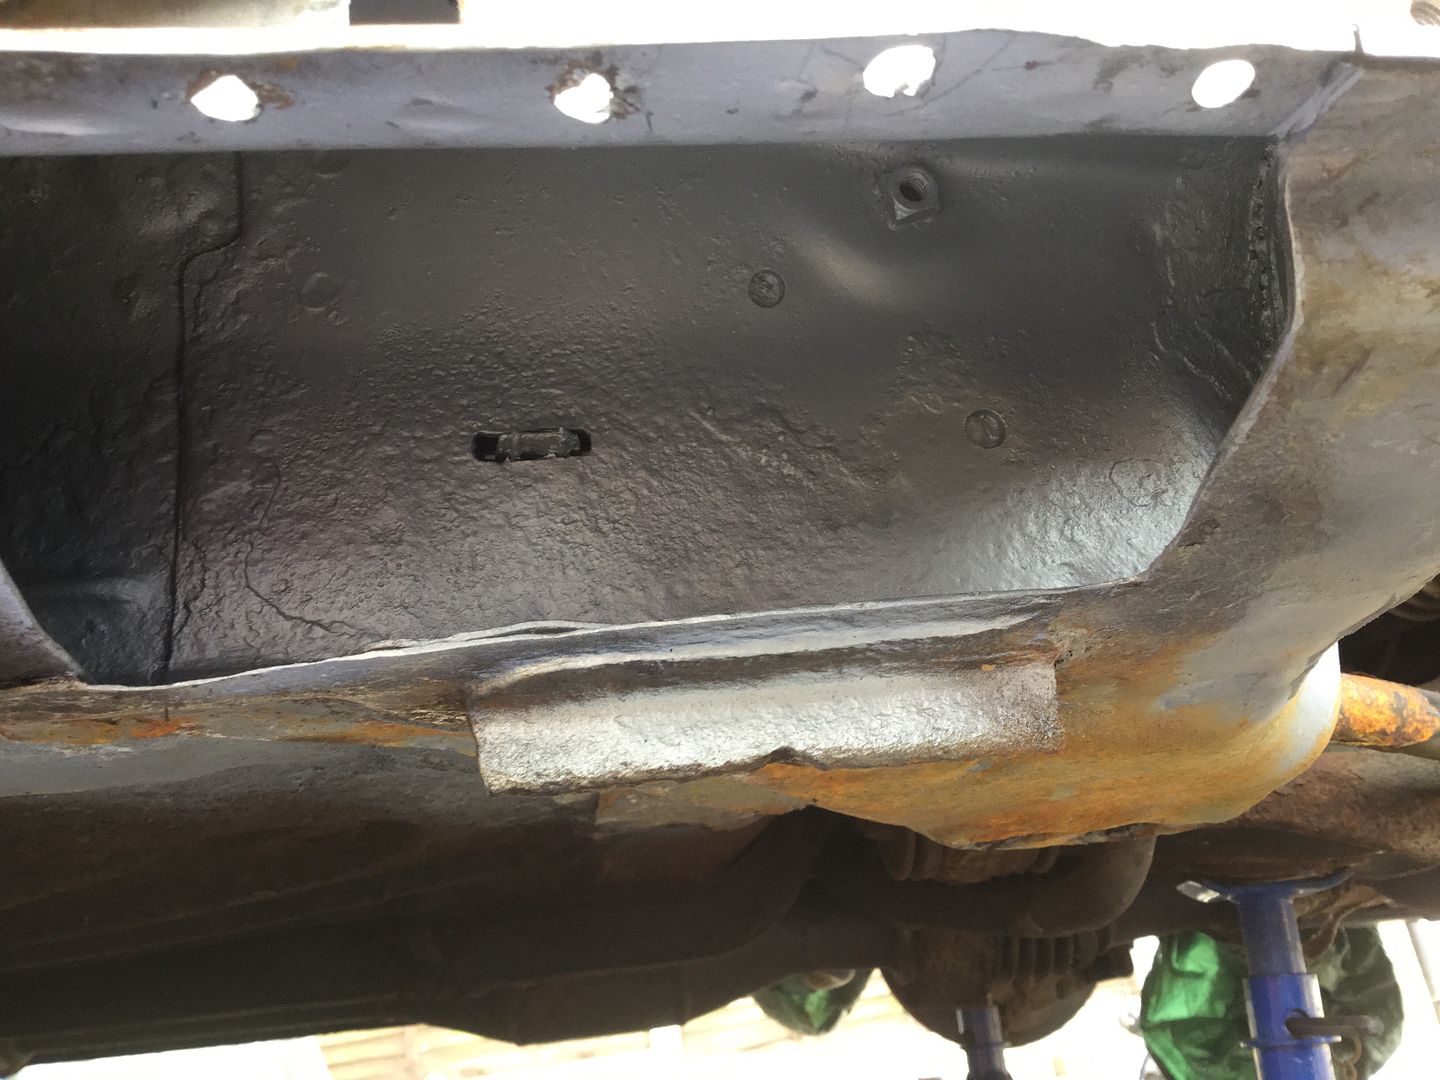
Plate made up, welded in and she's nice and solid again -


Rinse and repeat for the passenger side -


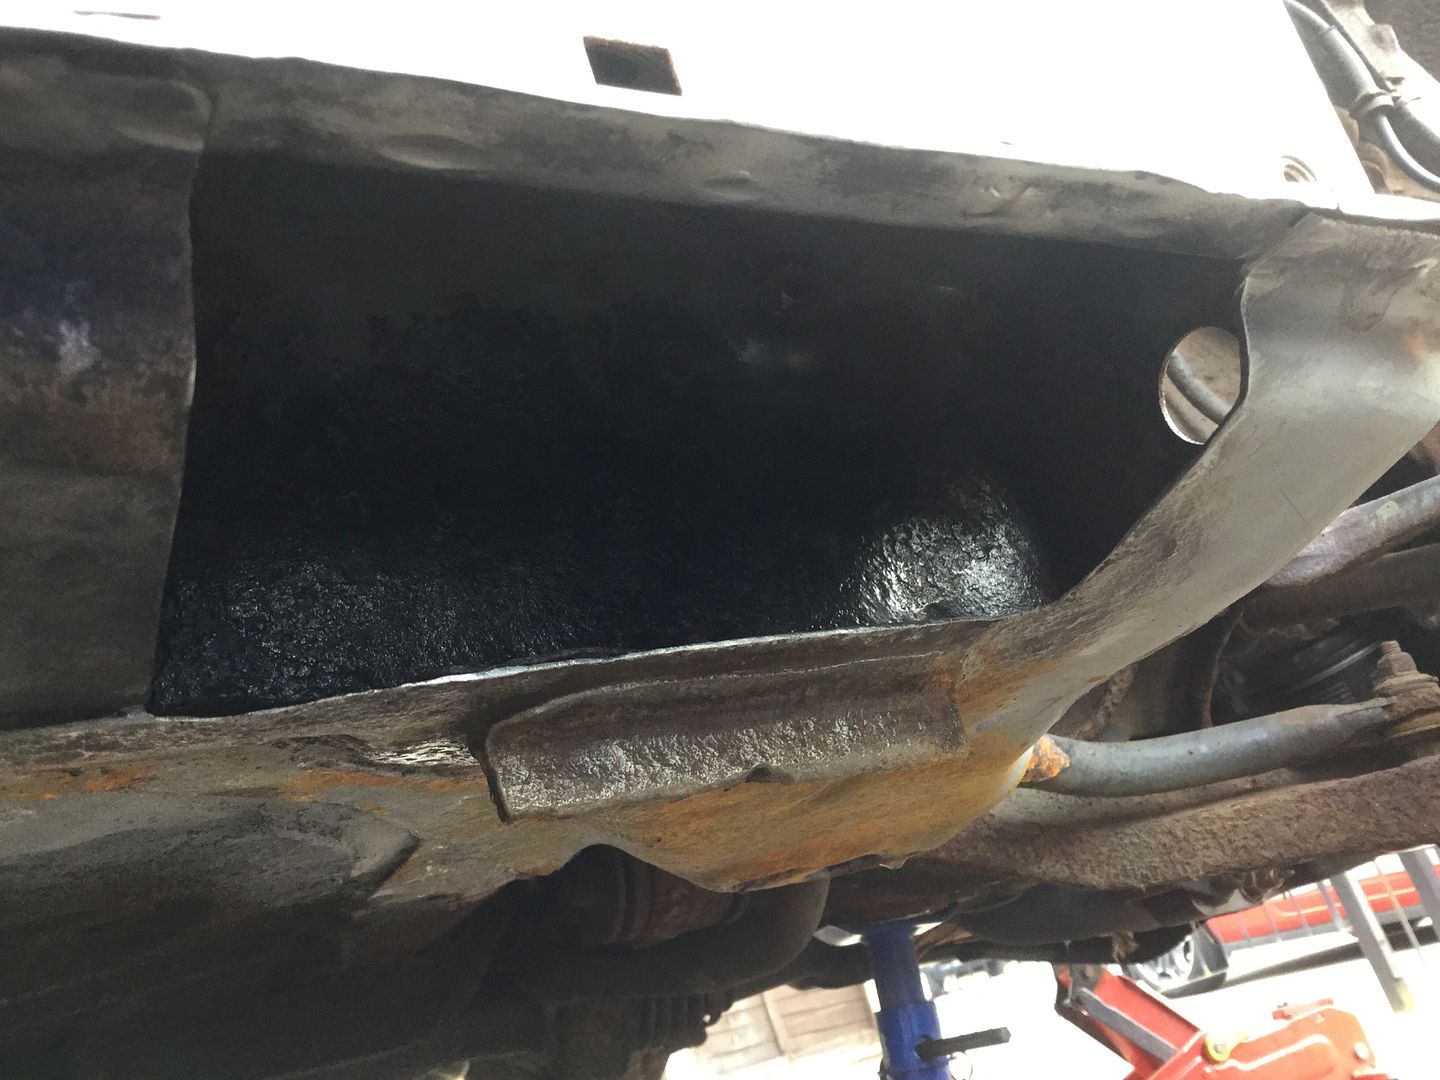
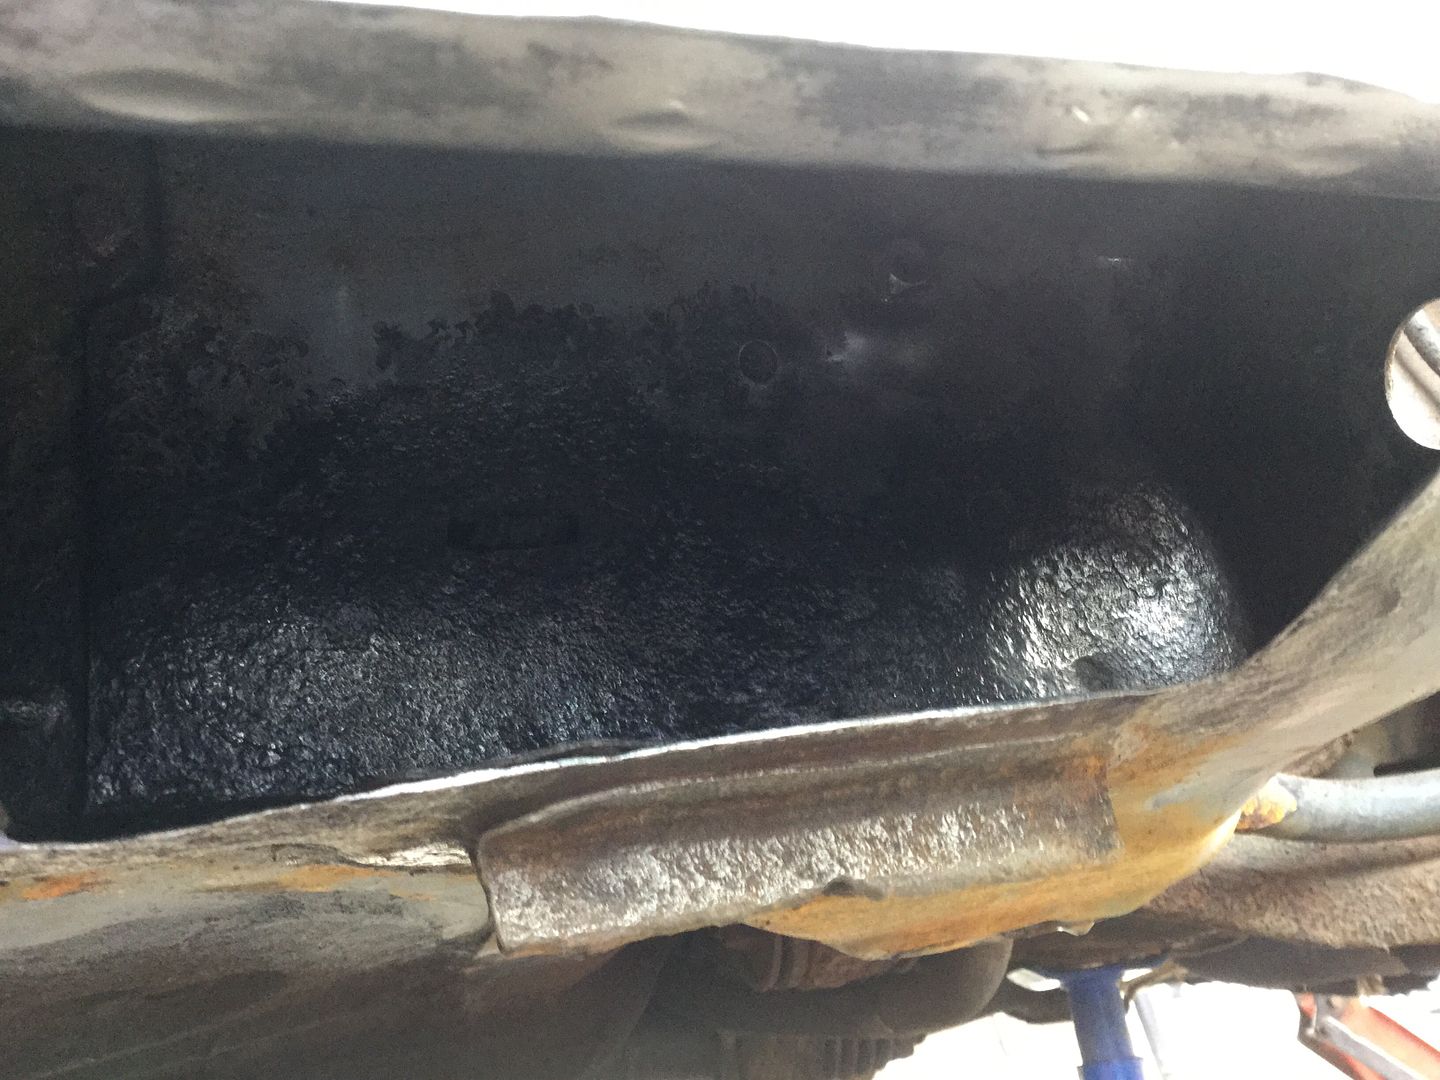
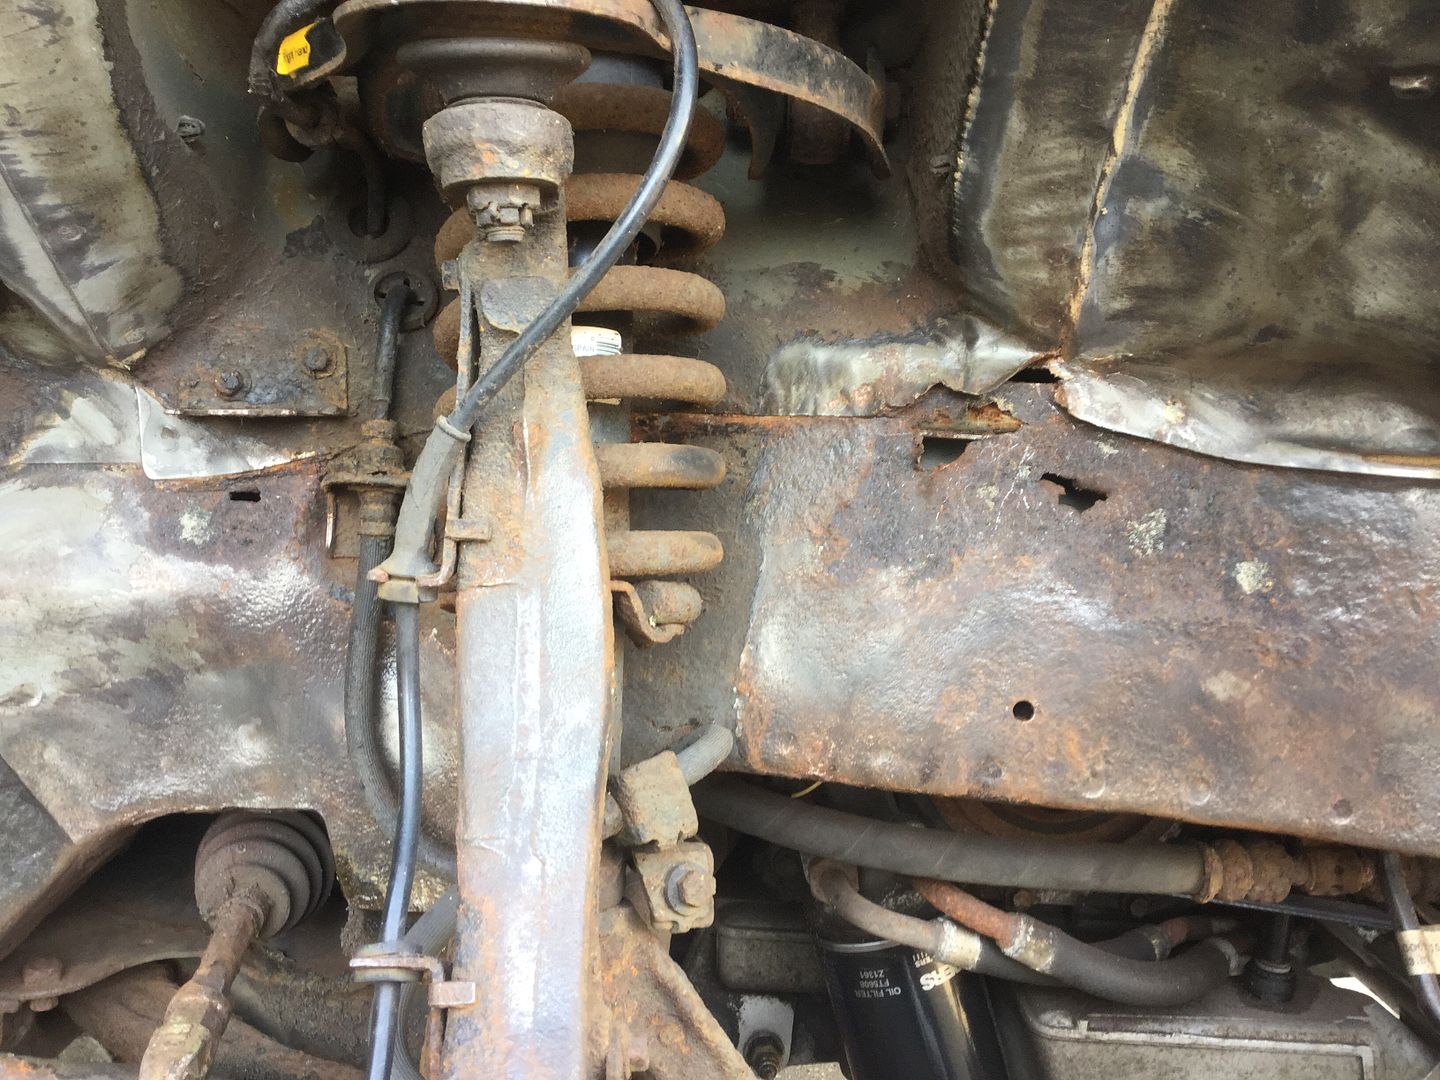
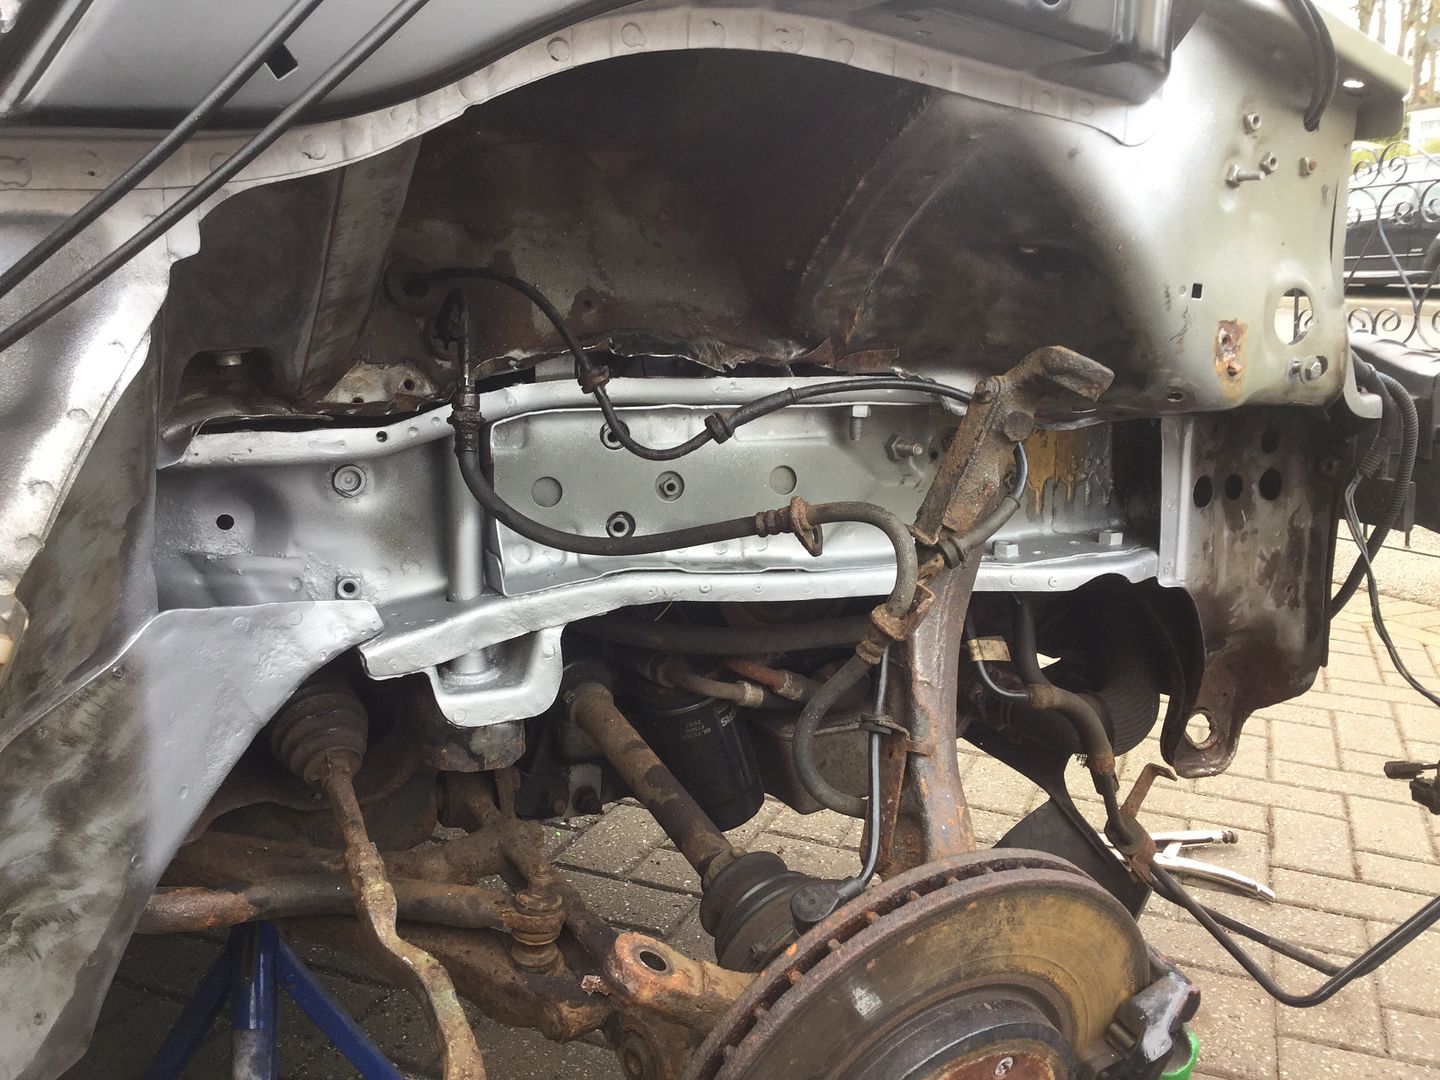
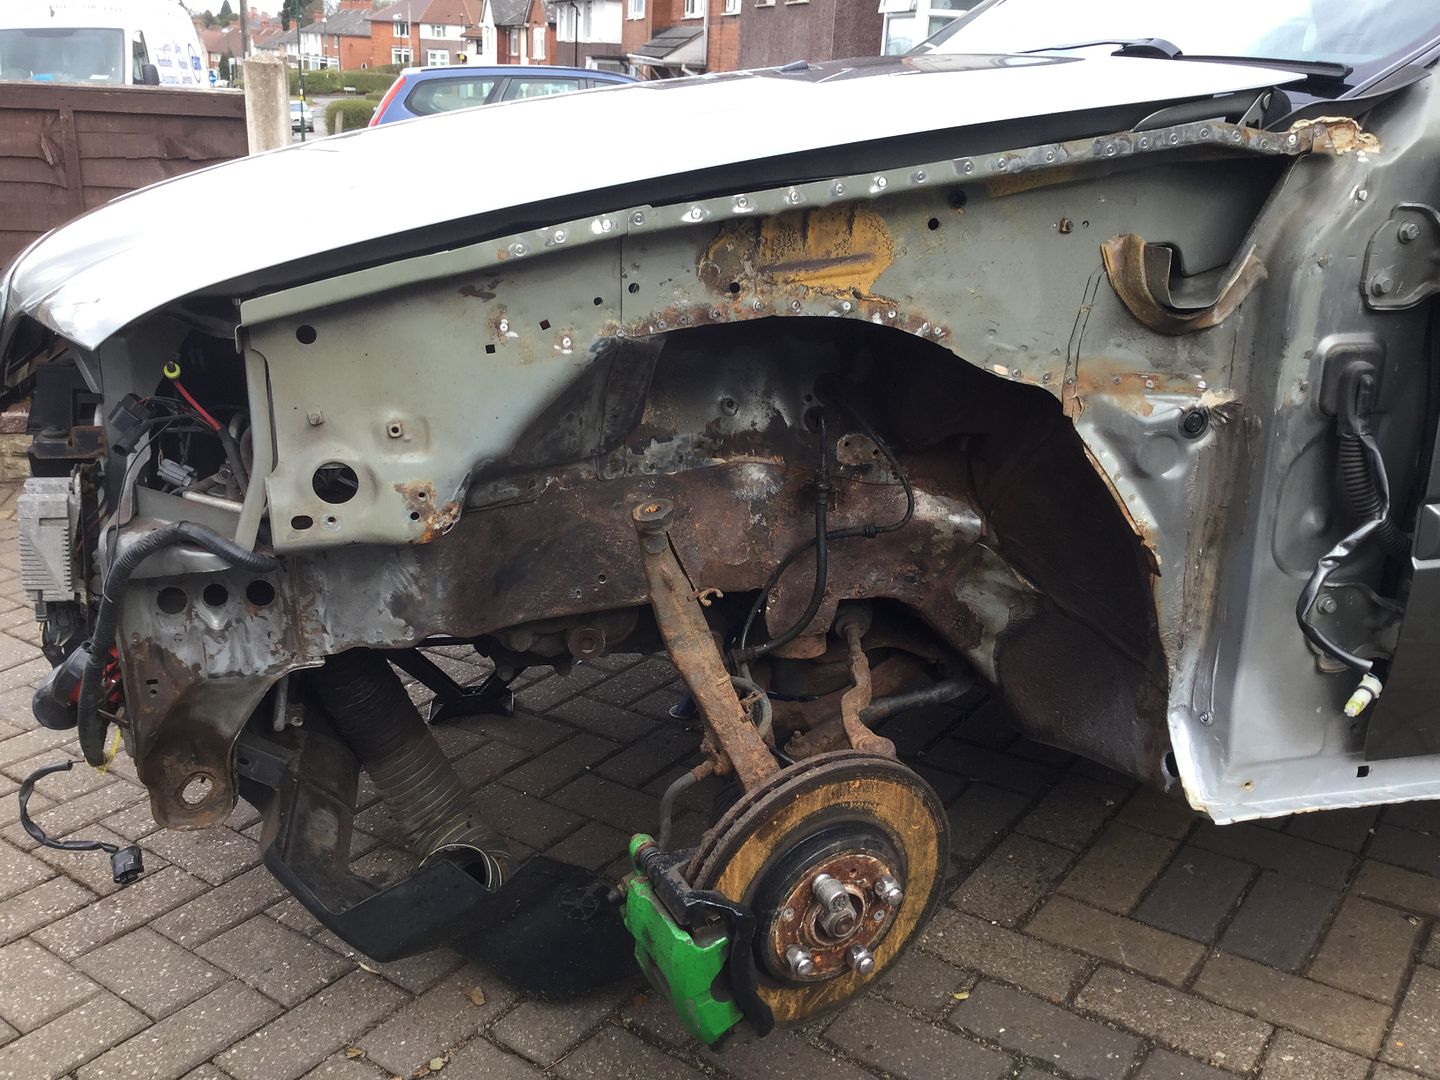
Happy with that I decided to attack the under arch with the wire brush to remove the masses of underseal -


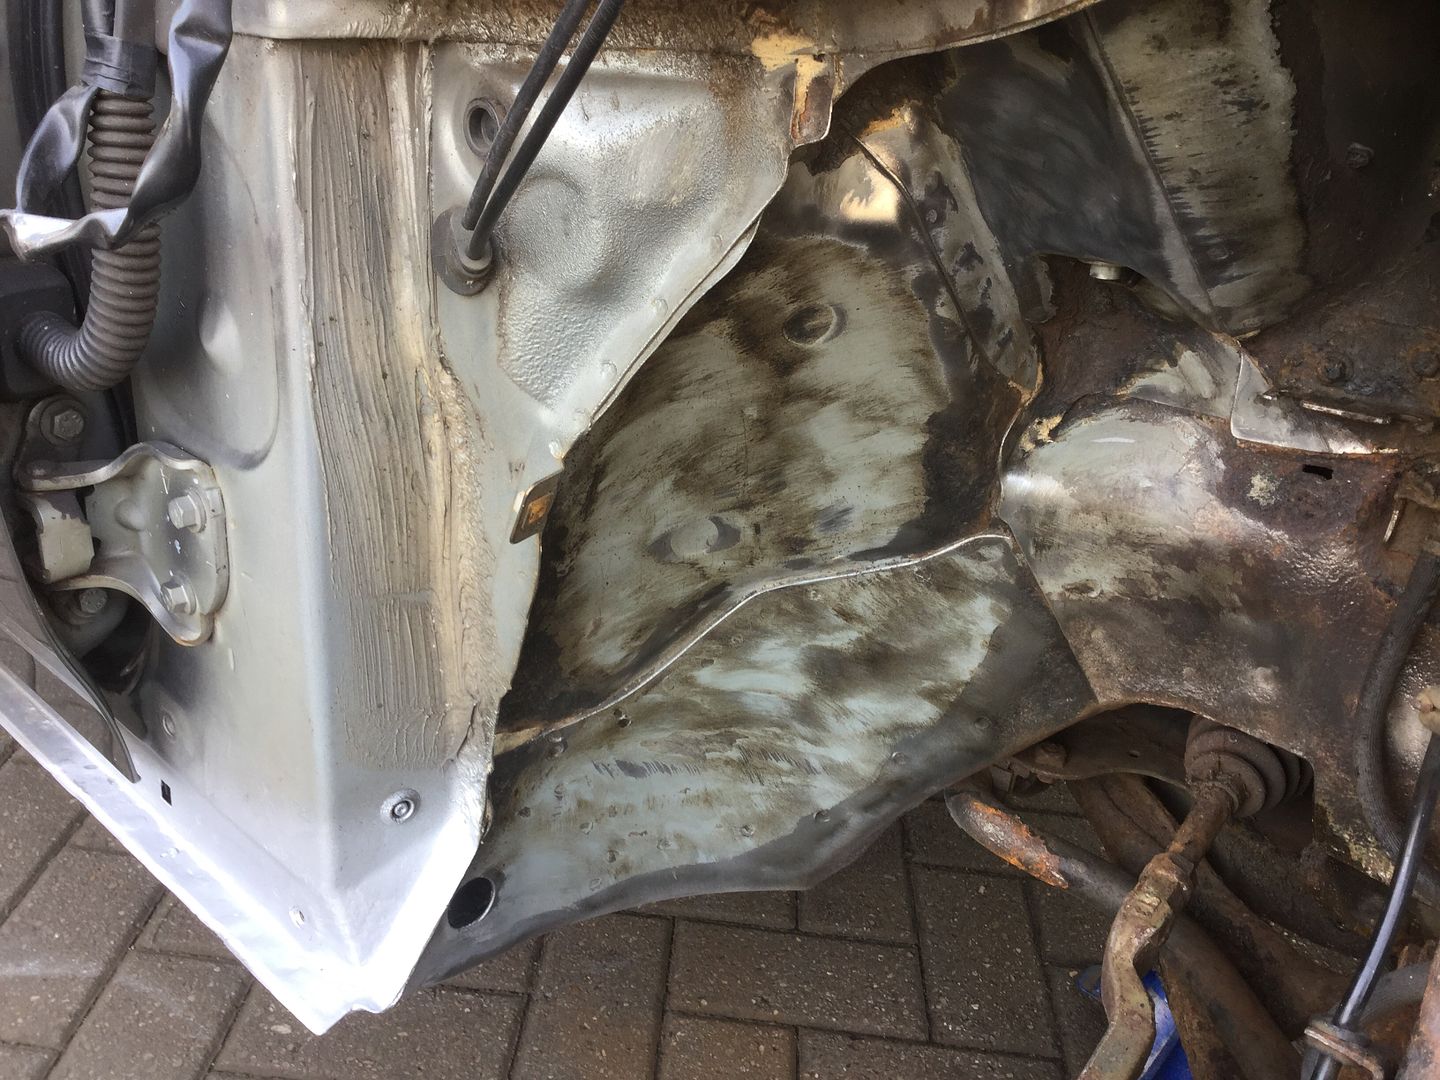
Was all going well until...Oh dear -


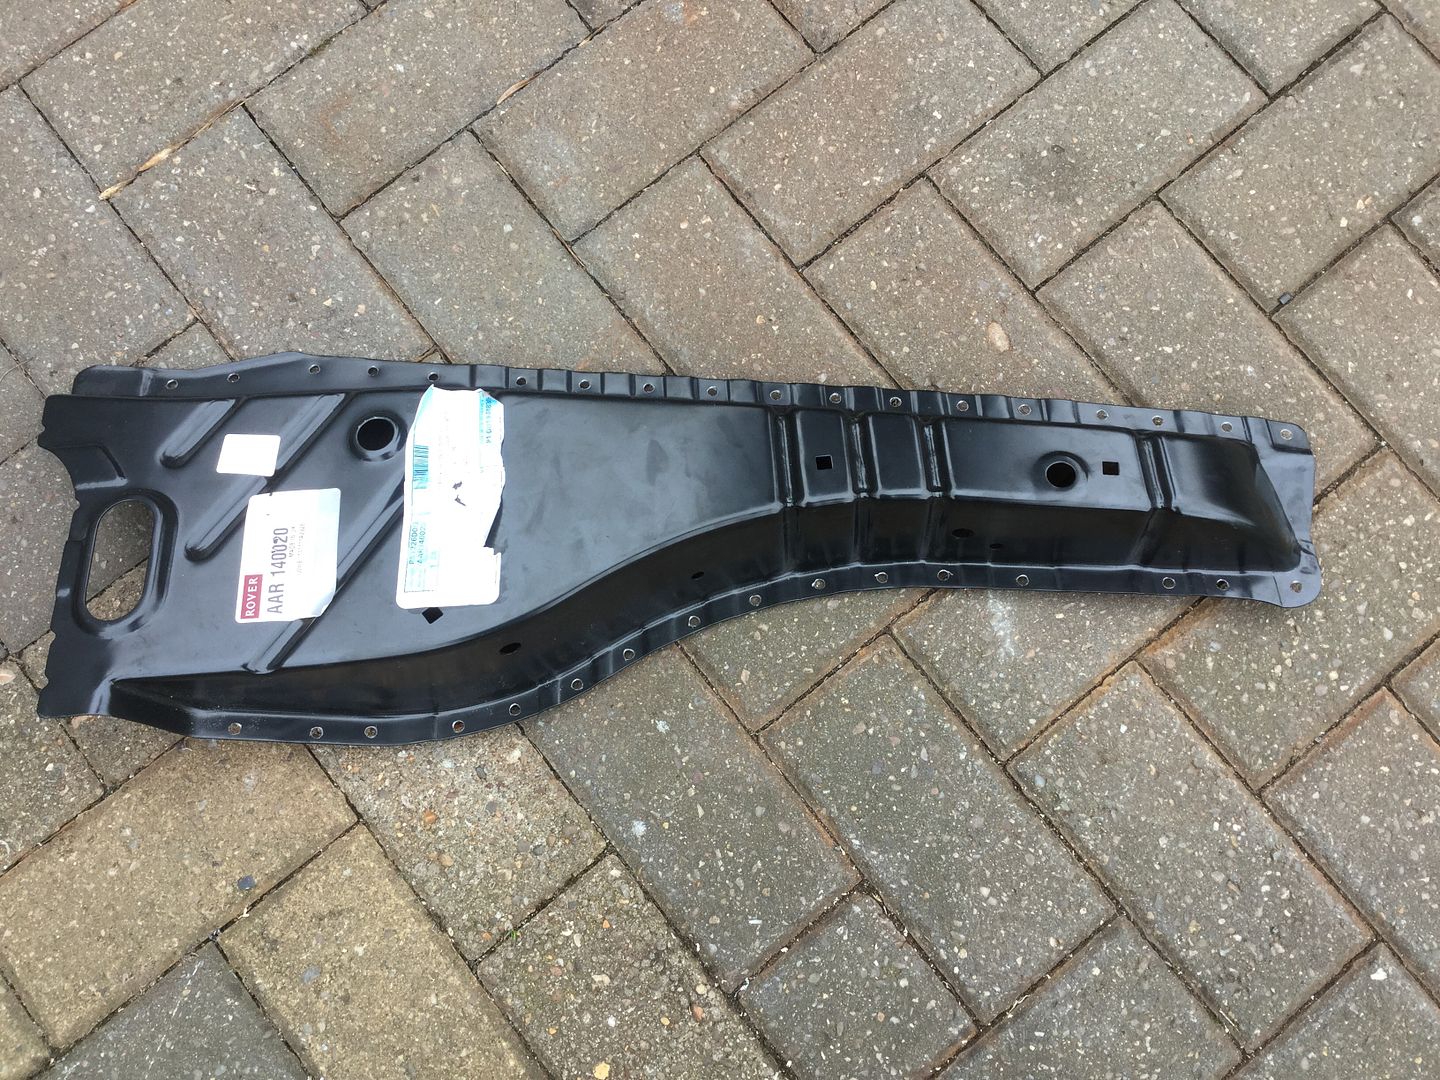
Unfortunately rimmer brothers let me down on the valence reinforcement panels so I had to source them else where, A.E Wilcox & Son MG dealers to be precise. Luckily they also had the crossmember closing panel for the R/H side too. So a trip down to Bristol and I came back with these -


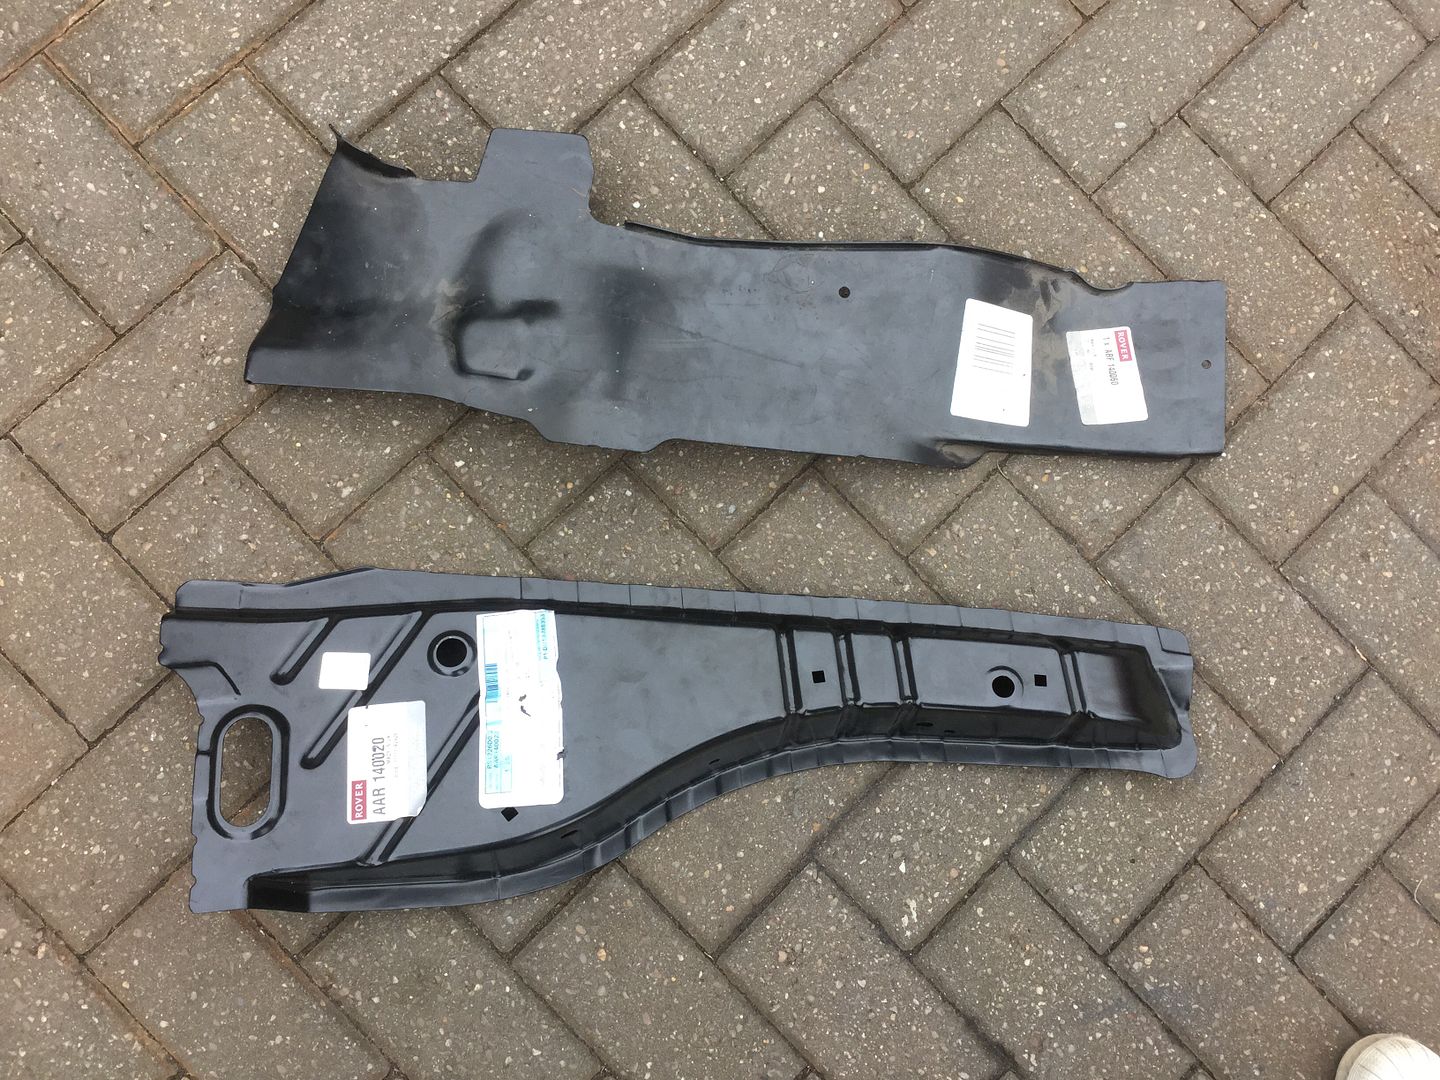
I've had to source the L/H side reinforcement panel from the Netherlands as no where in the UK has one in stock, this is due to be delivered hopefully on Tuesday.

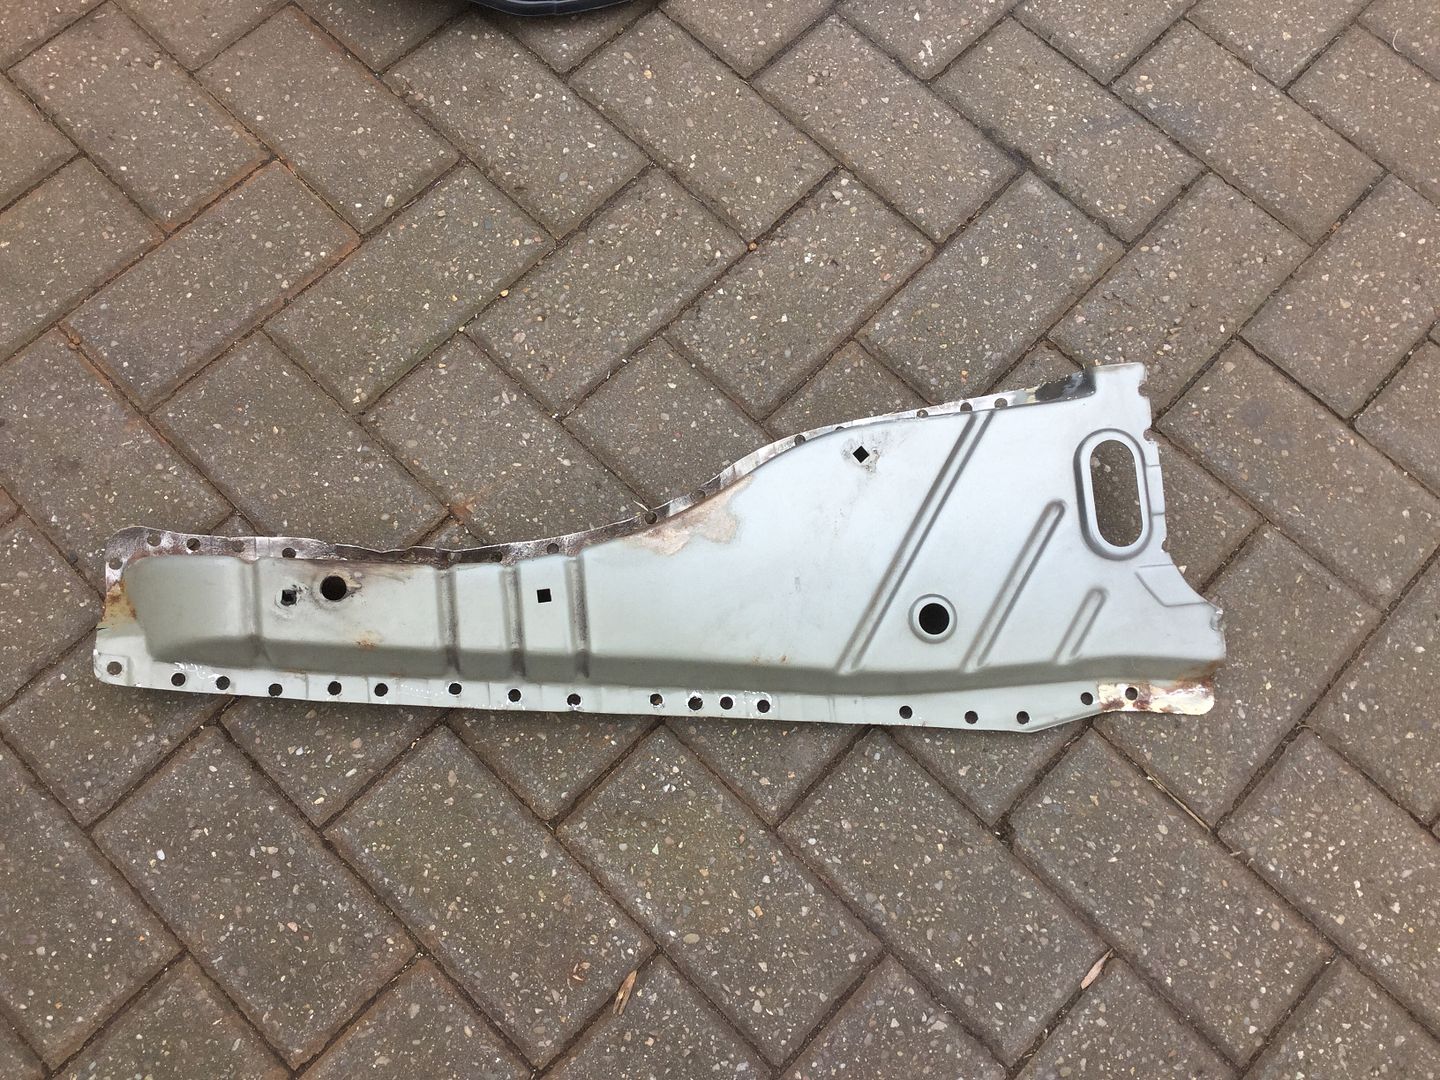
I decided to start with the reinforcement panel, here it is removed -


I ground down the left over metal from the spot weld cutter and gave the bare metal a coat of zinc -


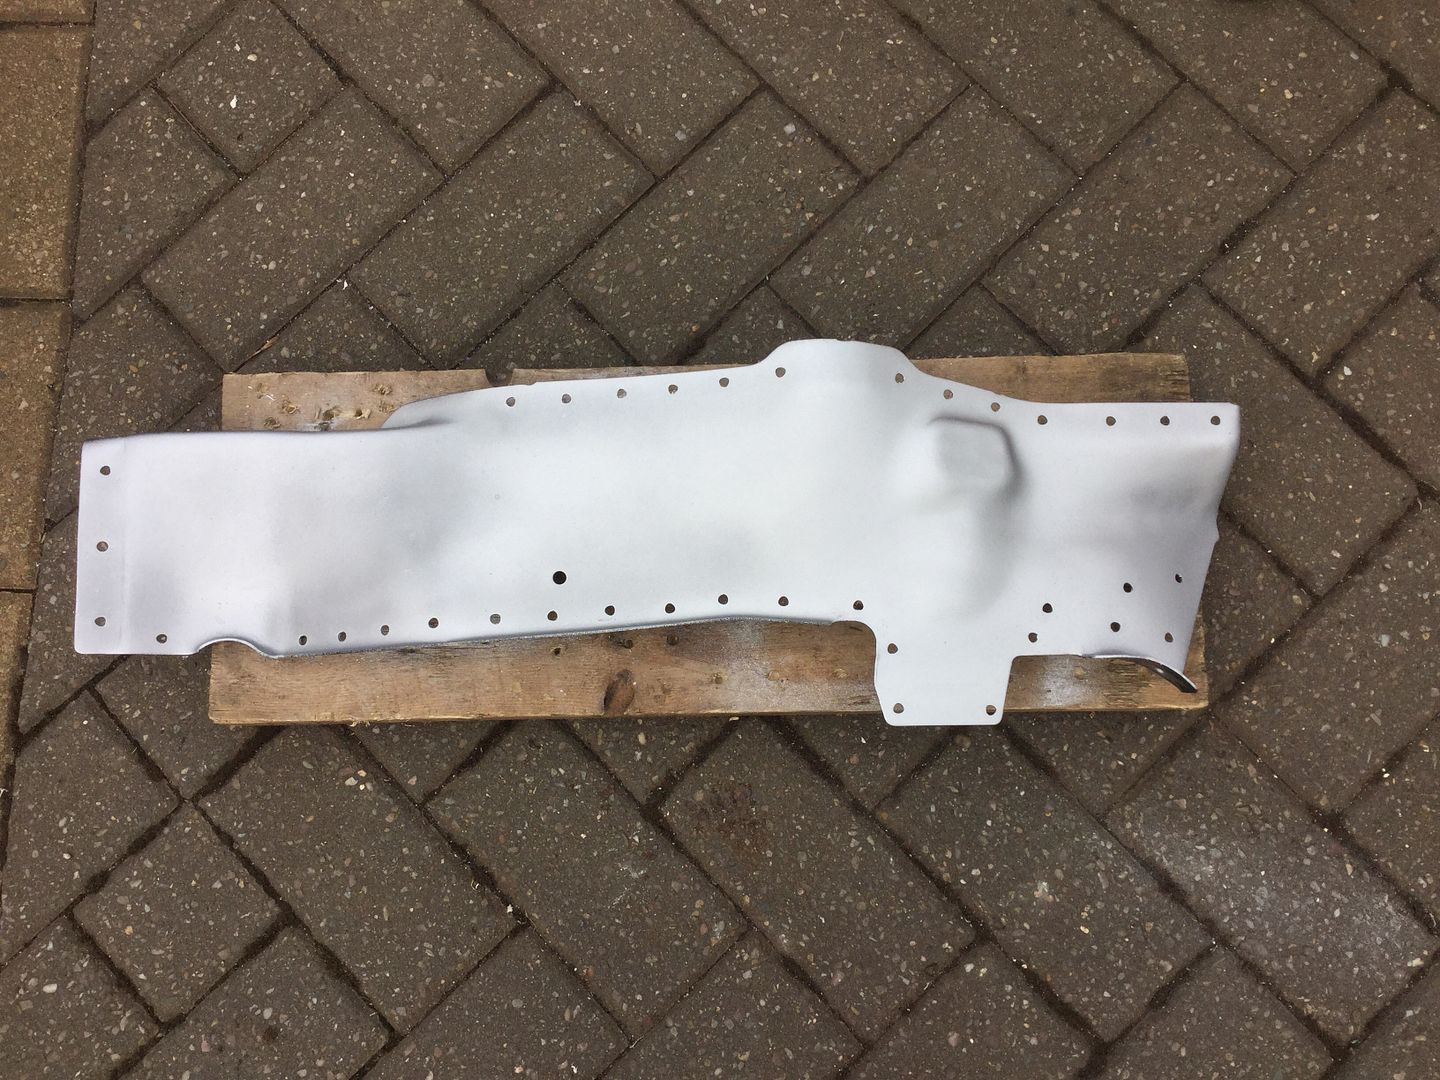
Holes drilled in the new panel ready for plug welding -


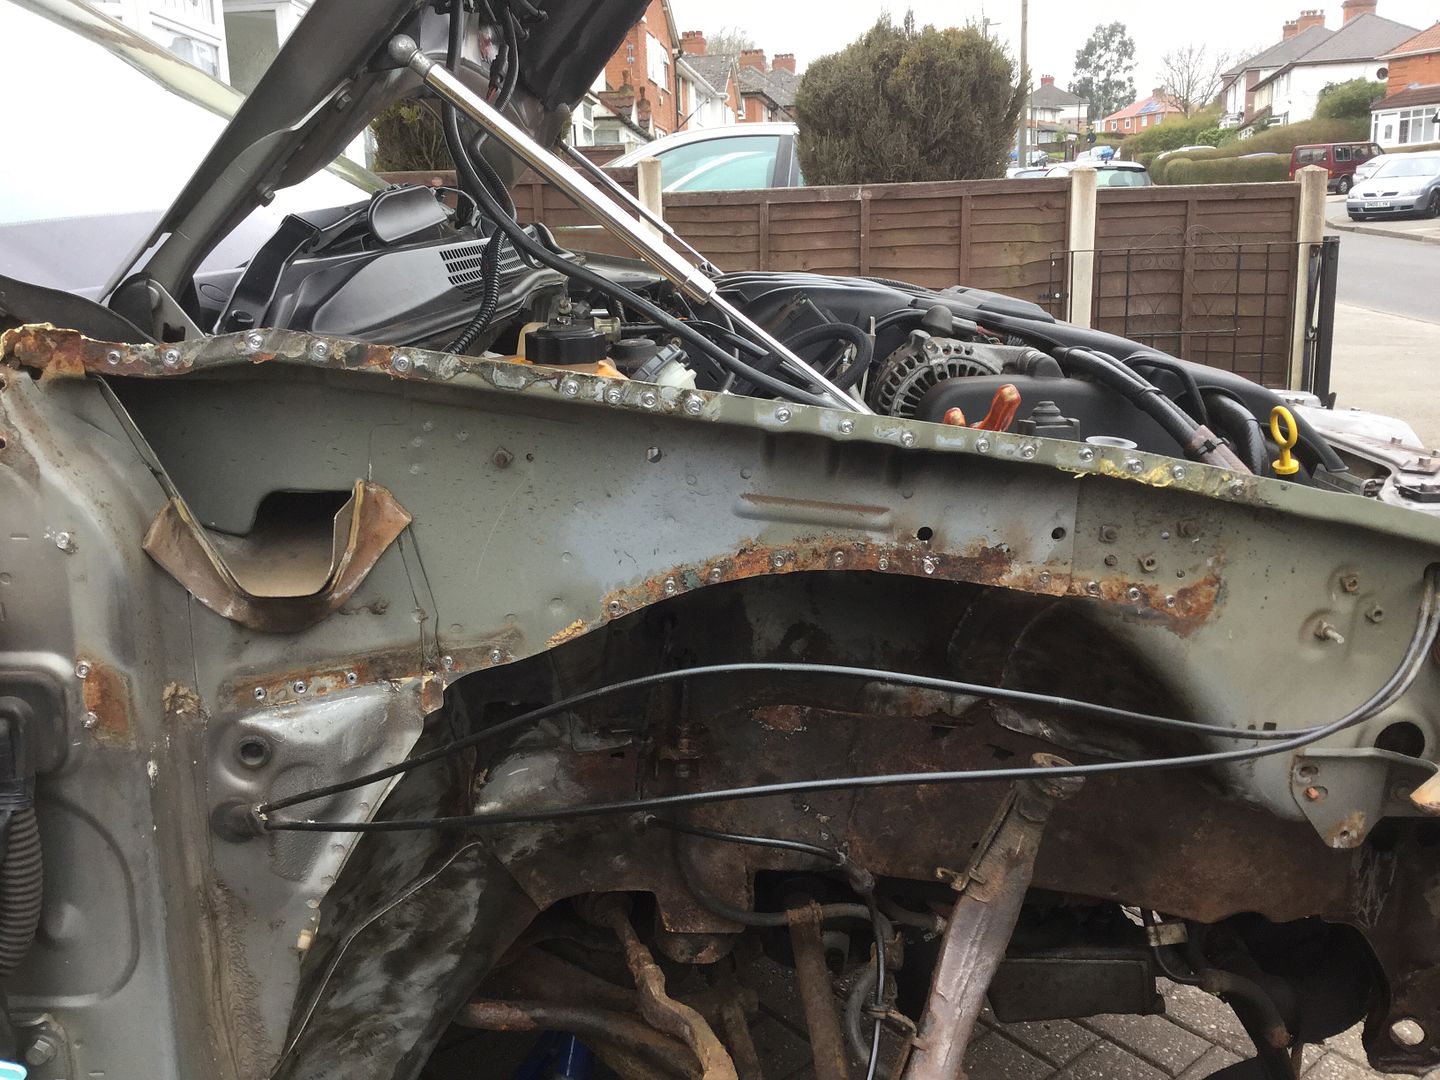
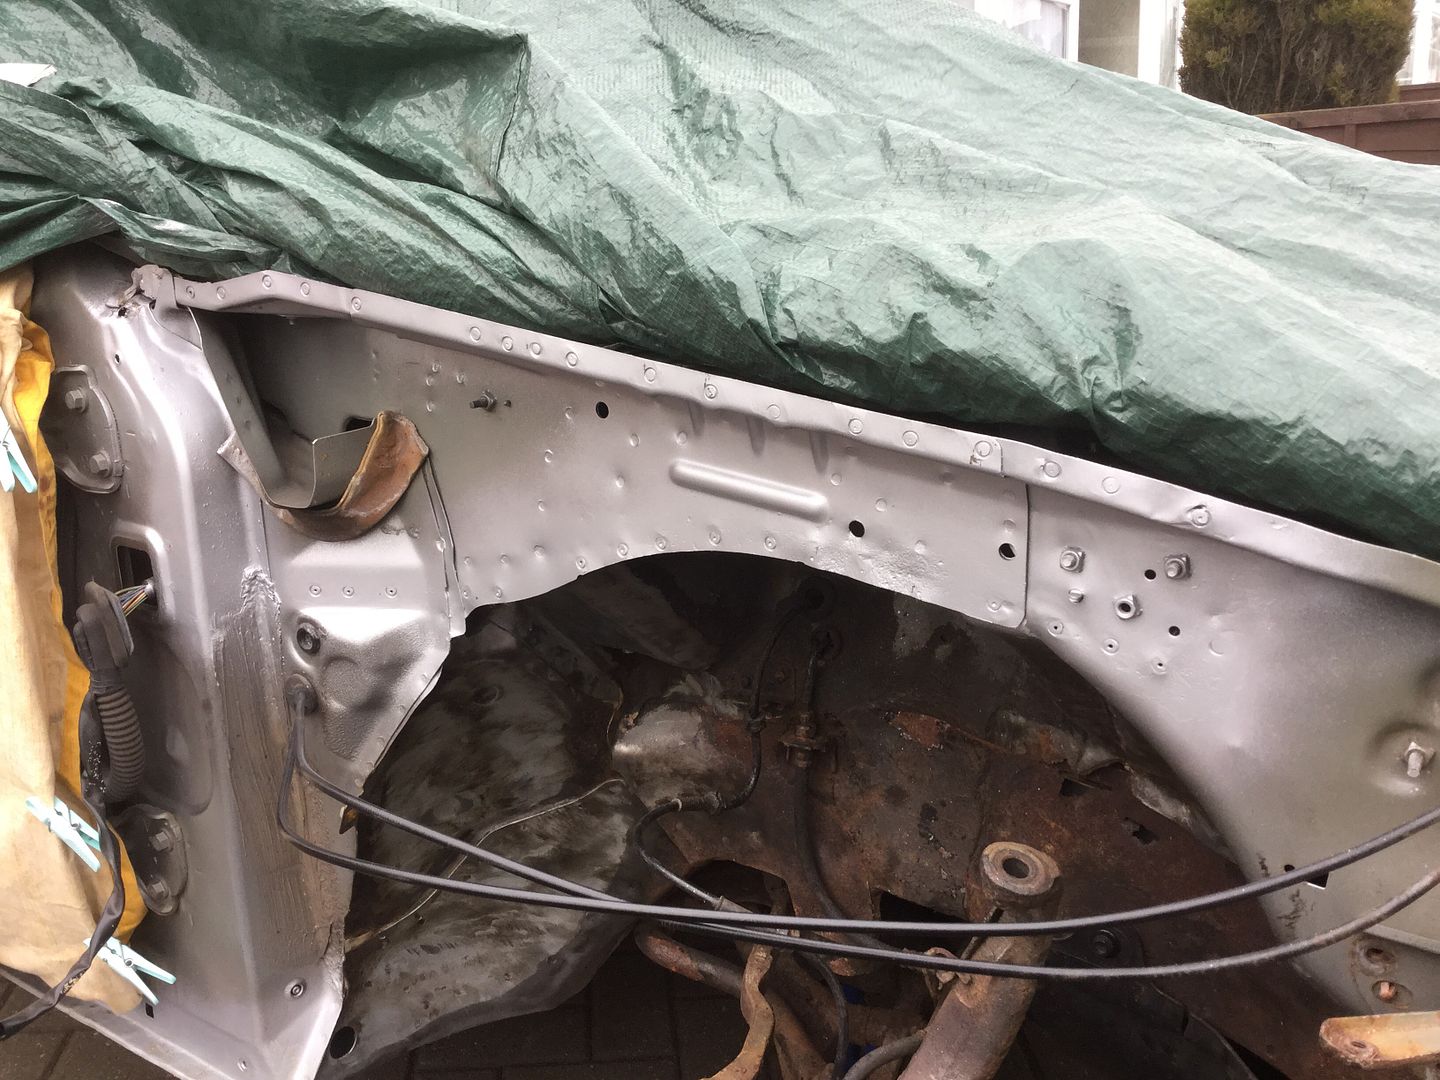
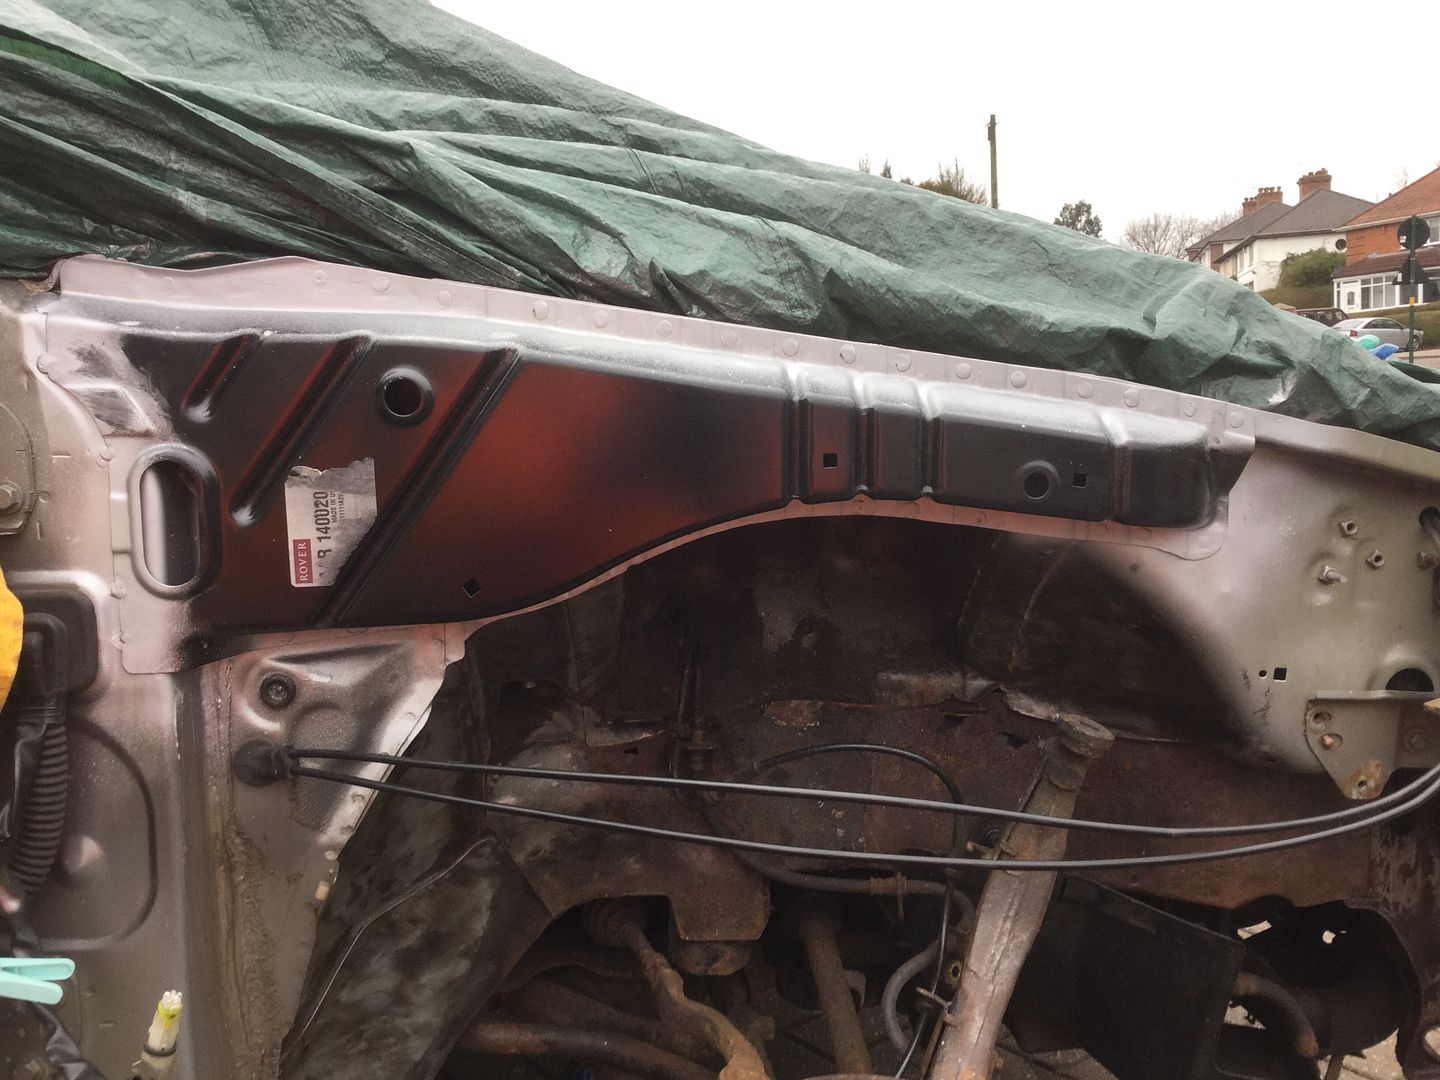
Welded on, ground down and zinc primed -


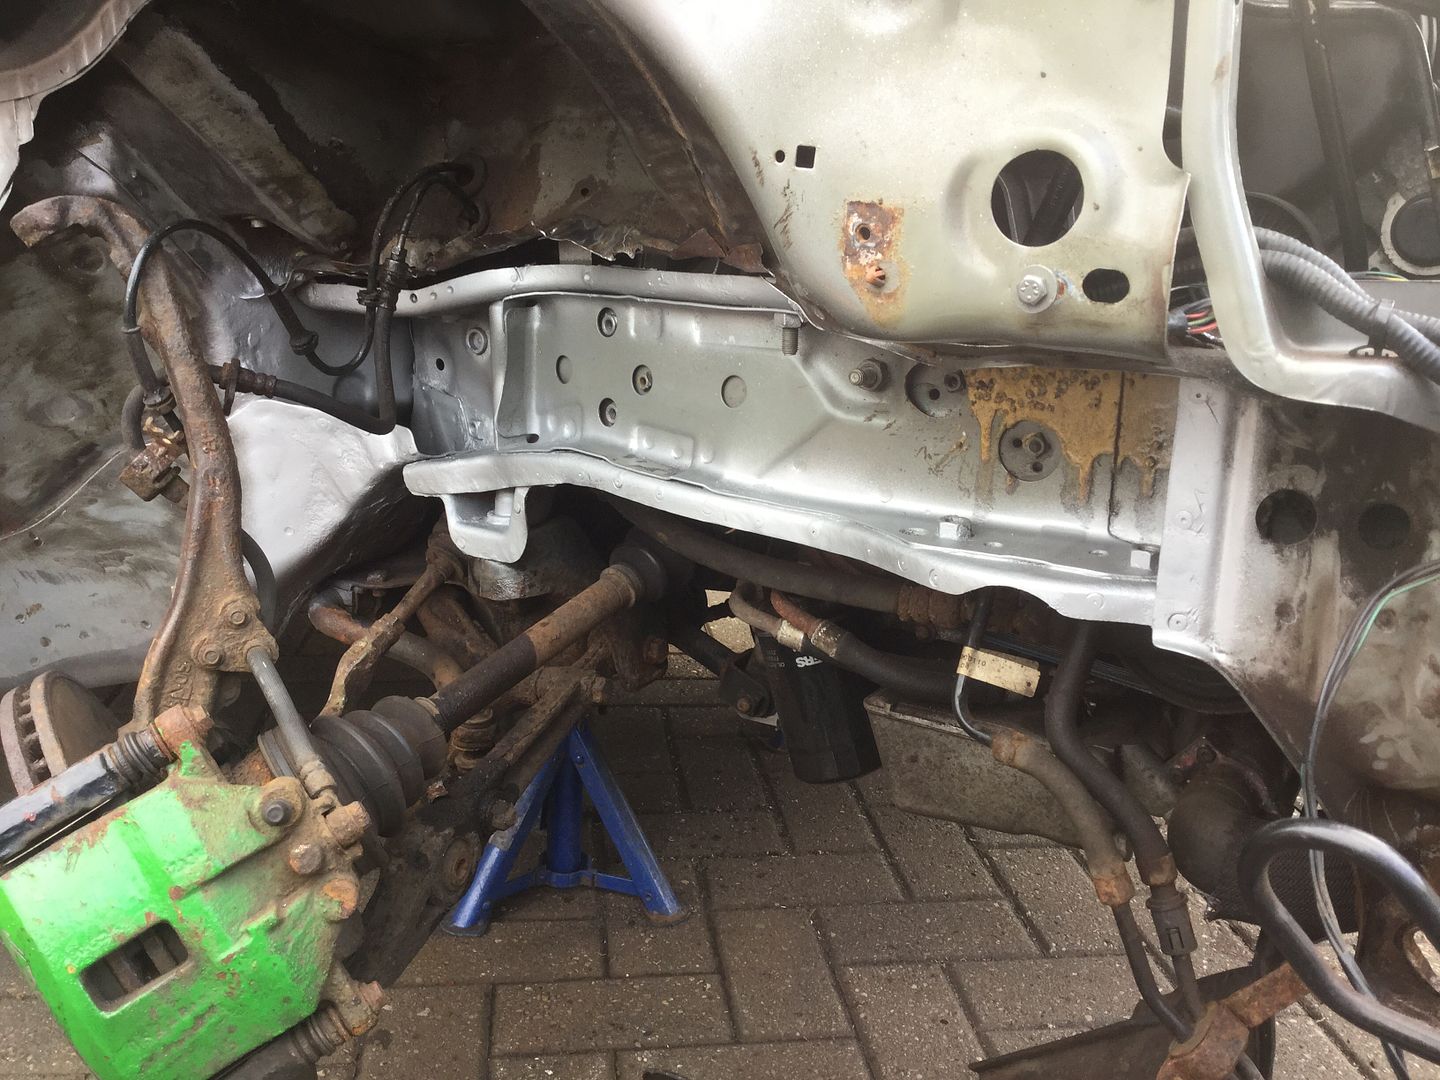
Happy with that I removed the closing panel, was a real PITA but got it off in the end. The box section behind is in perfect condition -


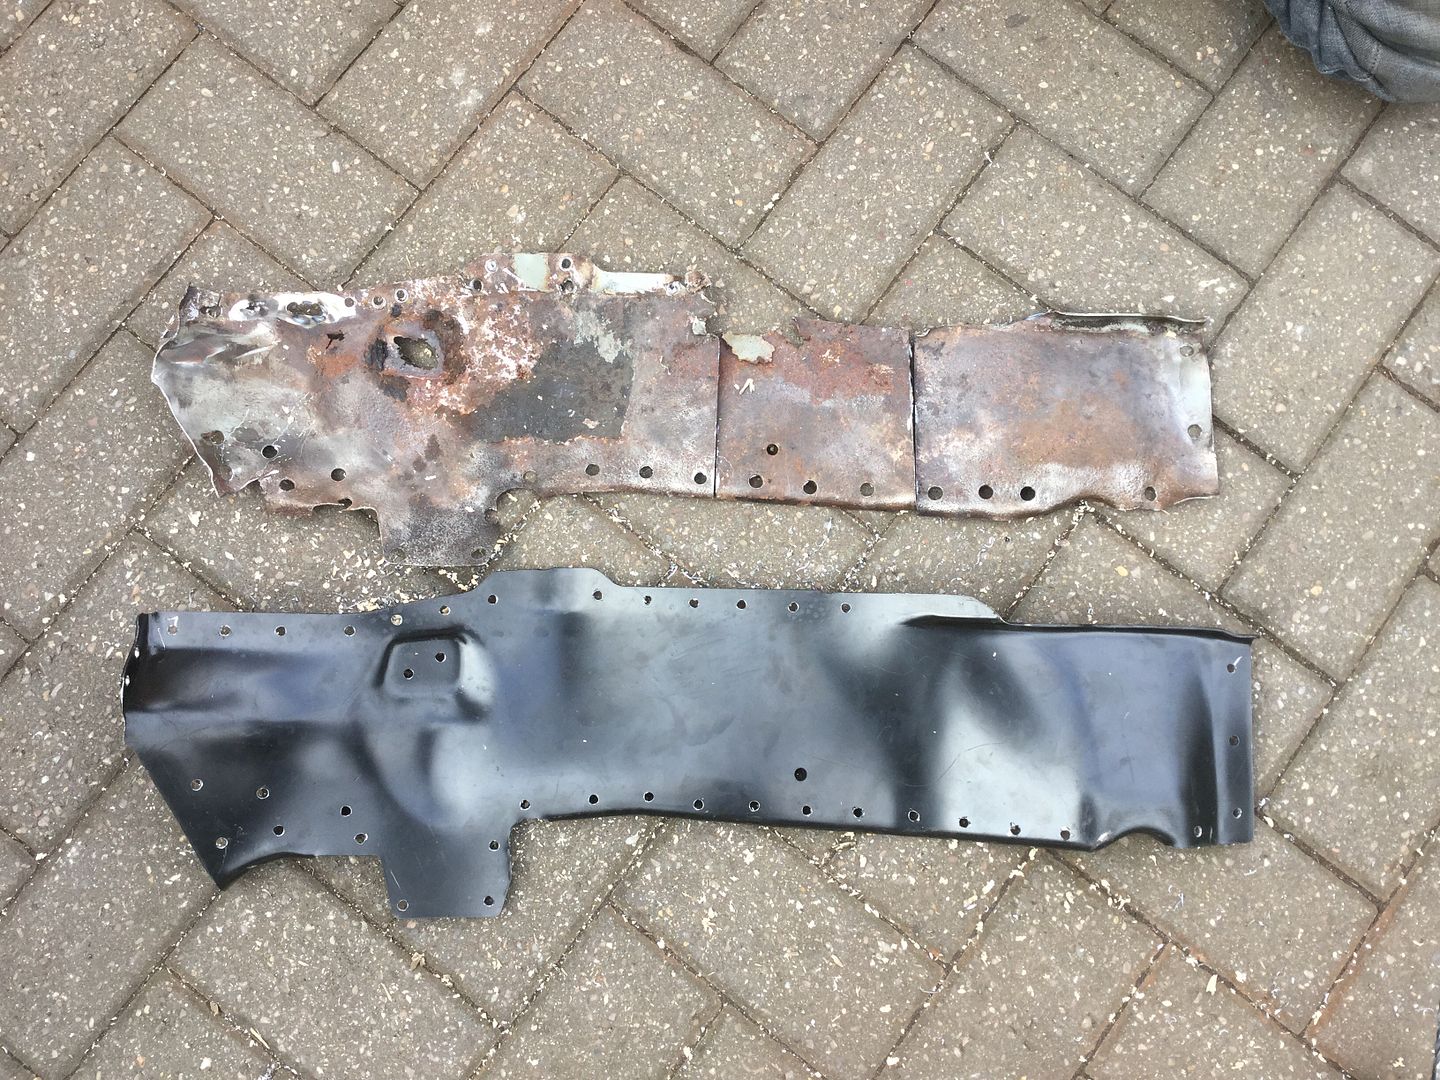
Comparison of the new panel and the old -


Zinc primed the back of the new panel -


And then I welded it in, I forgot to take pictures of the finished thing though so there's a bit of a jump here.

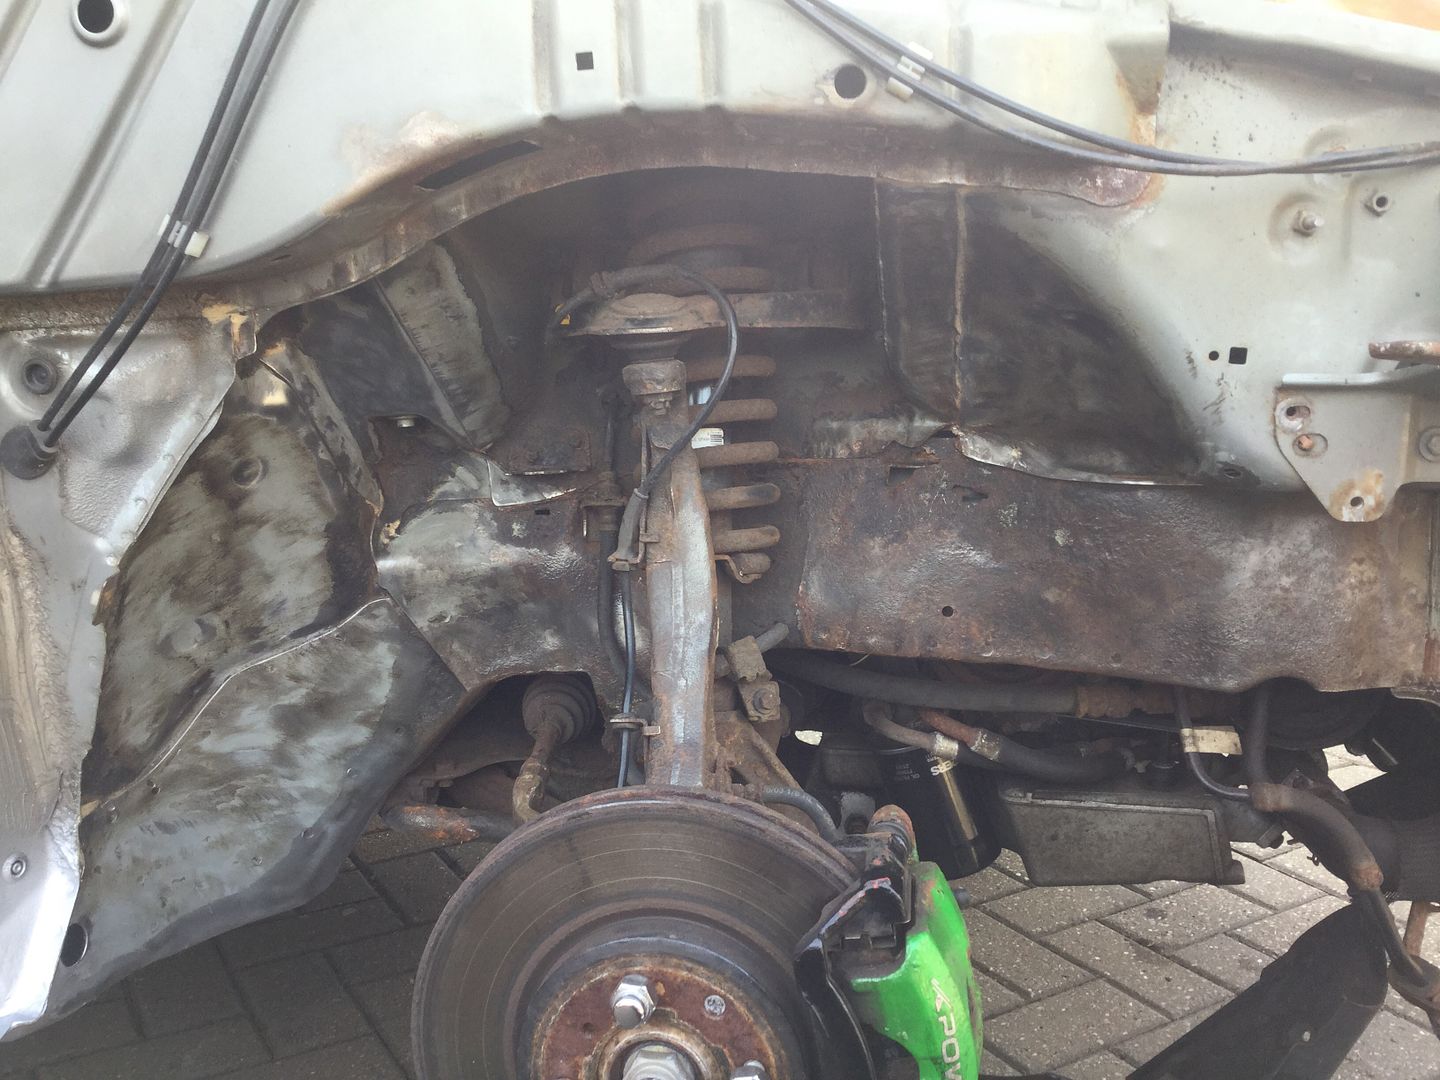
I then wire brushed the whole under arch back to bare metal and zinc primed the lot -


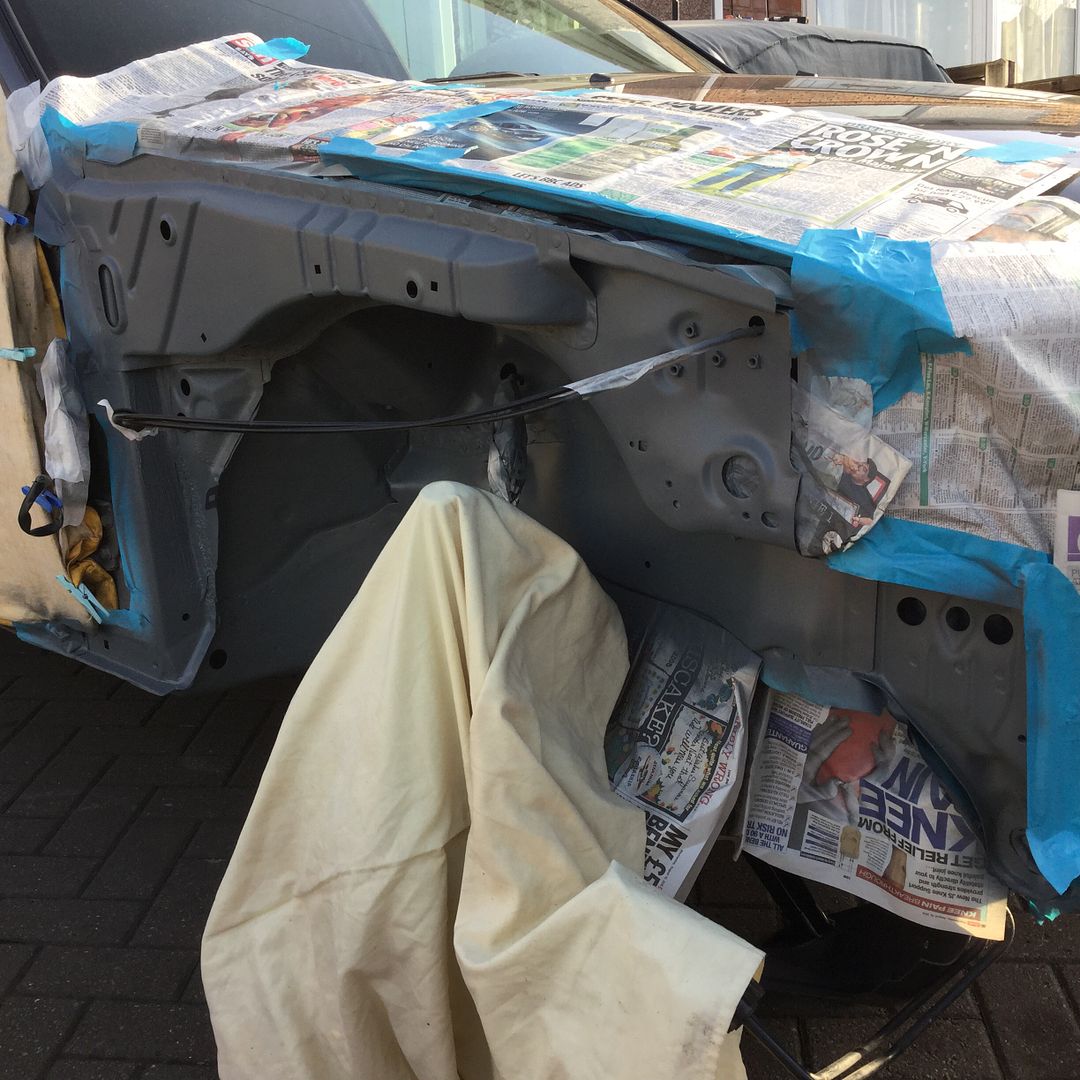
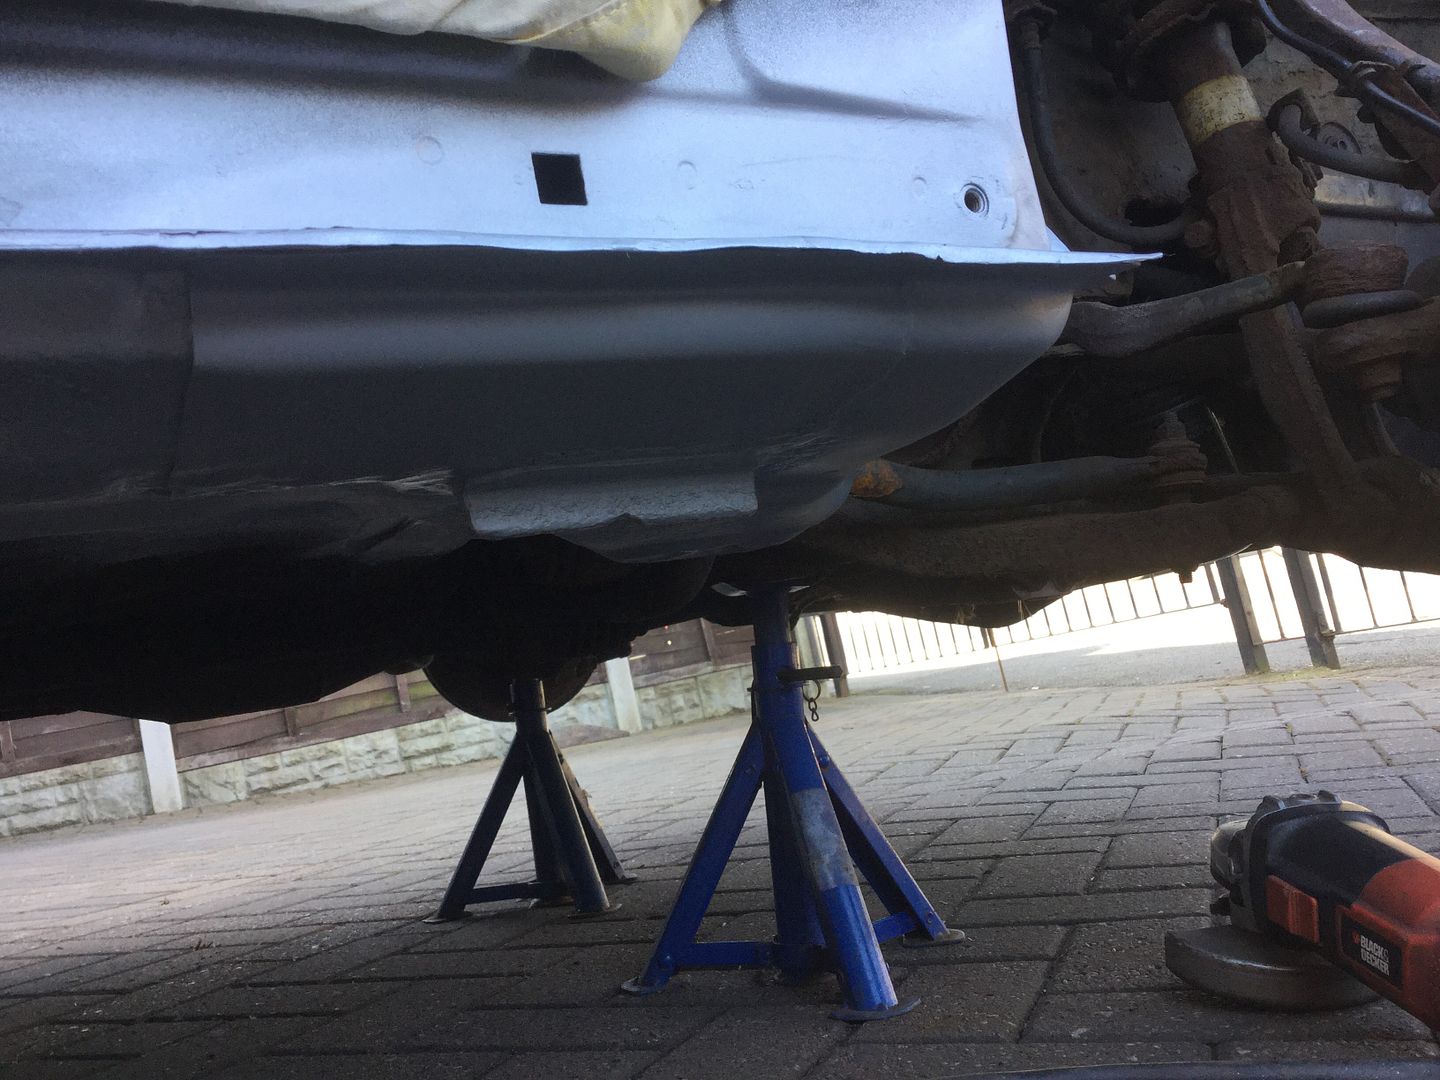
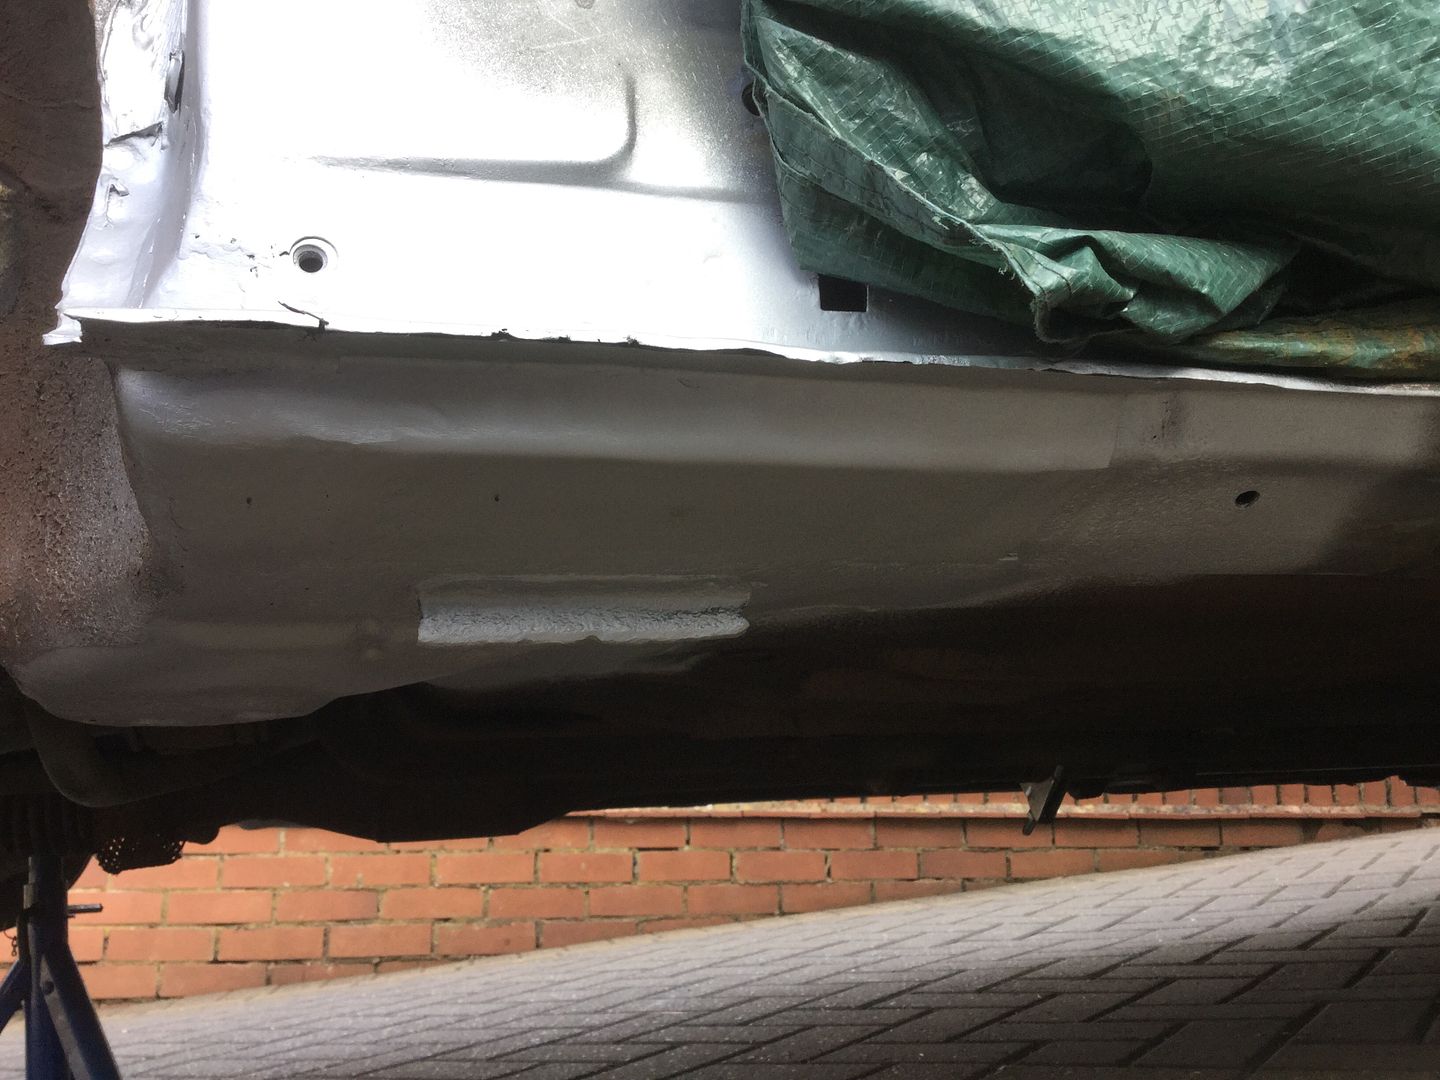
Next I used tiger seal to re-seal all of the seams and then gave it three coat's of Gravigard stone chip -


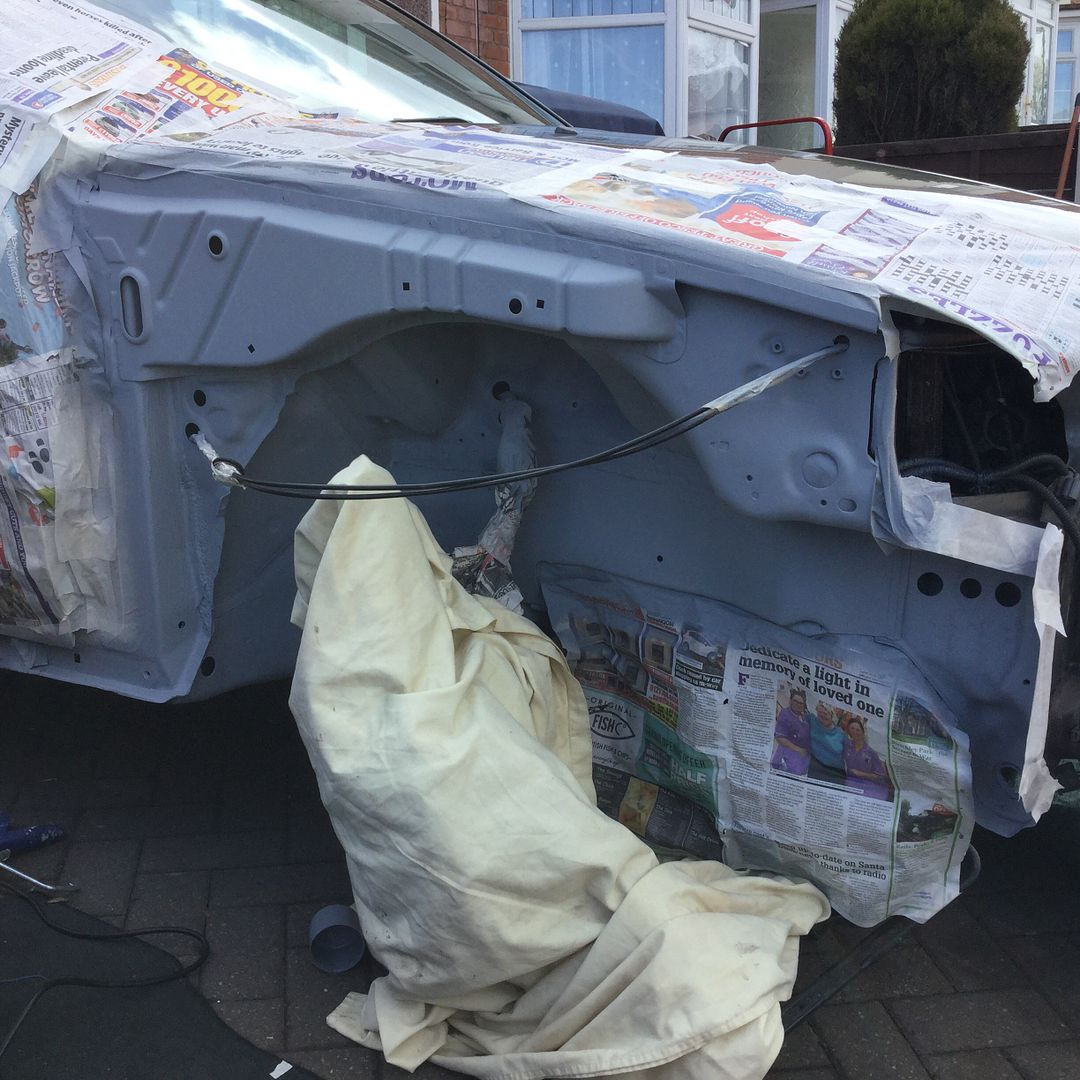
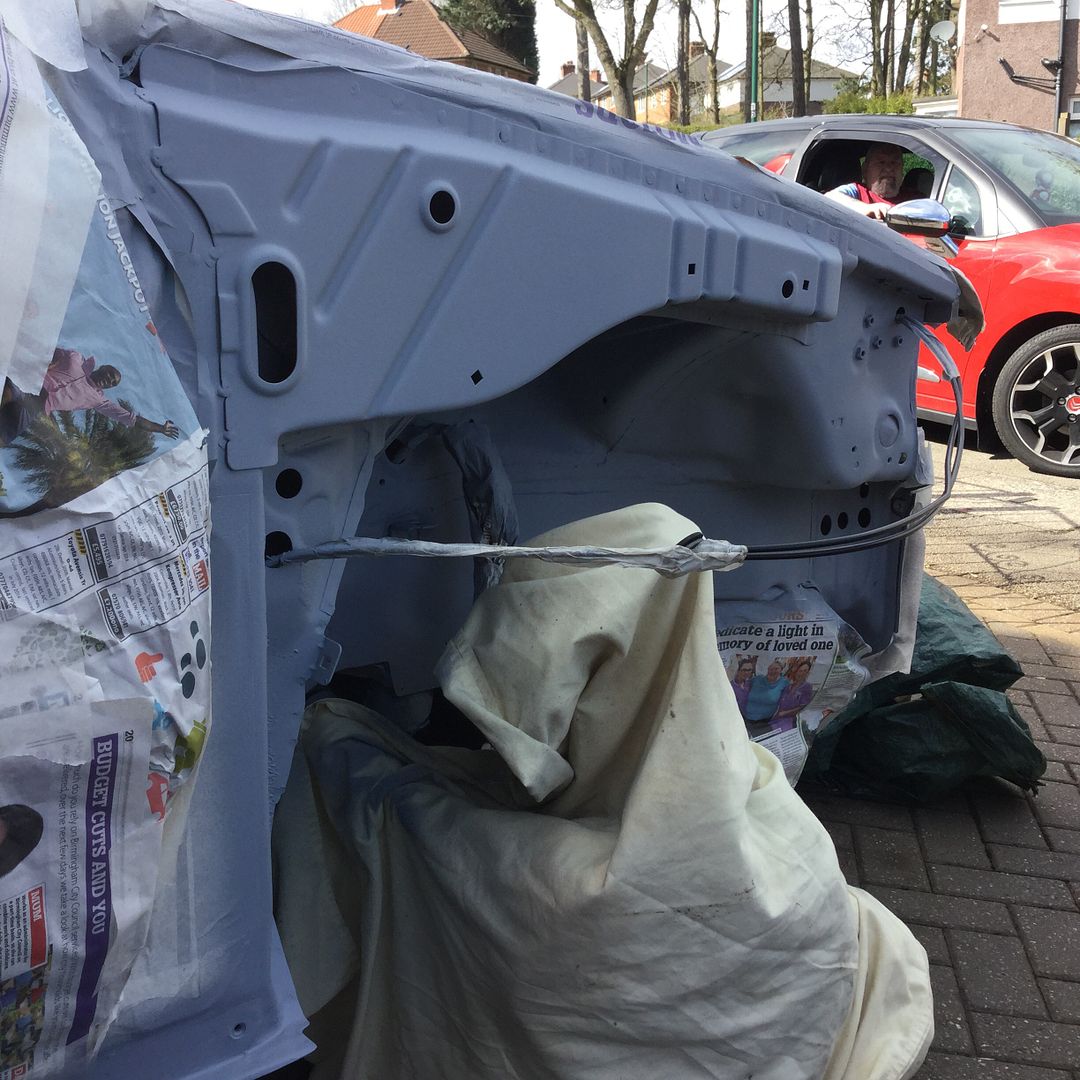
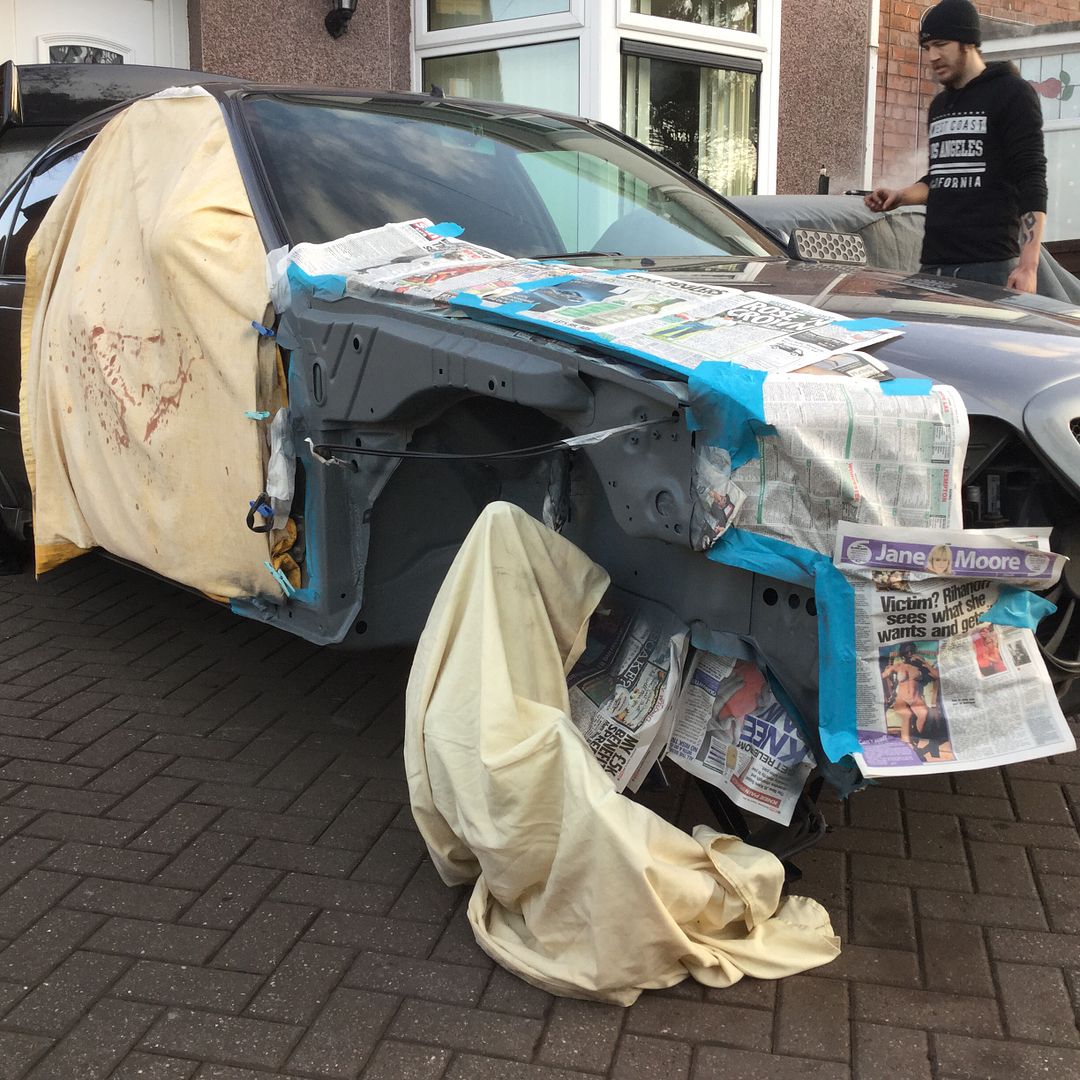
And then a couple of coats of X-Power Grey (or so it says on the tin) -


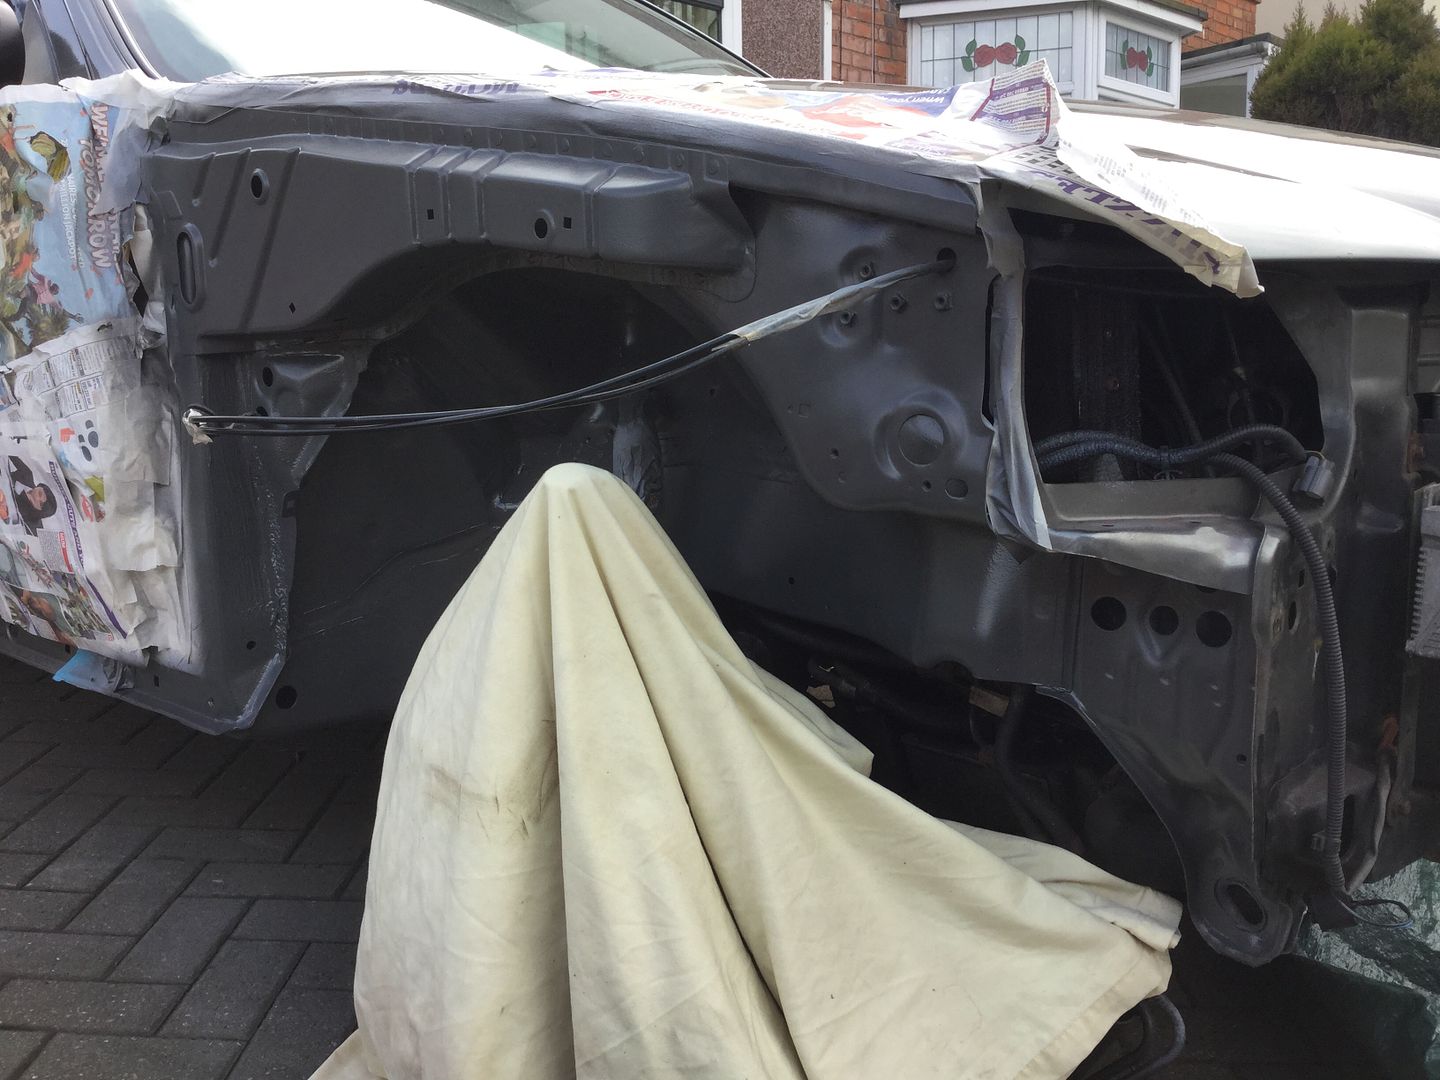
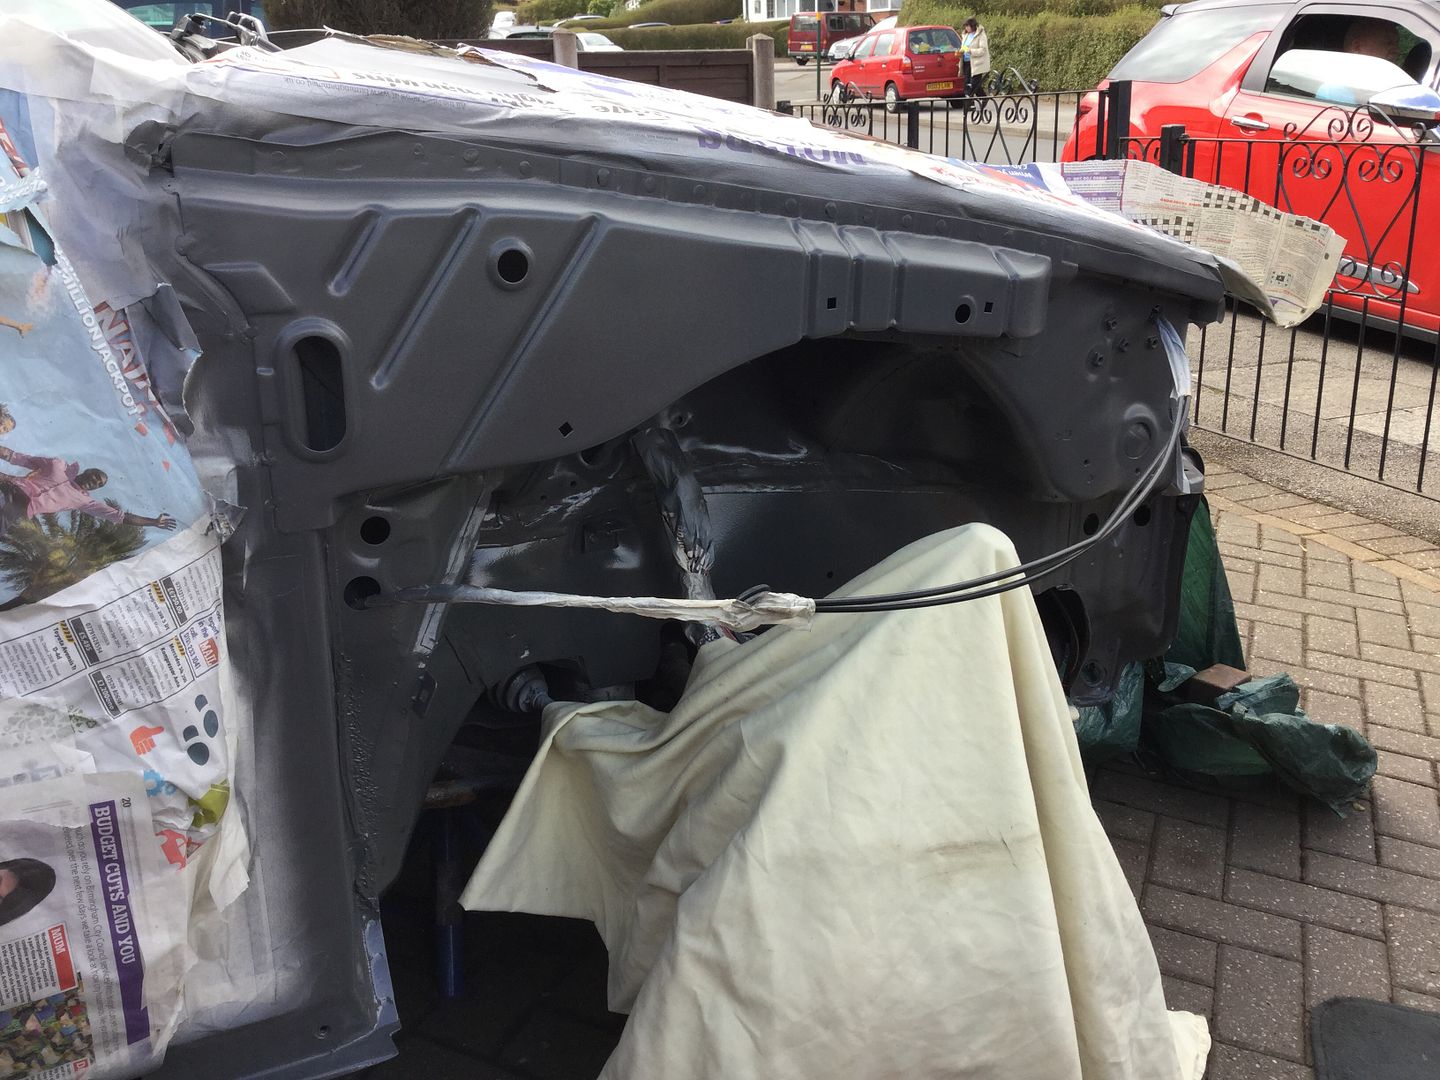
I've also given it a coating of Bilt Hambers clear wax and I've used S-50 in the cavities so she should last a good few years !

Just got to repeat it for the passenger side now, I've already removed the reinforcement panel in prep for the new one and the box section closing panel this side is looking in better condition -


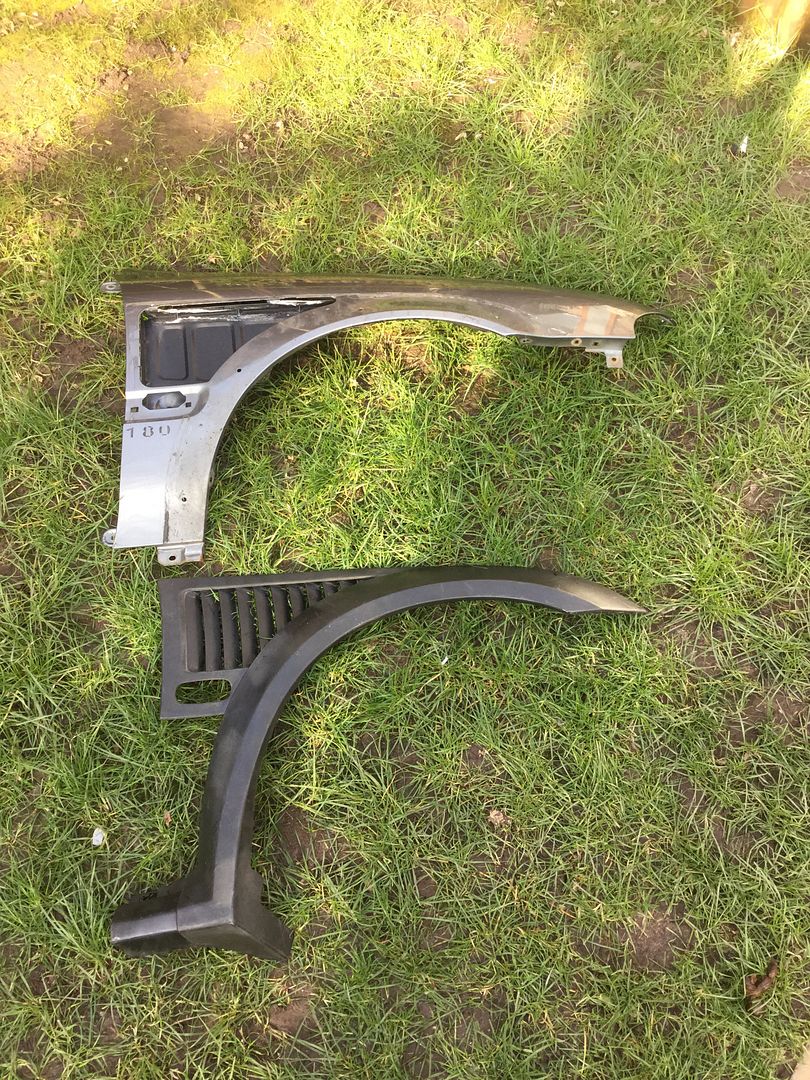
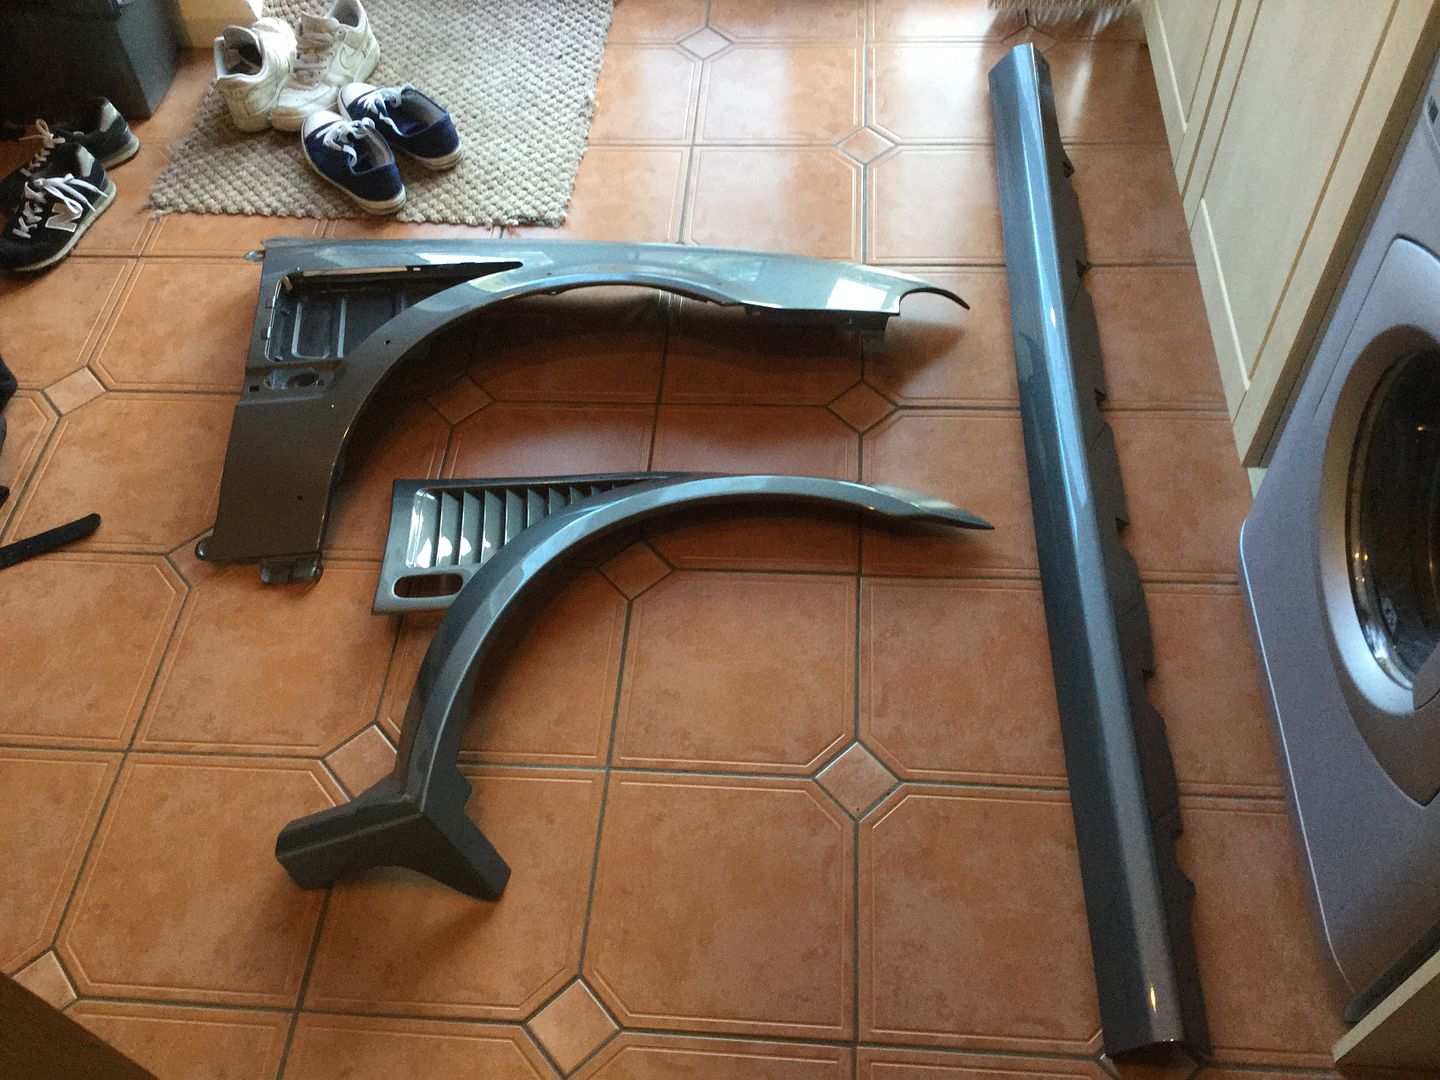
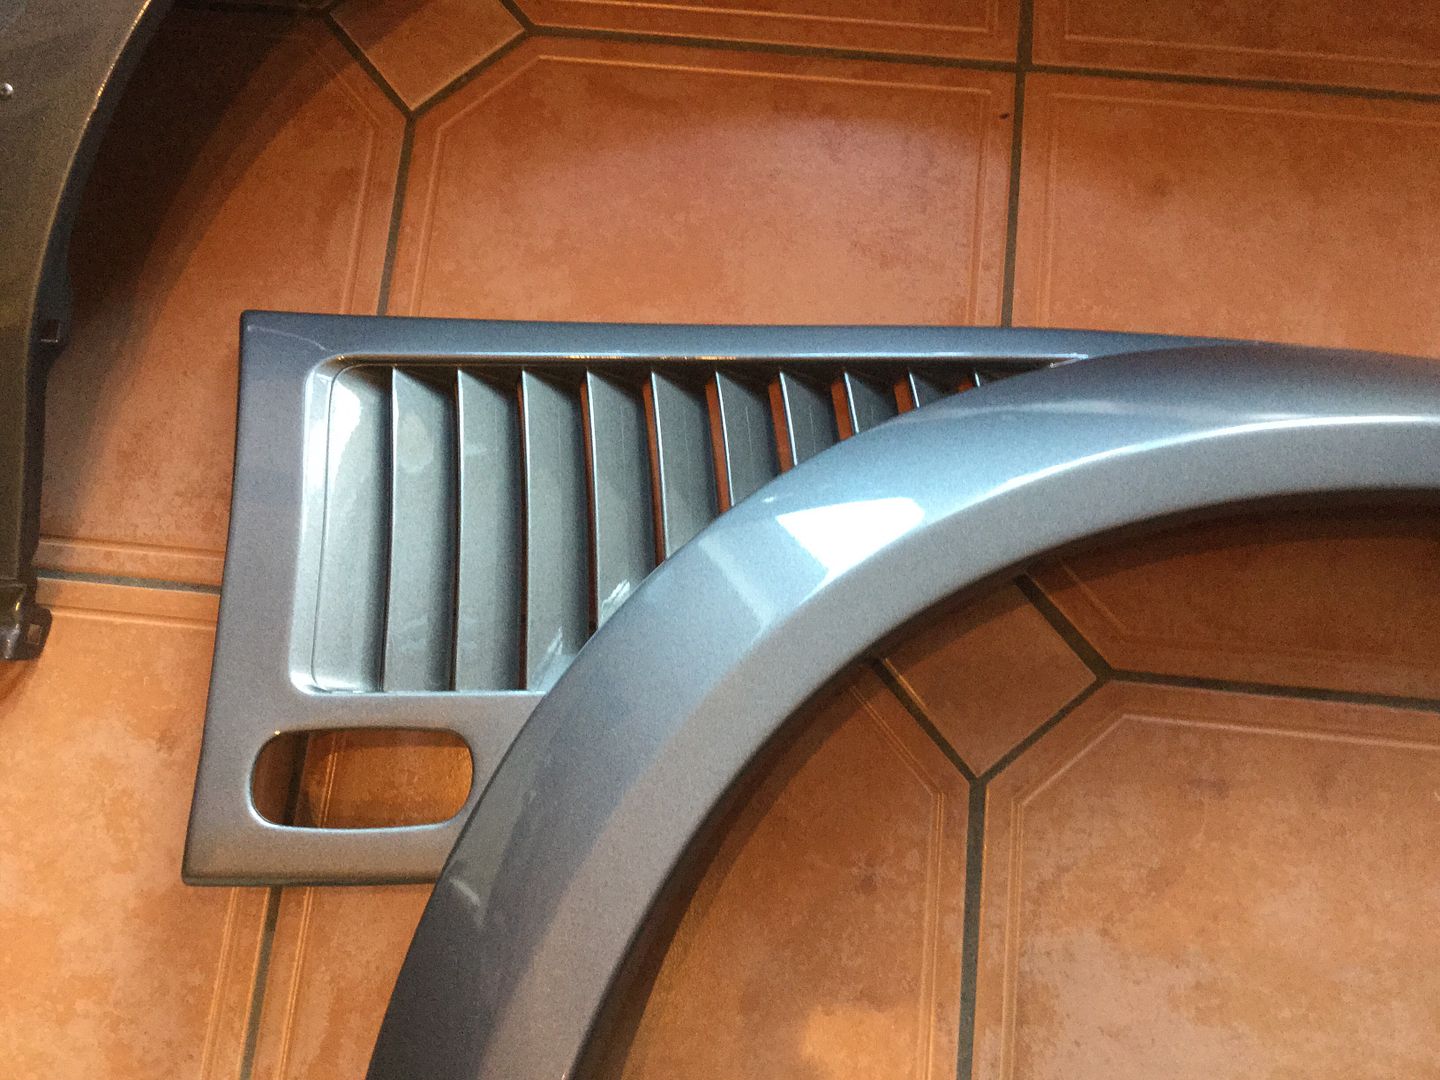
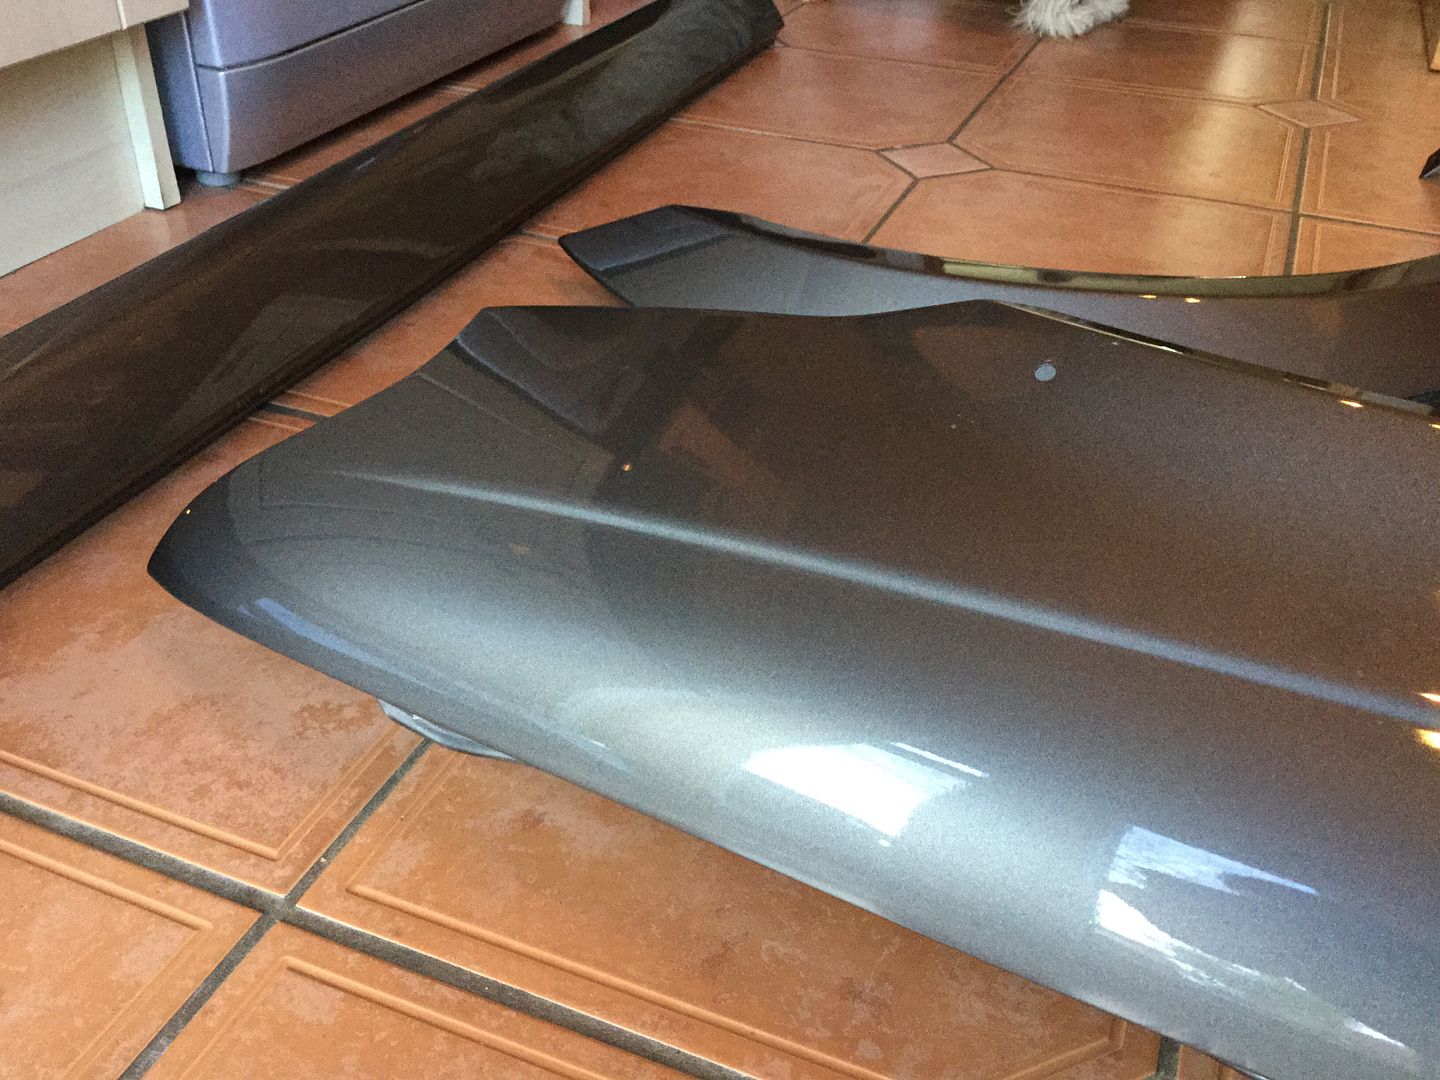
I've purchased a few other bits I required over the last couple of weeks too. When I removed the mudflap from the drivers side the body kit was cracked and ended up breaking off so I bought a new old stock body kit piece from eBay, here it is next to my wing -


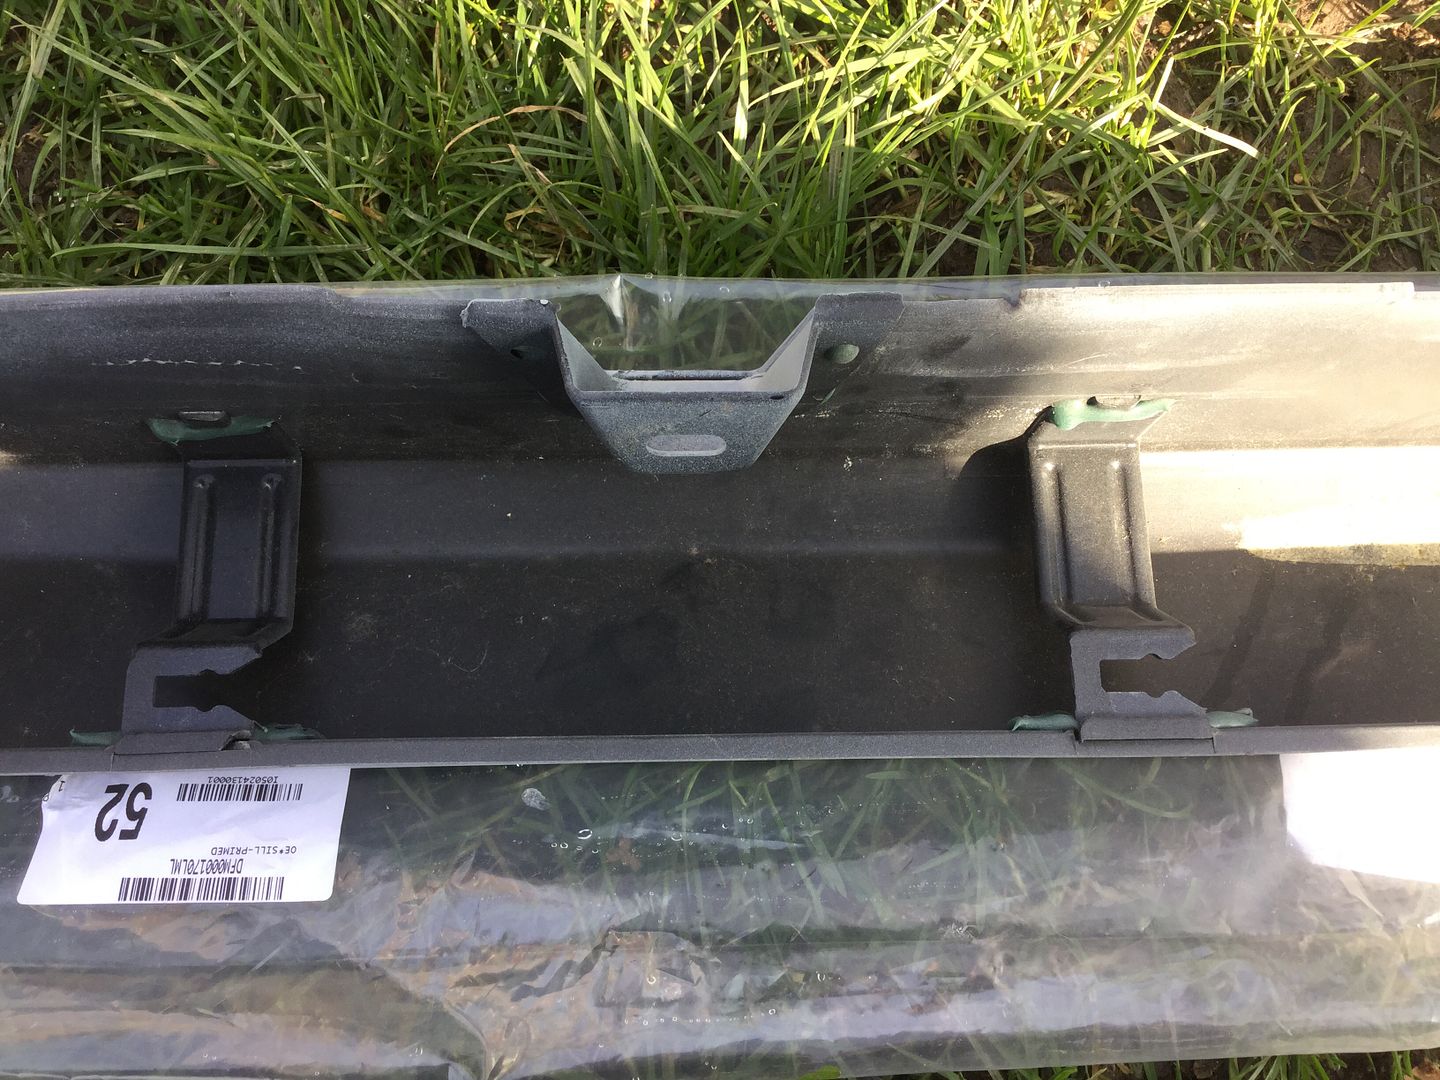
I also purchased a new passenger side skirt from rimmer brothers in primer for a whole £8.00, bargain ! -


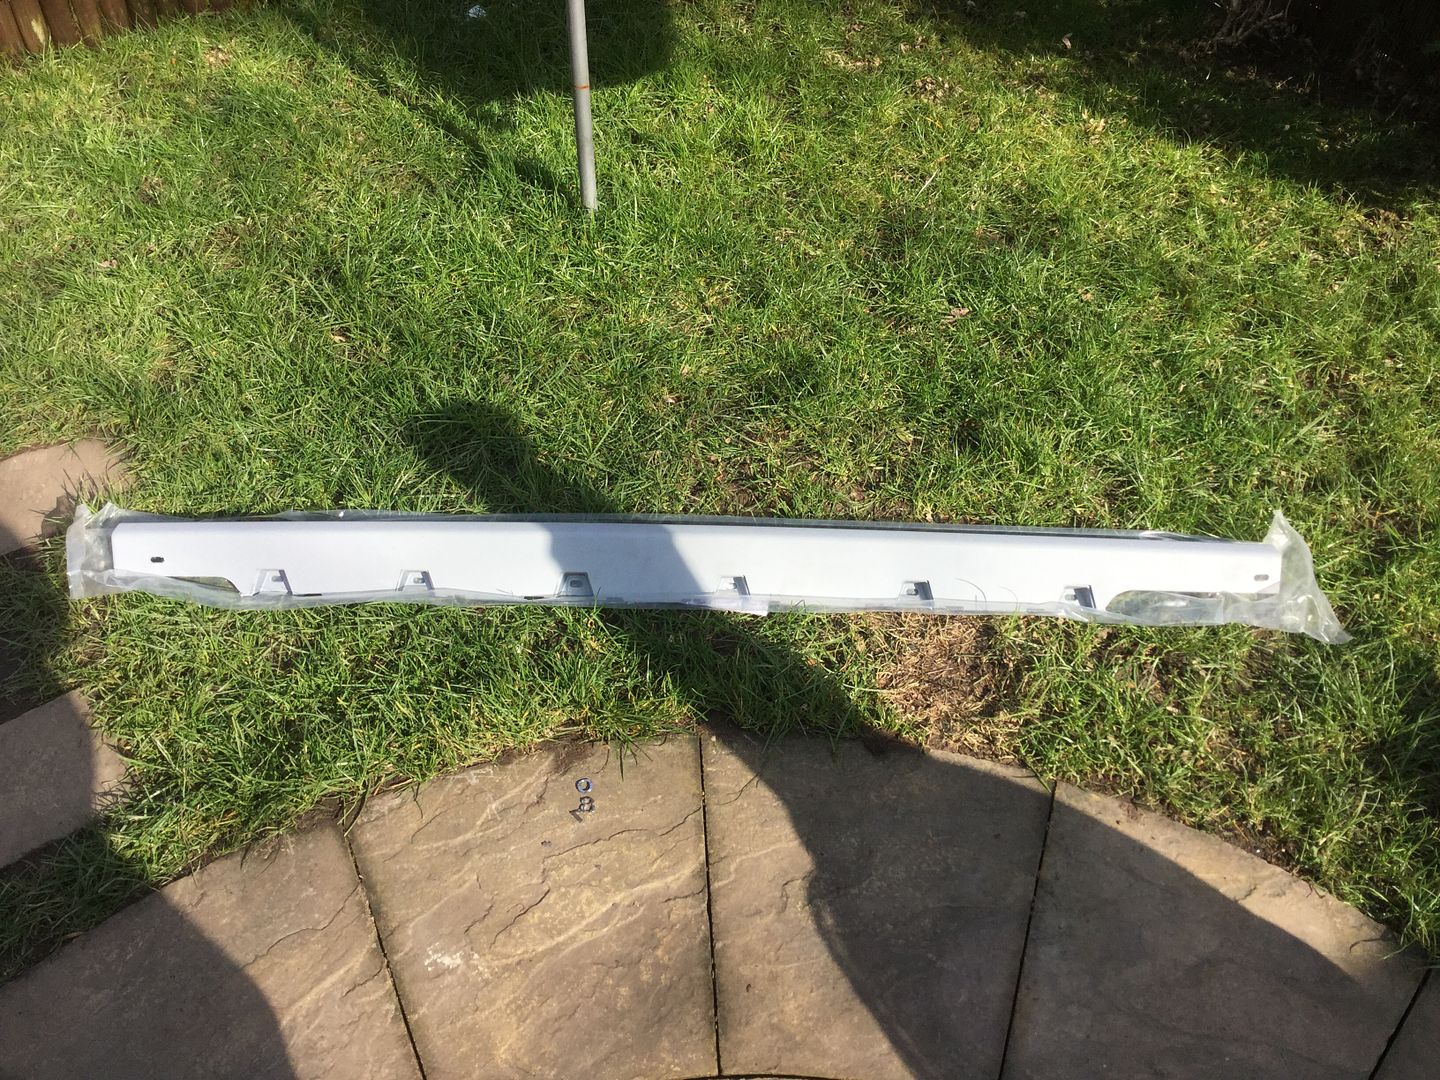
Funnily enough the clips have been replaced with plastic ones, must of been a known problem that the clips rusted to nothing so they changed the design I suppose -


I've now had both of those painted along with the R/H wing -


That's all the progress I've made so far, will update again when I've got the passenger side done !

Jay.
Big-Jay is offline   Reply With Quote
Old 27-03-16, 07:01 PM   #62
Roverlike
Member
 
Roverlike's Avatar
 
Join Date: Nov 2012
Location: Split, Croatia
Posts: 82
Roverlike will become famous soon enough
Excellent thread and progress to follow. I admire your work
__________________
www.roverasi.org
Roverlike is offline   Reply With Quote
Old 27-03-16, 07:06 PM   #63
Big-Jay
Member
 
Big-Jay's Avatar
 
Join Date: Jan 2016
Posts: 121
Big-Jay has a spectacular aura aboutBig-Jay has a spectacular aura about
Quote:
Originally Posted by Rockey5uk2001 View Post
Still in the shed at the mo.... don't know how to break it to the wife....
Lmao !

I'd take Talkingcars advice, sounds about right

Quote:
Originally Posted by Maxfly View Post
That's the second set of sideskirt brackets that have rotted away, sure Kev replaced them all about 2 years before I bought it.
Is it a build up of grime that causes the rust at that part of the jacking points/sills? Would have thought that those areas would be protected by the skirts and the exposed areas would be more susceptible.
Lesson learnt, in future remove sideskirts whenever treating zs's for rust!
Hi Gary,

The drivers side skirt brackets were replaced with stainless so they're fine, the passenger side wasn't though unfortunately.

To be fair there's quite a few layers of metal that meet at the jacking point area so if water were to get in there, which is the case here, then corrosion is inevitable as it would sit between the layers and take longer to dry out. I see where your coming from regarding the skirts as the rest of the sill that's protected by the skirt is mint.
Big-Jay is offline   Reply With Quote
Old 27-03-16, 07:07 PM   #64
Big-Jay
Member
 
Big-Jay's Avatar
 
Join Date: Jan 2016
Posts: 121
Big-Jay has a spectacular aura aboutBig-Jay has a spectacular aura about
Quote:
Originally Posted by Roverlike View Post
Excellent thread and progress to follow. I admire your work
Cheers bud !
Big-Jay is offline   Reply With Quote
Old 28-03-16, 06:34 AM   #65
Lukeus101
Member
 
Lukeus101's Avatar
 
Join Date: Feb 2012
Location: Huddersfield, West Yorks.
Posts: 2,944
Lukeus101 is a name known to allLukeus101 is a name known to allLukeus101 is a name known to allLukeus101 is a name known to allLukeus101 is a name known to allLukeus101 is a name known to allLukeus101 is a name known to all
Awesome work on that rot mate!
__________________

ZS Appreciation Facebook Group:
https://www.facebook.com/groups/475756782447499/

> ZR 105 (Broken) > MK2 ZS 180 (Sold) > MK1 ZS 180 (Sold) > ZR Replica (Dead) > MK1 ZS 180 (Broken)
Lukeus101 is offline   Reply With Quote
Old 28-03-16, 11:31 AM   #66
petet16
Technical Expert R.I.P.
 
petet16's Avatar
 
Join Date: Aug 2007
Posts: 9,239
petet16 is a splendid one to beholdpetet16 is a splendid one to beholdpetet16 is a splendid one to beholdpetet16 is a splendid one to beholdpetet16 is a splendid one to beholdpetet16 is a splendid one to beholdpetet16 is a splendid one to beholdpetet16 is a splendid one to beholdpetet16 is a splendid one to beholdpetet16 is a splendid one to behold
It's way better protected than it was at build, I've used loads of the Bilt Hamber products, I've been really impressed with them.
__________________
------------------------------
theMGZS.co.uk Admin
------------------------------
__________________
It never got fast enough for me
Hunter S Thompson

R.I.P. Peter David Scott 18.07.59 to 21.11.16
Will be missed by us all but we will always remember you.

petet16 is offline   Reply With Quote
Old 28-03-16, 11:57 AM   #67
LozMachine
Site Supporter
 
LozMachine's Avatar
 
Join Date: Aug 2007
Location: Cockermouth
Posts: 674
LozMachine is a jewel in the roughLozMachine is a jewel in the roughLozMachine is a jewel in the rough
Briiliant work happening there , makes me wonder if there will ever be repair panels available in the future like the mgb etc are catered for, looks like most 45/zs are going to go through this at some point , especially the front jacking points/floor area , had to weld a patch in my 02 plate for the mot and to be fair the whole area looks pretty terrible lol
__________________
------------------------------
theMGZS.co.uk Supporter
------------------------------
__________________
I Need Arches.
They're only noodles Michael
LozMachine is offline   Reply With Quote
Old 28-03-16, 12:01 PM   #68
Maxfly
Site Ambassador
 
Maxfly's Avatar
 
Join Date: Jul 2007
Location: Fort William
Posts: 5,458
Maxfly is a name known to allMaxfly is a name known to allMaxfly is a name known to allMaxfly is a name known to allMaxfly is a name known to allMaxfly is a name known to allMaxfly is a name known to all
Just wow! Great work again Jay, the quality of what your doing looks great. I look forward to the next update which will hopefully have no more corrosion appearing.
__________________
------------------------------
theMGZS.co.uk Supporter
------------------------------
__________________
Metro VVC
Maxfly is offline   Reply With Quote
Old 28-03-16, 06:54 PM   #69
Big-Jay
Member
 
Big-Jay's Avatar
 
Join Date: Jan 2016
Posts: 121
Big-Jay has a spectacular aura aboutBig-Jay has a spectacular aura about
Quote:
Originally Posted by Lukeus101 View Post
Awesome work on that rot mate!
Thanks Buddy !

Quote:
Originally Posted by petet16 View Post
It's way better protected than it was at build, I've used loads of the Bilt Hamber products, I've been really impressed with them.
Cheers bud !

Can't fault Bilt Hambers Stuff, tried many different brands and products but I always return. Their Deox C rust remover, the one you dilute in water, is excellent stuff too !

Quote:
Originally Posted by LozMachine View Post
Briiliant work happening there , makes me wonder if there will ever be repair panels available in the future like the mgb etc are catered for, looks like most 45/zs are going to go through this at some point , especially the front jacking points/floor area , had to weld a patch in my 02 plate for the mot and to be fair the whole area looks pretty terrible lol
Thanks mate !

I'd love to see some reproduction panels being produced for the ZS as the ones that were left over from the factory are spread few and far between now, took me ages and many many phone calls to find the ones I needed. Unfortunately I can't see it happening just yet, I don't think there's a big enough calling at the moment. I did try having a look on a few Honda Civic websites as I know that's what the 45/ZS is based on but I had no luck there either.

That's not too bad for an 02 plate, I've seen worse !

Quote:
Originally Posted by Maxfly View Post
Just wow! Great work again Jay, the quality of what your doing looks great. I look forward to the next update which will hopefully have no more corrosion appearing.
Thanks Gary

Just the roof left to sort now but I've booked her in for the last week of April for that as I have some time off work and I don't need to use the car until after that anyway. I don't think they'll be any more corrosion to find after this, I've had a good dig around the rear end and all looks excellent there, looks as if just the front end suffered. The rear arches will get the same treatment as this, back to bare metal, Zinc primed, Gravigarded, painted and waxed, in the summer.
Big-Jay is offline   Reply With Quote
Old 28-03-16, 07:09 PM   #70
LozMachine
Site Supporter
 
LozMachine's Avatar
 
Join Date: Aug 2007
Location: Cockermouth
Posts: 674
LozMachine is a jewel in the roughLozMachine is a jewel in the roughLozMachine is a jewel in the rough
Brilliant mate, a real devotion to the brand, hat's off to ya fella ��
__________________
------------------------------
theMGZS.co.uk Supporter
------------------------------
__________________
I Need Arches.
They're only noodles Michael
LozMachine is offline   Reply With Quote
Reply


Posting Rules
You may not post new threads
You may not post replies
You may not post attachments
You may not edit your posts

BB code is On
Smilies are On
[IMG] code is On
HTML code is Off

Forum Jump


All times are GMT. The time now is 06:14 AM.


Powered by vBulletin® Version 3.8.11
Copyright ©2000 - 2024, vBulletin Solutions Inc.
Copyright ? 2010 theMGZS.co.uk