theMGZS.co.uk   Navigation

AboutNews Flyers Forum Events Home

Home
Go Back   theMGZS.co.uk :: MG ZS forum > Technical Area > Build Projects

Reply
 
Thread Tools Display Modes
Old 04-12-16, 11:04 AM   #51
Big-Jay
Member
 
Big-Jay's Avatar
 
Join Date: Jan 2016
Posts: 121
Big-Jay has a spectacular aura aboutBig-Jay has a spectacular aura about
Quote:
Originally Posted by stamford View Post
Yea my weekends are spent playing catch up on other things which have a higher priority so I am told! As an engineer I have the tools at hand for such jobs, reamers for cleaning the slider pin holes out. The short days and nonexistent light evenings at this time of year stop my progress, wish it was 6 months later!
Yes, roll on summer time. Early starts, warm days and light evenings, can't beat it. Reamers would have been very handy yesterday, must invest in a set !

Quote:
Originally Posted by Dan1971 View Post
Nice. They will look very good behind some graphite or black alloys.
Cheers Dan,

Yep, should look mean behind the black alloys.

Quote:
Originally Posted by tcb 180 View Post
Excellent work. That will be a longer survivor for all your efforts.
Thanks,

I hope so !
Big-Jay is offline   Reply With Quote
Old 11-12-16, 09:35 AM   #52
tcb 180
Member
 
tcb 180's Avatar
 
Join Date: Jul 2007
Location: gwent s.wales
Posts: 517
tcb 180 will become famous soon enough
Any chance you can post up pics of what treatments you are using? Be interested for my little winter project. I bought some good quality rust renovator. The zinc coat I'm after.
tcb 180 is offline   Reply With Quote
Old 12-12-16, 03:23 PM   #53
Big-Jay
Member
 
Big-Jay's Avatar
 
Join Date: Jan 2016
Posts: 121
Big-Jay has a spectacular aura aboutBig-Jay has a spectacular aura about
Quote:
Originally Posted by tcb 180 View Post
Any chance you can post up pics of what treatments you are using? Be interested for my little winter project. I bought some good quality rust renovator. The zinc coat I'm after.
No problem.

I usually have a set routine when it comes to rust removal/treatment.

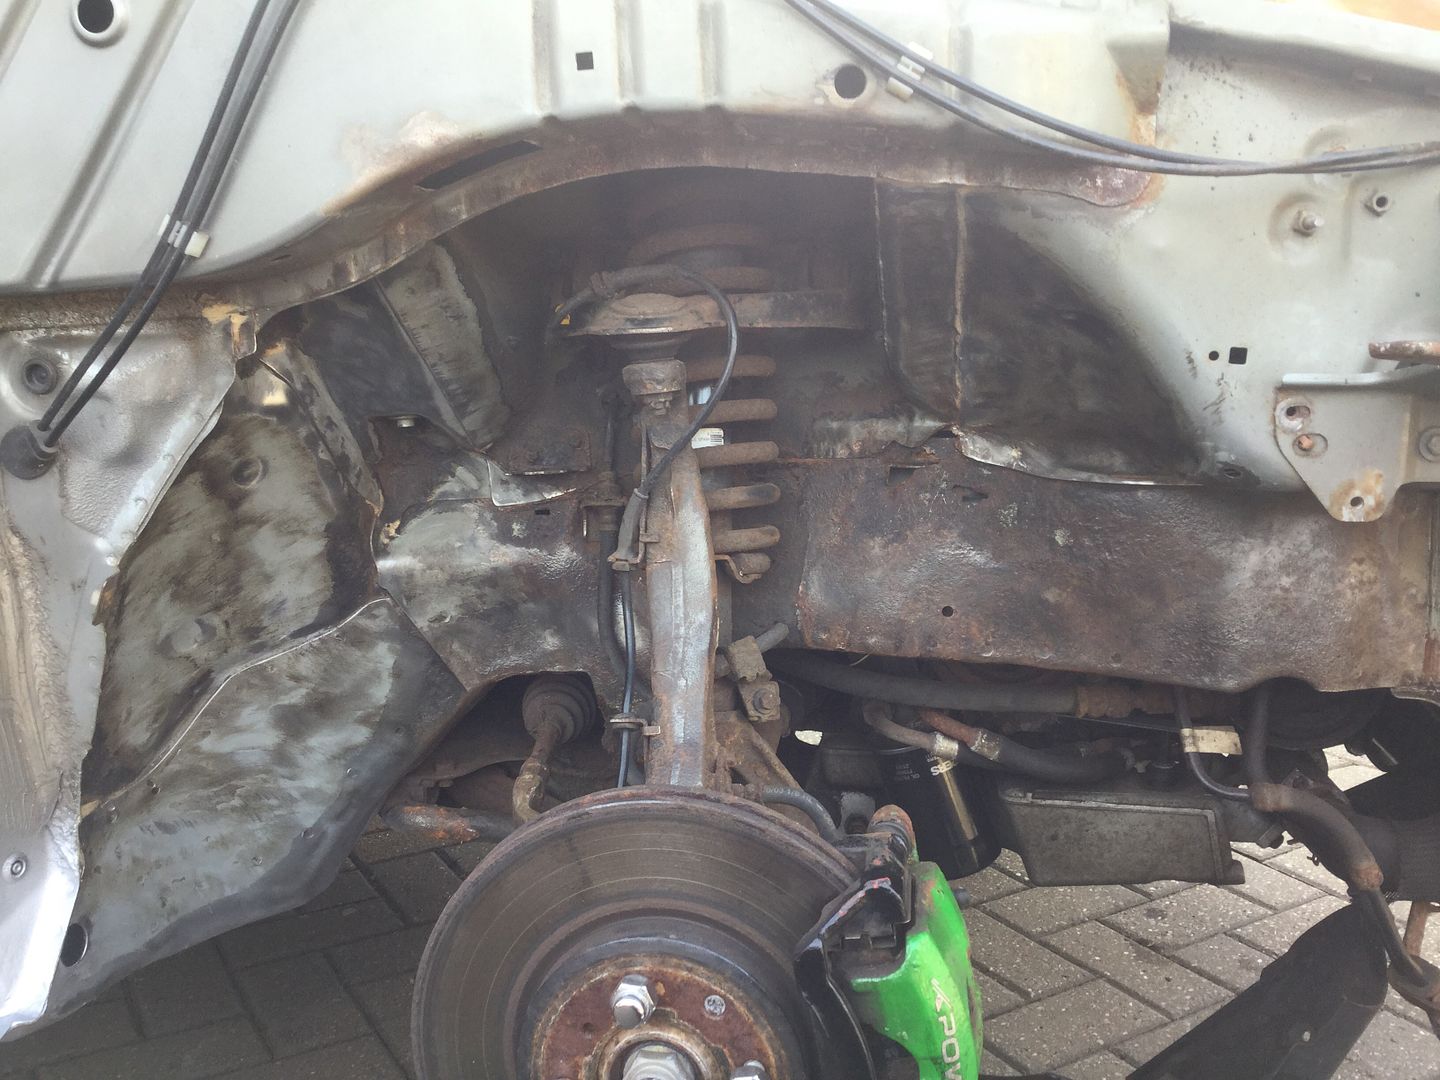
Firstly, I'll completely remove any underseal or top coat from the area I'm working with. This is the only way to get the full picture of how bad any given area is.

I use a knotted wire wheel on my angle grinder as it makes light work of removing factory underseal and paint. Here's a link to what I use - http://www.ebay.co.uk/itm/100mm-4-TW...-/262727252383.

Smaller knotted wheels can also be purchased for use in a drill for tighter areas.

Always try to purchase a crimped wire wheel as the un-crimped wheels have a nasty habit of disintegrating mid-use when they have worn down. Make sure to always wear eye protection too, these are no joke, especially the angle grinder wheel.

The area should look something like this after the initial wire brushing -


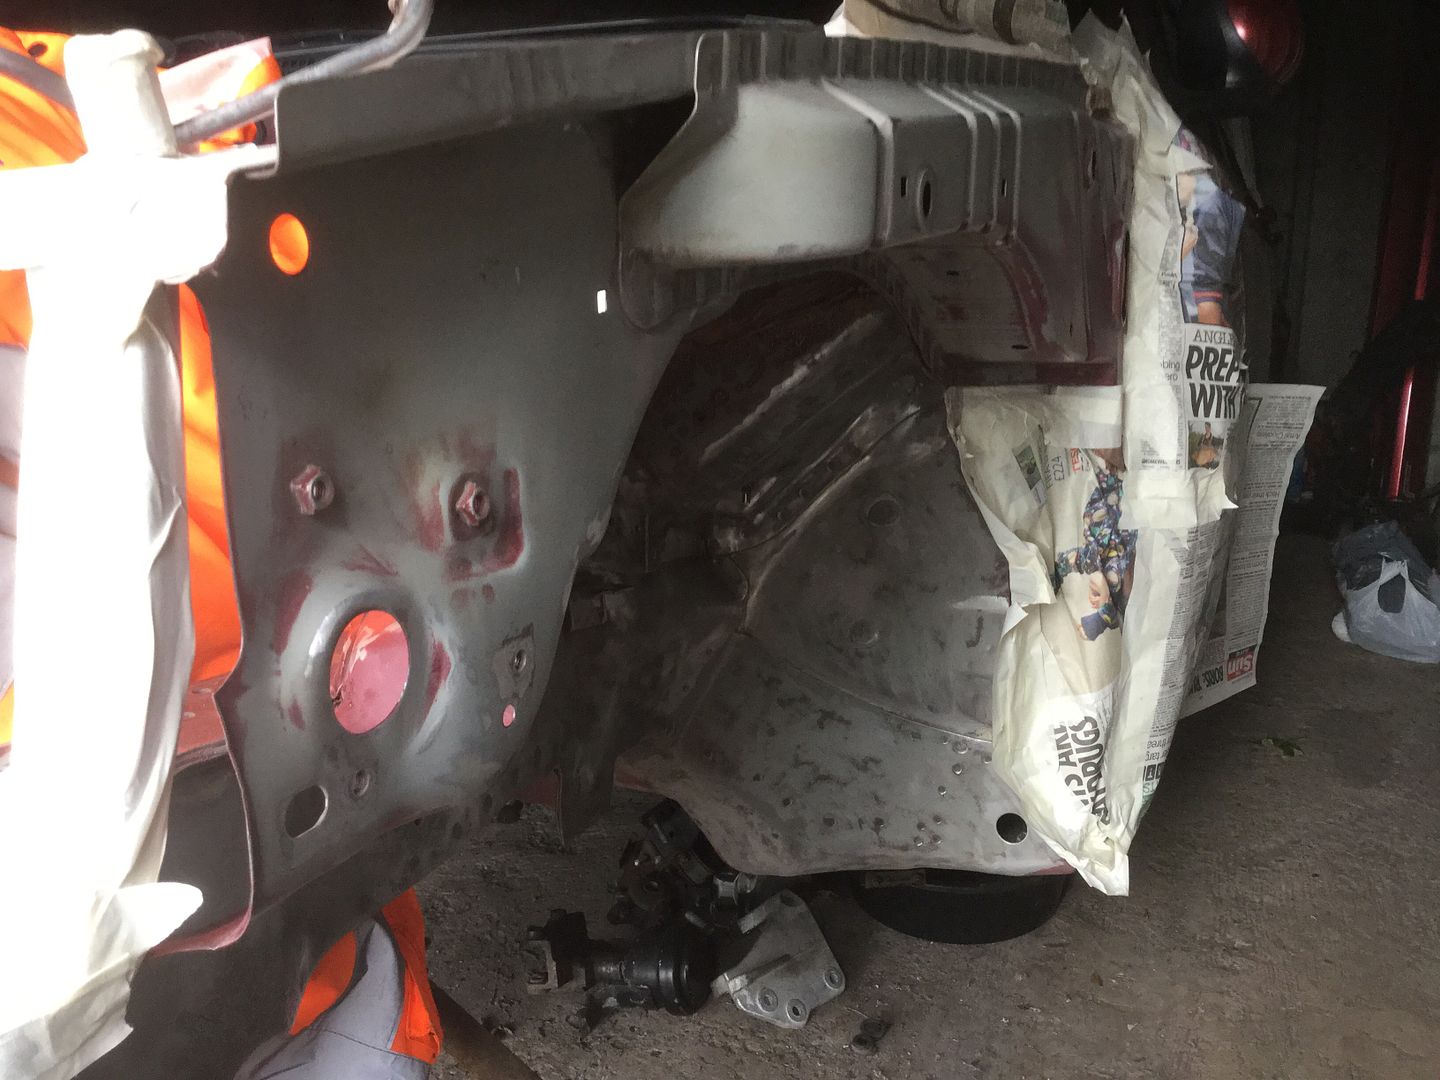
Here's an example of how efficient factory/aftermarket underseal can be at hiding rust and corrosion. What looks to be a reasonably sound area is quite the opposite once the underseal has been removed. This is an XPG ZS I used to own -


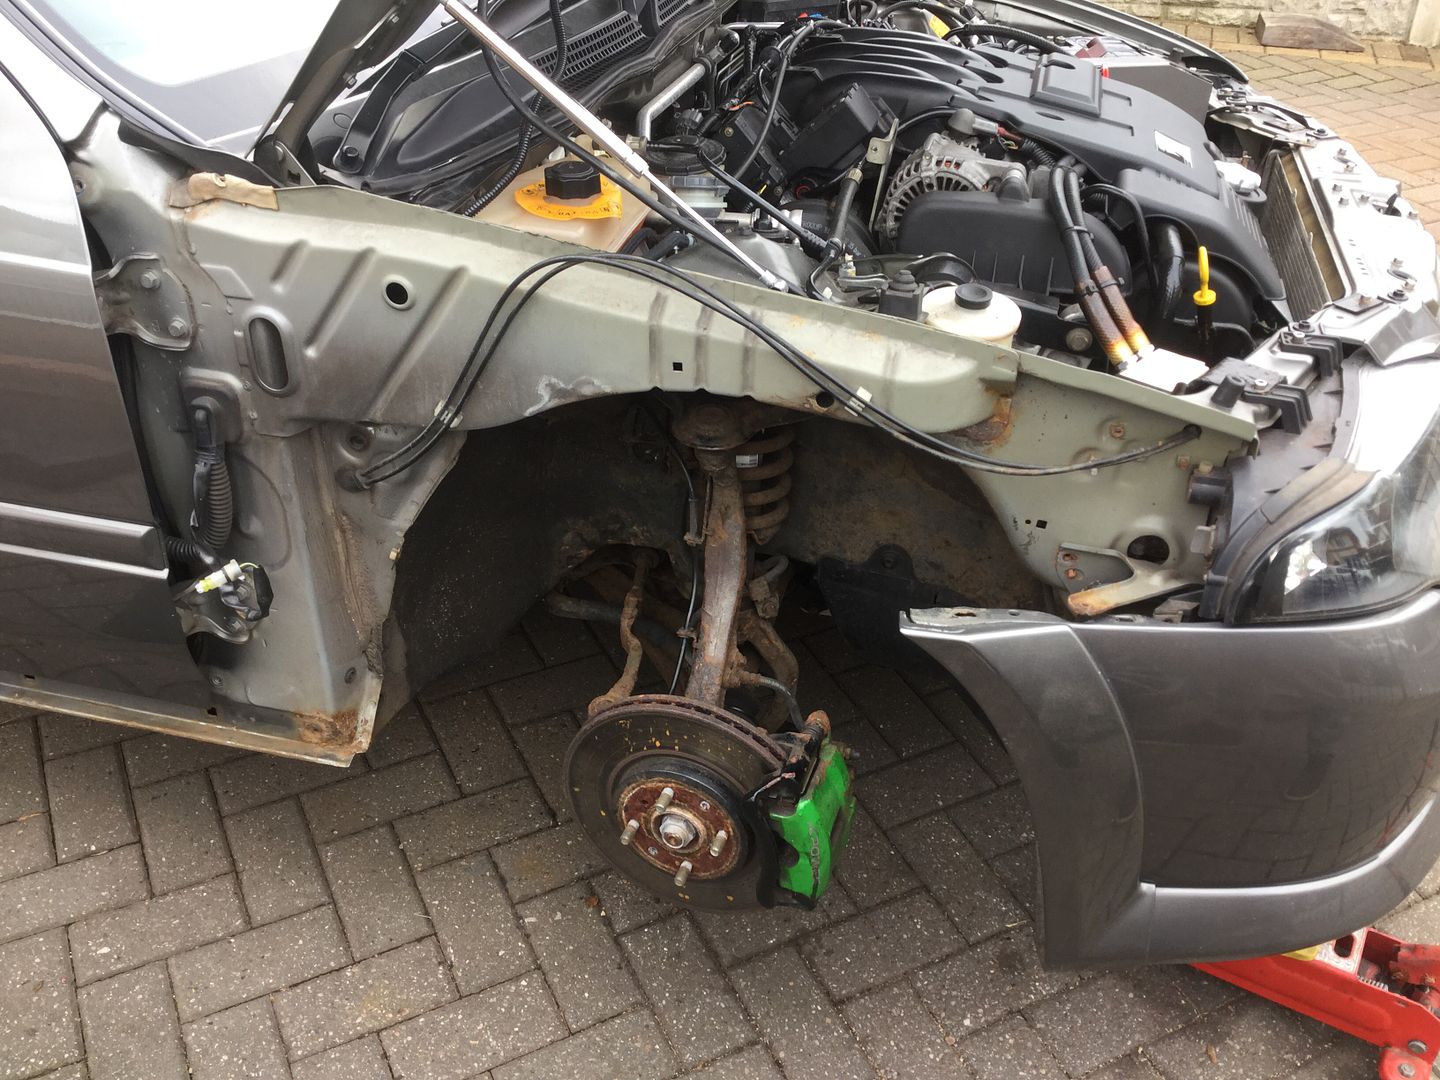
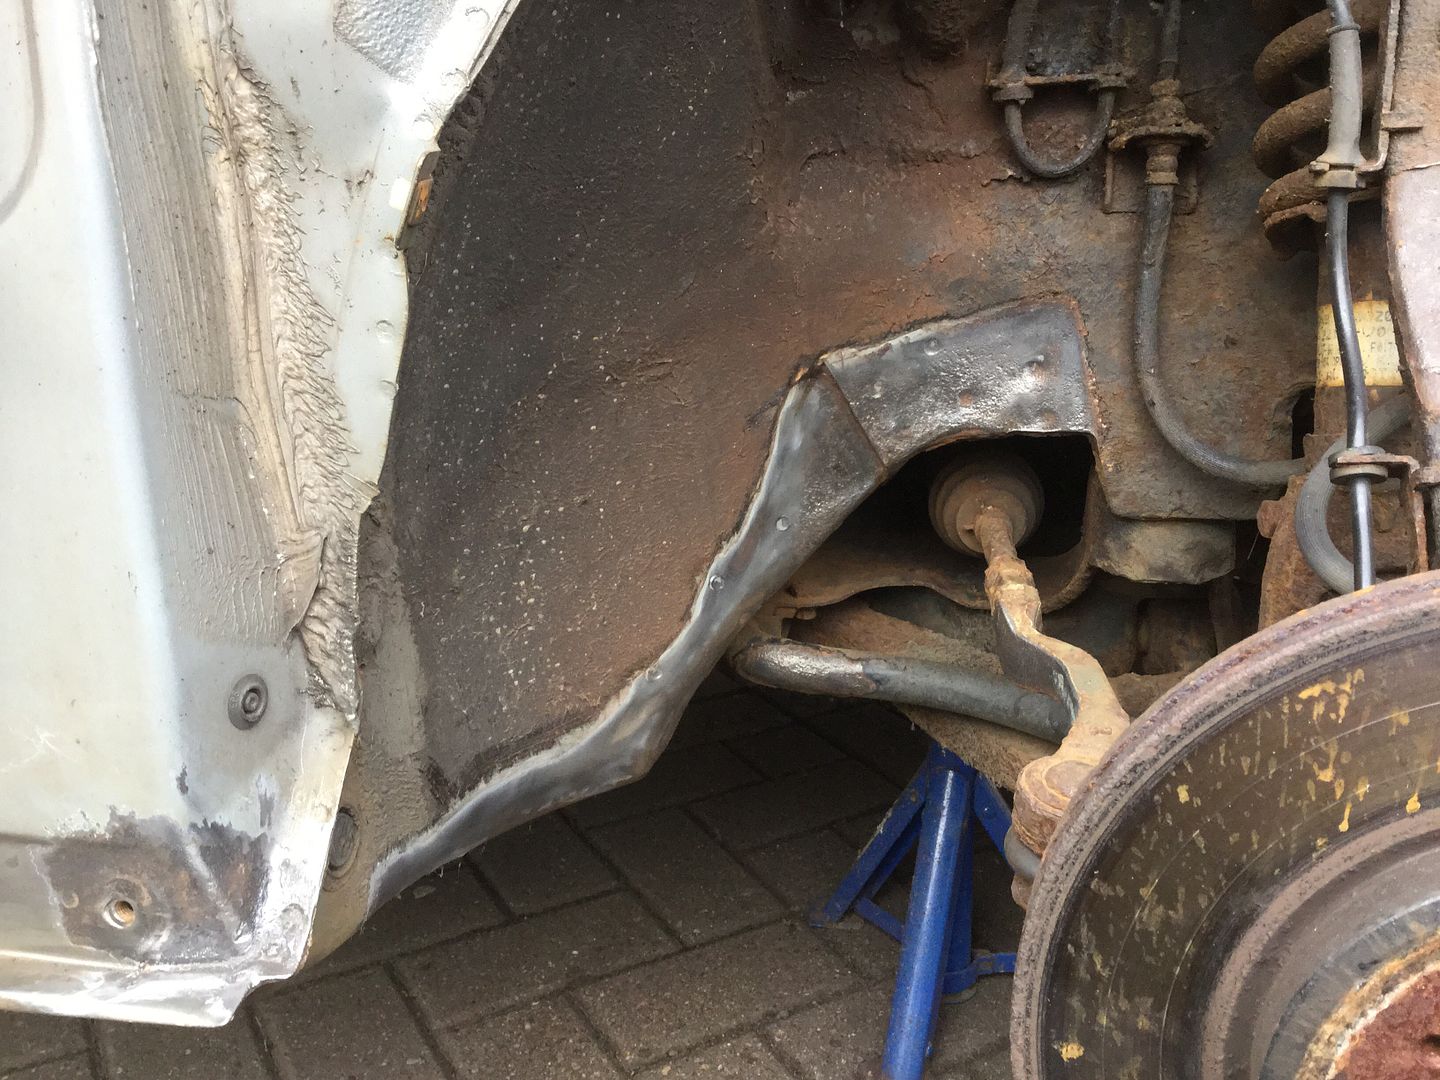
And upon removal of said underseal -


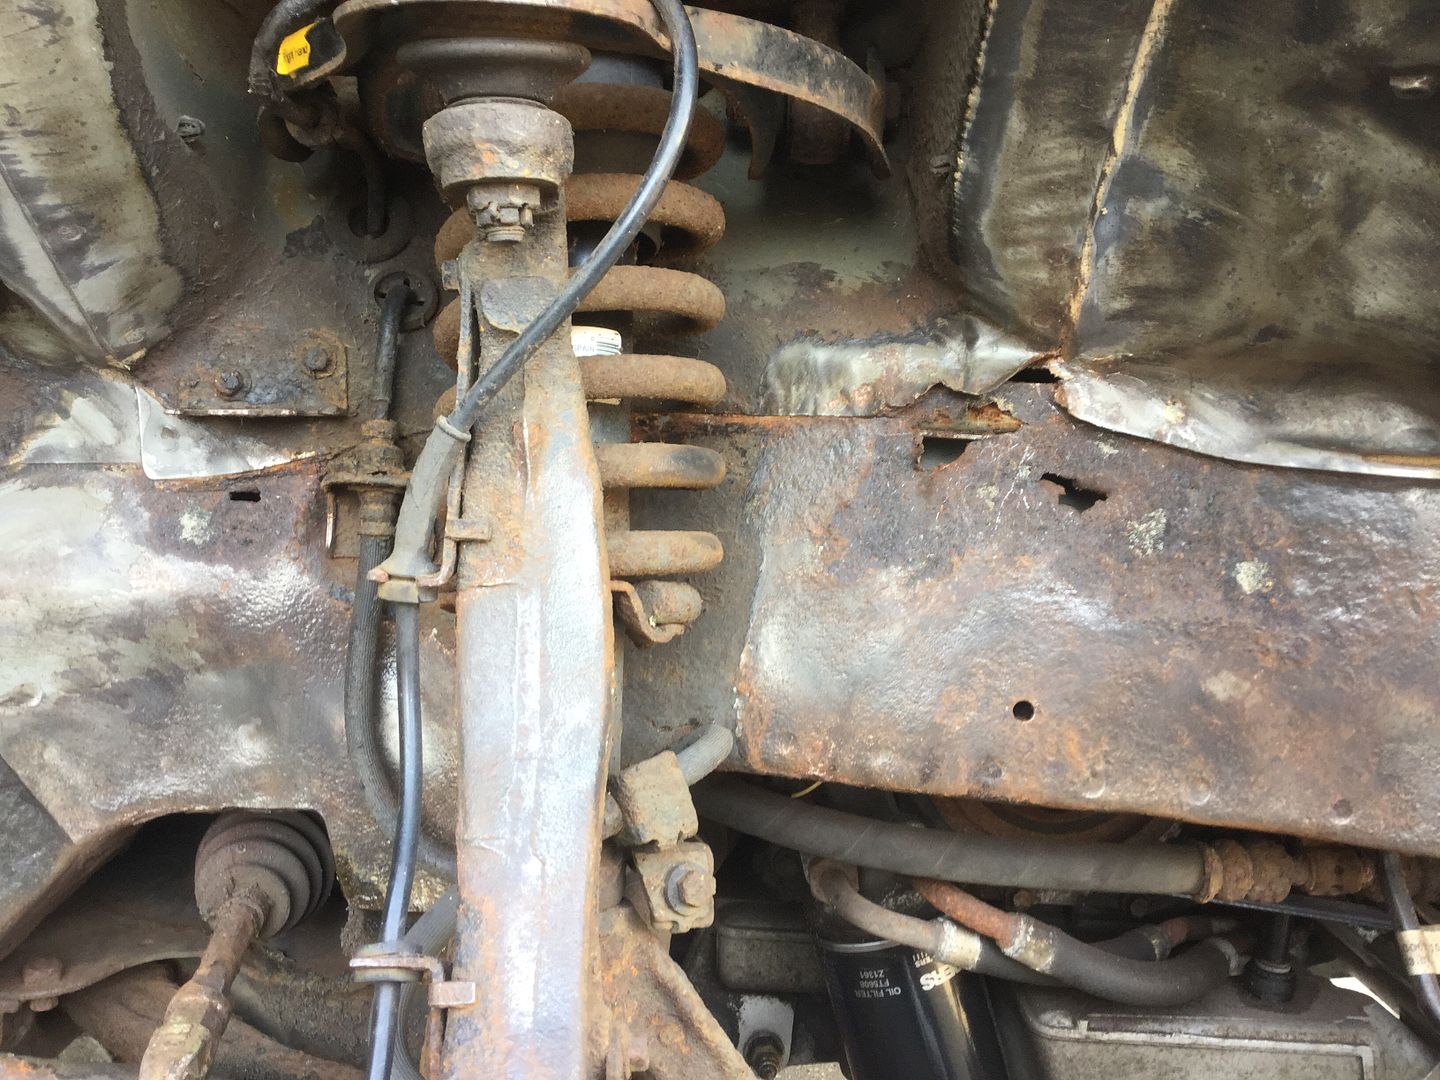
In this case welding/panel replacement was required.

If I have any rusty/pitted areas I like to use rust removers, not converters. I've tried many different converters in the past and they just don't cut it in my opinion. The only way to effectively deal with rust is to remove it, all your doing with a converter is delaying the inevitable.

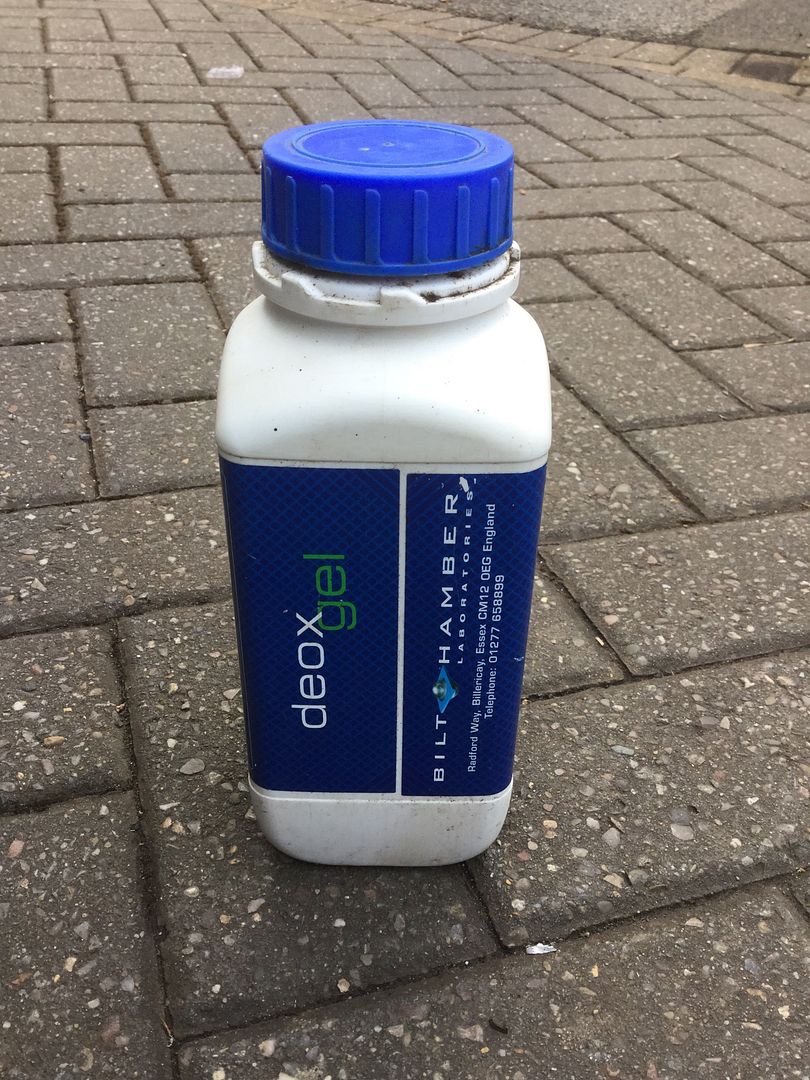
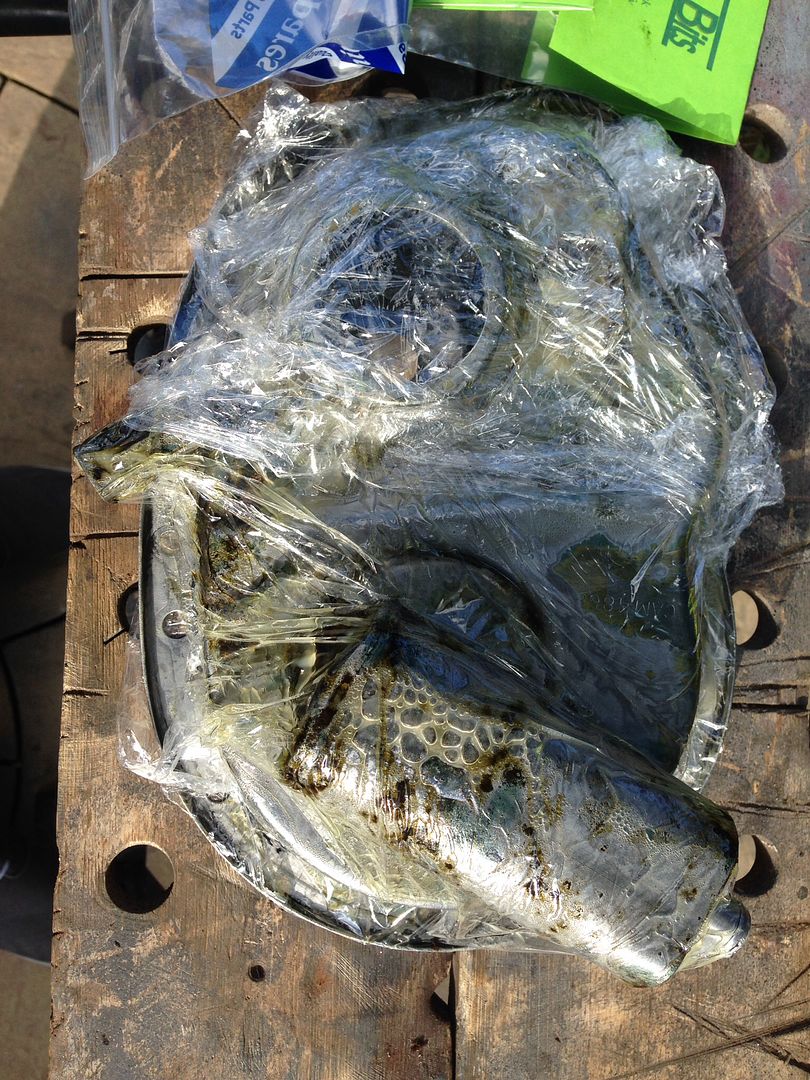
A good rust remover is Bilt Hambers Deox Gel. You simply brush it on to the rusty area, cover it with some cling film so it doesn't dry out, and leave it for a period of time whilst agitating it with a wire brush every few hours or so. I usually like to leave it on for 24 hours depending on the severity of the rust.

This is the product -


Here's a link to some on eBay - http://www.ebay.co.uk/itm/Bilt-Hambe...4AAOSw1KxXNZkY

And in action -


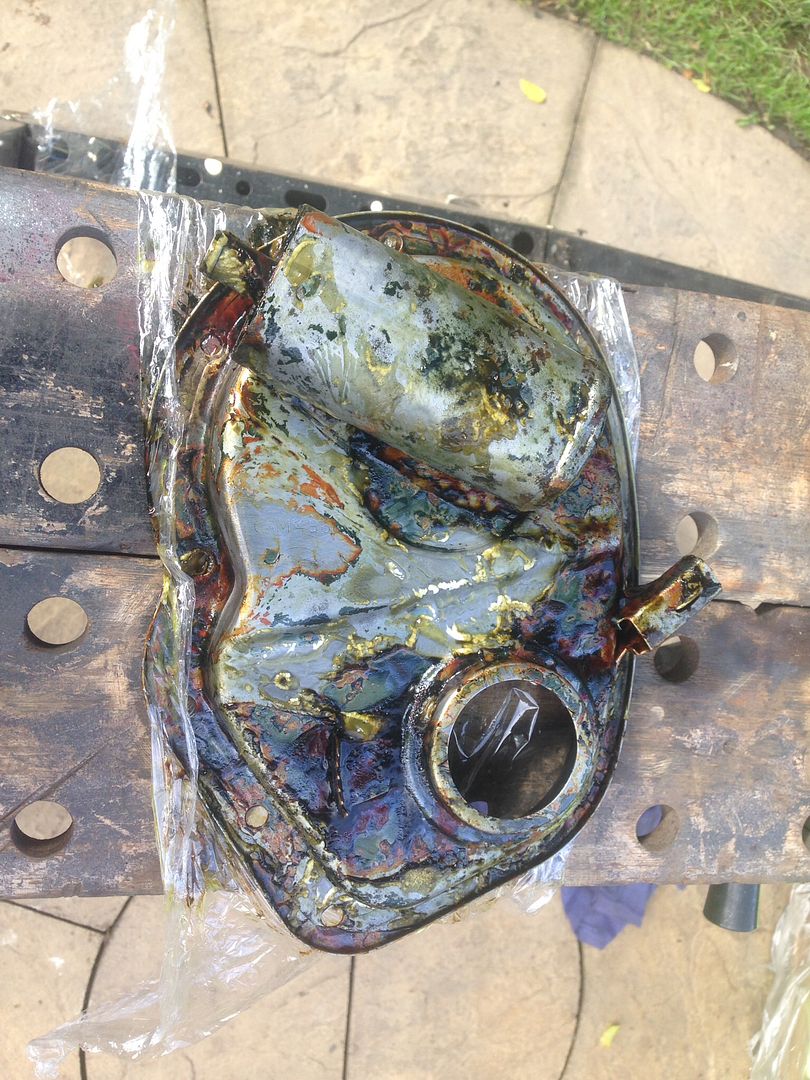
When it gets to the above stage you simply wash off the brown/green sludge with some clean water, and then you should be left with a rust free surface on which you can paint -


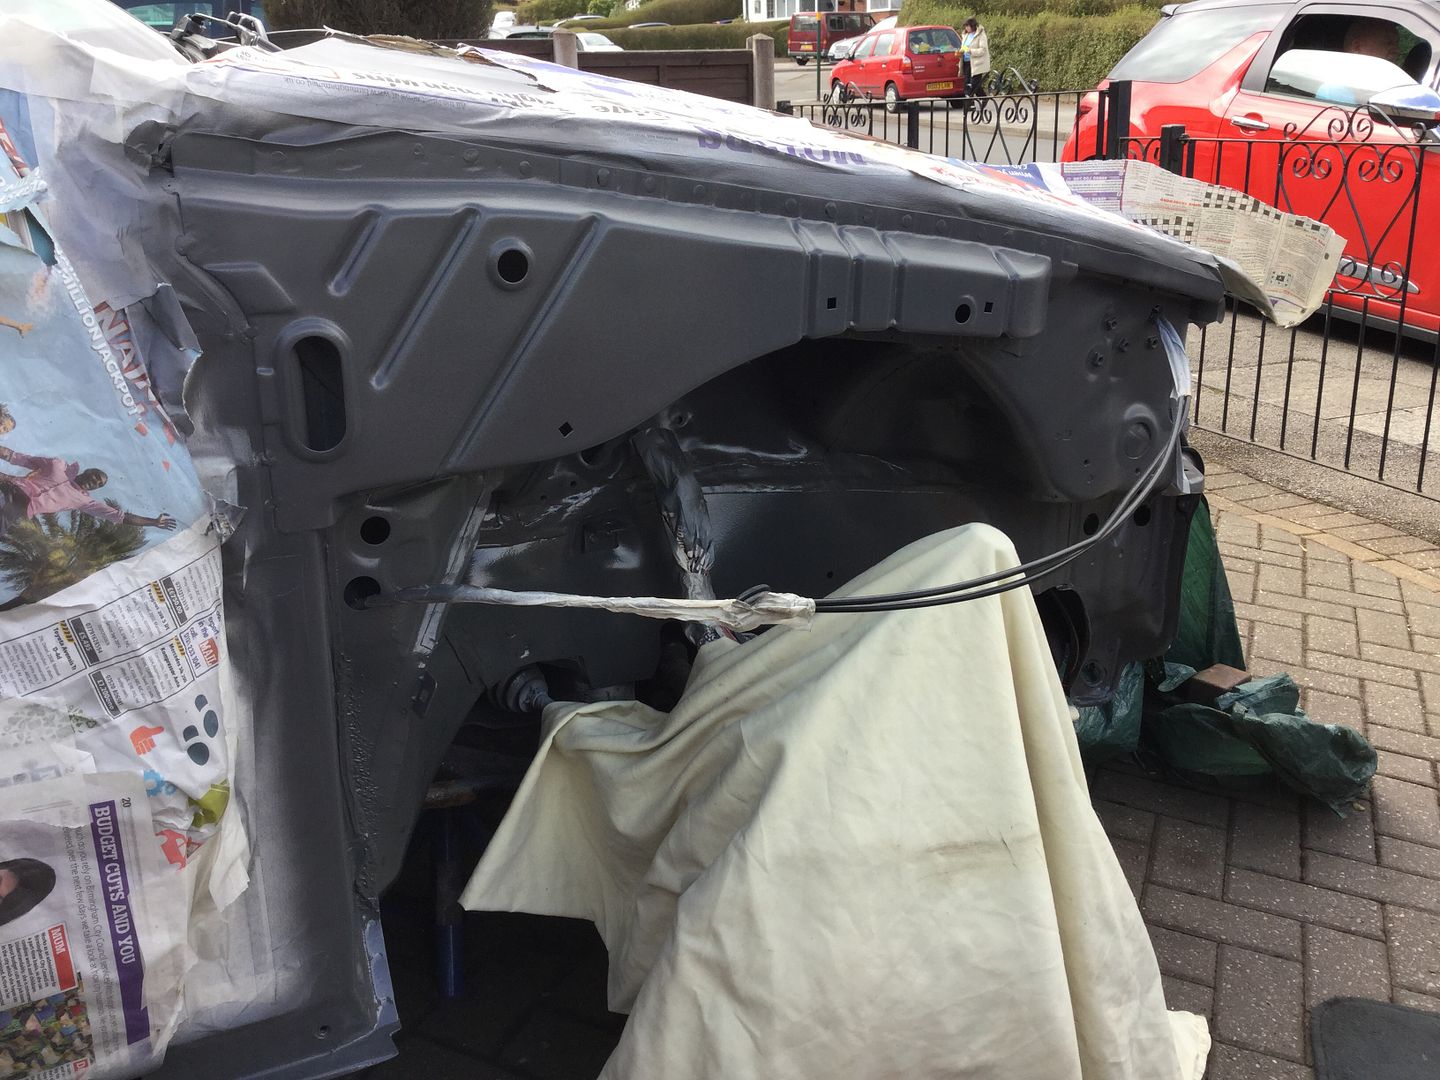
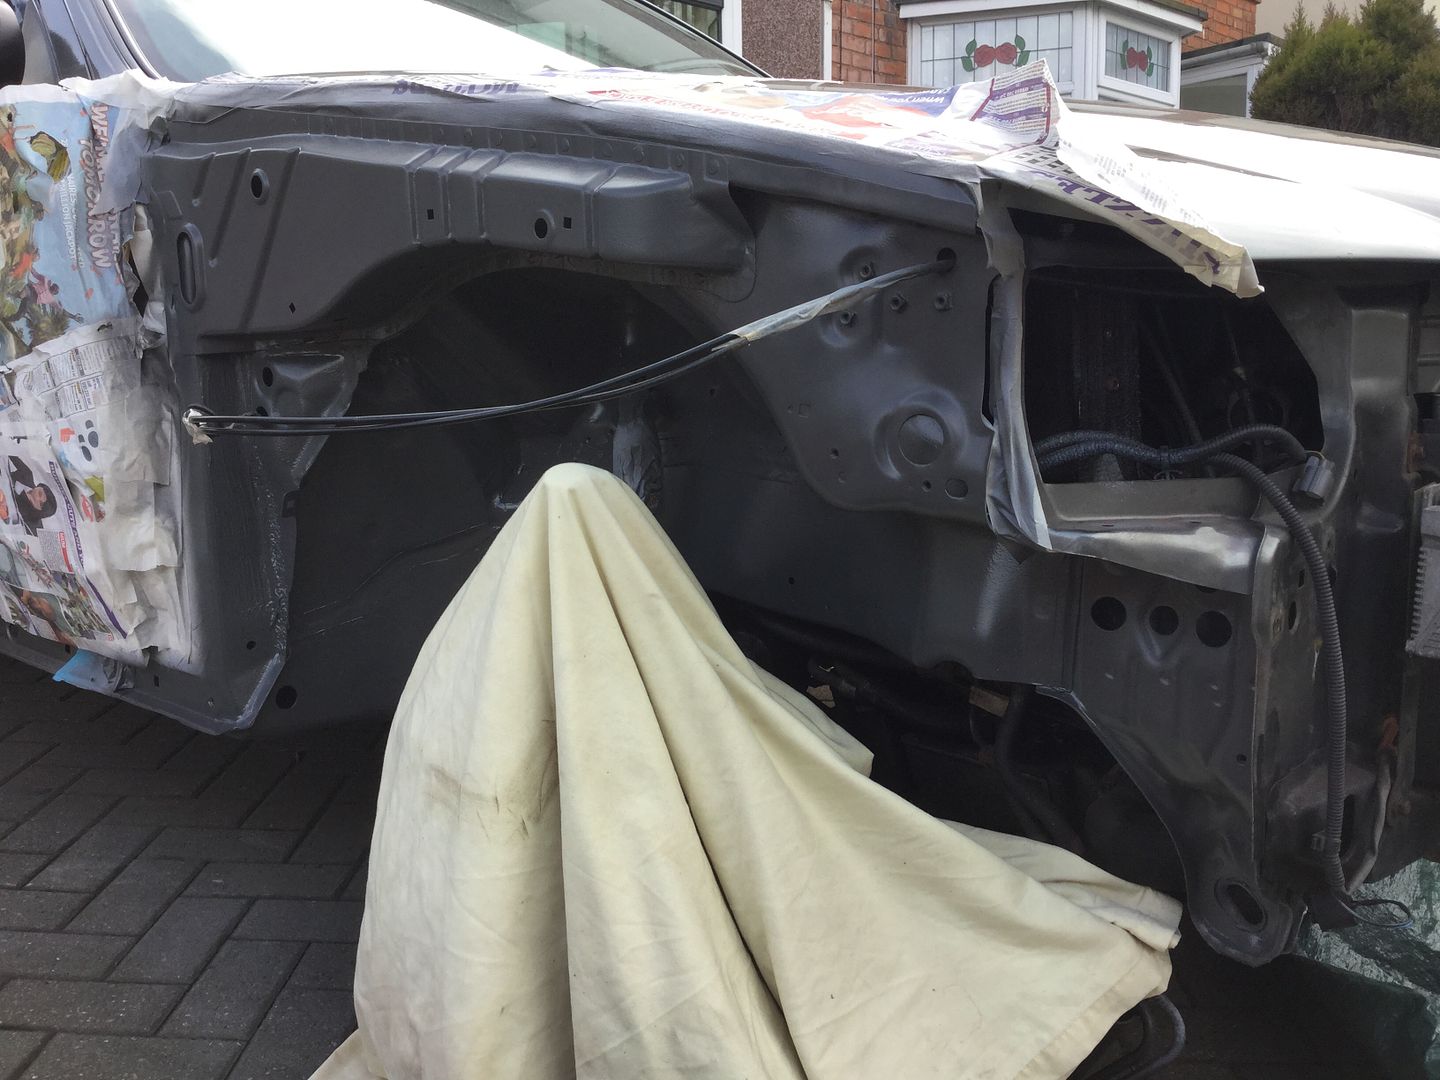
After this is done I like to use Zinc Rich Primer.

Zinc primer has great anti corrosion properties and is also not as porous as regular primer, meaning i can leave something in the primer stage for longer without rust creeping back in. Rust would usually start to form fairly quickly if I were to use regular/acid etch primers for example, as these primers are very porous.

Another benefit of Zinc primer is it will sacrifice its self for minor rust on the metal, essentially killing it off.

Here's a link to the Zinc Primer I use- http://www.ebay.co.uk/itm/Zinc-Spray...cAAMXQVERSwzdT

Its cheaper to buy this primer in bulk.

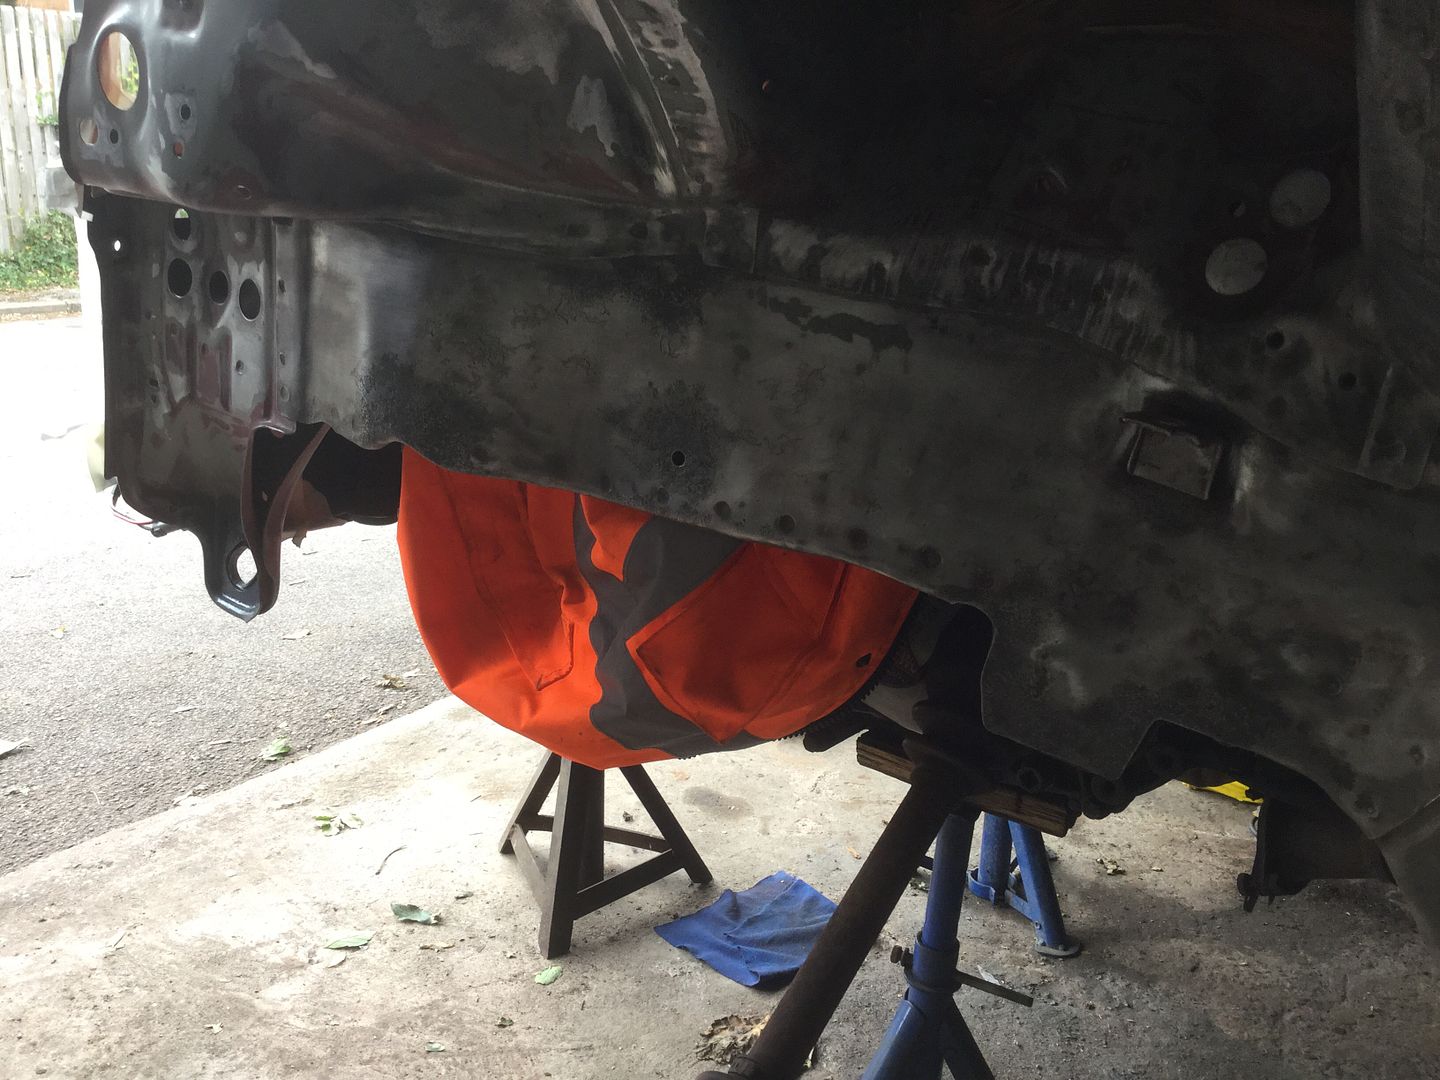
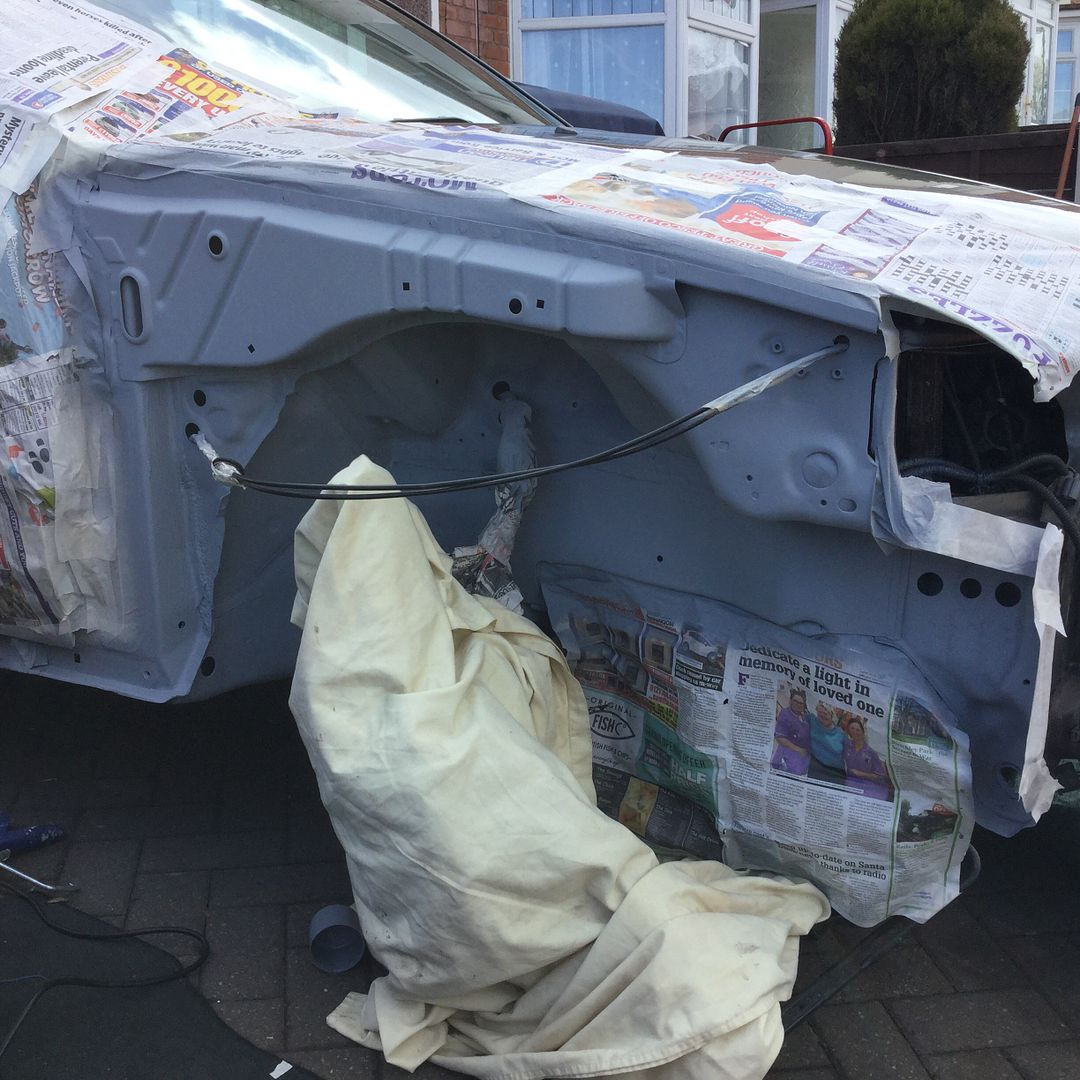
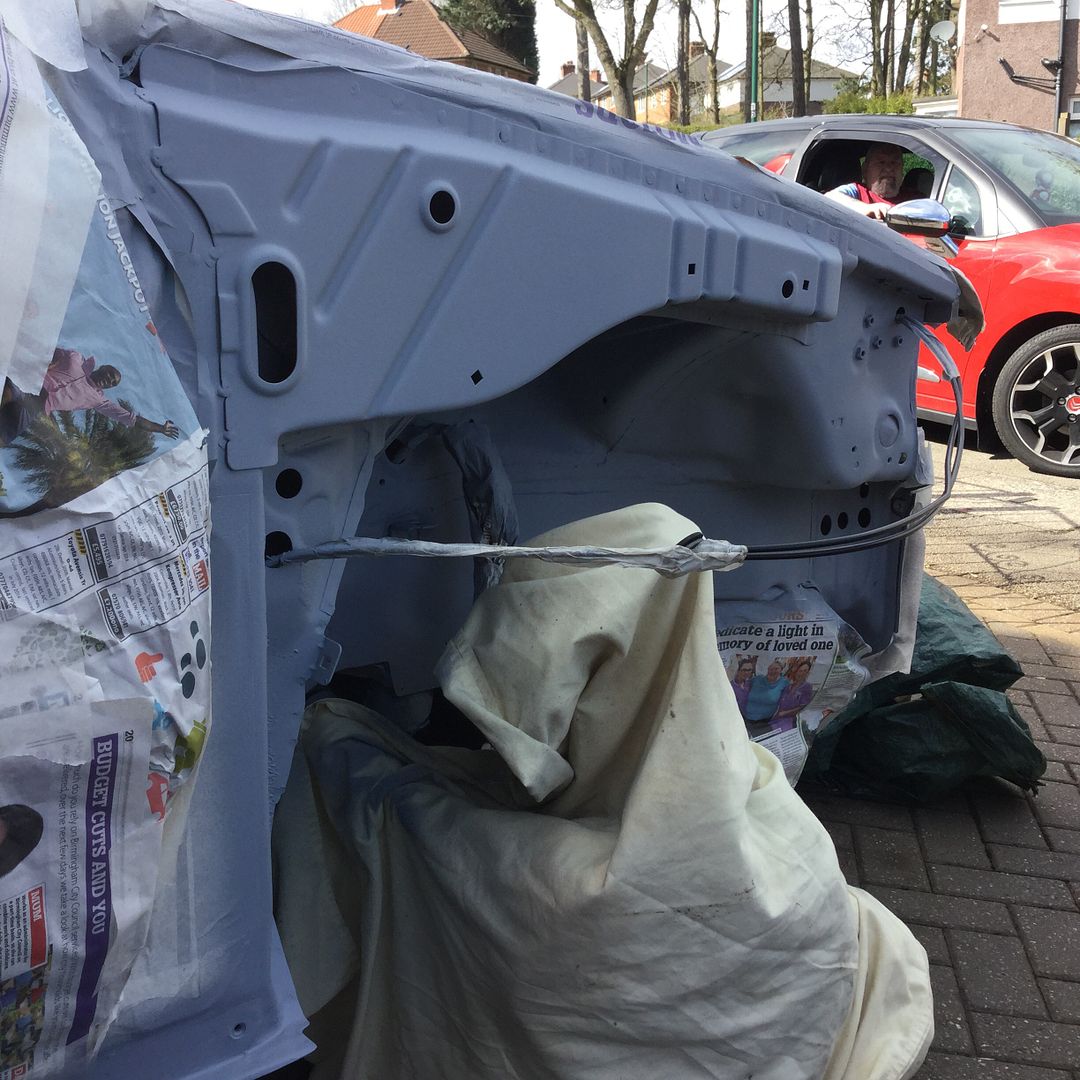
Heres the under arch of my current ZS Zinc Primed -


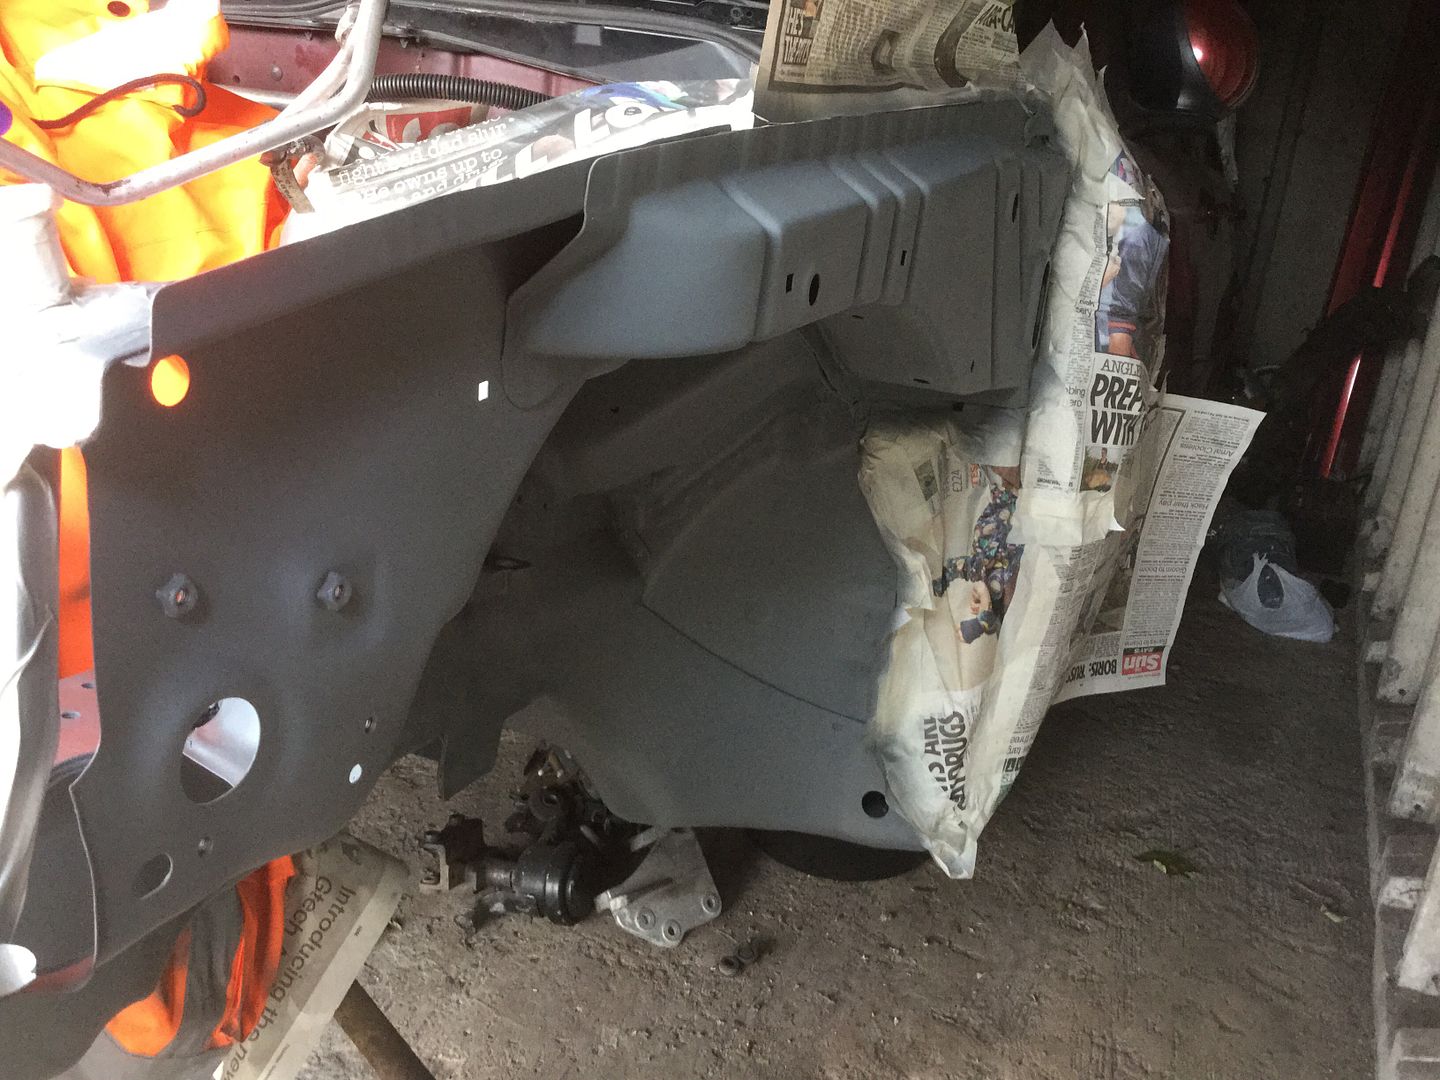
I usually apply 2-3 coats.

After that's done I like to use a good quality stone chip/underseal. I use UPOL Gravigard in Aerosol form as it's reasonably priced and gives excellent long term protection.

Here's a link - http://www.ebay.co.uk/itm/U-Pol-Grav...gAAOSwDk5T7JzG

You can also buy its sister product UPOL Gravtex for use in an air powered spray gun.

Again, it's much cheaper to buy this stuff in bulk.

I can't stress enough that this has to be layed down in VERY thin coats with sufficient time to dry in between coats. Try to put too much on too quickly and you'll end up with a mess on the floor. Practice makes perfect when it comes to applying the underseal, it's not a job to be rushed. It does say ready to be over painted in 3-4 hours but I'd recommend you leave it for 24 hours to fully cure.

Here's the underarch of the XPG ZS after 2-3 coats of Gravigard -


That's the main bulk of the rust protection completed. After this I like to apply some correct coloured top coat and some anti corrosion wax to ensure the longevity of the rust protection.

I use Bilt Hambers Dynax UC Wax, it's excellent stuff and easily the best I've used thus far.

Here's a link to the product - http://www.ebay.co.uk/itm/Bilt-Hambe...wAAOxygLxSVRxt

For the box sections and cavitys I use Bilt Hambers S-50. Here's a link to some on eBay - http://m.ebay.co.uk/itm/Bilt-Hamber-...%257Ciid%253A1

I've learnt that less is more regarding the S-50. After entering the lance into the box section, a smooth even movement will produce a nice thin coat which will then seap into any seams. Apply too much into a box section and you'll just serve to block up drain holes which will cause more issues in the future.

Thats just common sense your probably thinking, but you'd be surprised at how many people I've seen absolutely cake the inside of their cills in wax and then complain that the wax doesn't work when they've had to have cill's replaced later down the line.

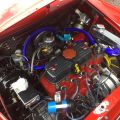
Finally, here's a couple of shots of the finished underarch on the XPG ZS with the top coat and wax applied -


Jay.

Last edited by Big-Jay; 15-12-16 at 03:16 AM.
Big-Jay is offline   Reply With Quote
Old 12-12-16, 06:56 PM   #54
peterzs
promoted bloke!
 
peterzs's Avatar
 
Join Date: May 2008
Location: bournemouth
Posts: 16,799
peterzs is a splendid one to beholdpeterzs is a splendid one to beholdpeterzs is a splendid one to beholdpeterzs is a splendid one to beholdpeterzs is a splendid one to beholdpeterzs is a splendid one to beholdpeterzs is a splendid one to beholdpeterzs is a splendid one to beholdpeterzs is a splendid one to behold
Smile

Looks well sorted.

Thanks for putting it up.

Have to have a go at my one and sort out the jacking points.

__________________
------------------------------
theMGZS.co.uk Admin
------------------------------
__________________
peterzs is offline   Reply With Quote
Old 12-12-16, 08:11 PM   #55
grimmy
its ginger its phenomenal
 
Join Date: Jul 2007
Location: Cumbertoon
Posts: 8,141
grimmy has much to be proud ofgrimmy has much to be proud ofgrimmy has much to be proud ofgrimmy has much to be proud ofgrimmy has much to be proud ofgrimmy has much to be proud ofgrimmy has much to be proud ofgrimmy has much to be proud ofgrimmy has much to be proud ofgrimmy has much to be proud ofgrimmy has much to be proud of
Brilliant guide to the process that .nice one .will have to refer to that area times over the winter metinhks.same as you Peter around the jacking points are an issue on my 180.
__________________
<iframe src="http://gamercard.xbox.com/grimmy1973.card" [="" sigpic]=""></iframe>
grimmy is offline   Reply With Quote
Old 13-12-16, 02:55 AM   #56
Big-Jay
Member
 
Big-Jay's Avatar
 
Join Date: Jan 2016
Posts: 121
Big-Jay has a spectacular aura aboutBig-Jay has a spectacular aura about
Quote:
Originally Posted by peterzs View Post
Looks well sorted.

Thanks for putting it up.

Have to have a go at my one and sort out the jacking points.

Quote:
Originally Posted by grimmy View Post
Brilliant guide to the process that .nice one .will have to refer to that area times over the winter metinhks.same as you Peter around the jacking points are an issue on my 180.
No problem, happy to help !
Big-Jay is offline   Reply With Quote
Old 13-12-16, 09:53 AM   #57
p_b82
Site Supporter
 
p_b82's Avatar
 
Join Date: Sep 2008
Location: The Shire
Posts: 2,859
p_b82 is a jewel in the roughp_b82 is a jewel in the roughp_b82 is a jewel in the rough
Really good guide that - It might be worth taking it out this post and popping it into a separate one just for faster ease of access?
__________________
------------------------------
theMGZS.co.uk Supporter
------------------------------
__________________
Mods Fitted
Pipercross Filter; Full 2.5" 'Wingy' exhaust; Donny Custom Turbo outlet pipe; Custom injectors;
Uprated gearbox bearings; Helix Clutch; Quaife ATB; Upgraded clutch Hydraulics; FMIC; Ported Head; ARP headstuds; Leda coilovers; 'Brembodge' 326mm disks/DS2500 pads
Dieselpowered
Fitting Custom Hybrid Turbo (1856GTBv) & controller; Remap, swirlpot, lift pump
AMW Motorsports
Custom exhaust manifold & downpipe
p_b82 is offline   Reply With Quote
Old 13-12-16, 08:15 PM   #58
Big-Jay
Member
 
Big-Jay's Avatar
 
Join Date: Jan 2016
Posts: 121
Big-Jay has a spectacular aura aboutBig-Jay has a spectacular aura about
Quote:
Originally Posted by p_b82 View Post
Really good guide that - It might be worth taking it out this post and popping it into a separate one just for faster ease of access?
Cheers,

I may well put it up in a separate thread if people think it'll be helpful.

Jay.
Big-Jay is offline   Reply With Quote
Old 13-12-16, 08:18 PM   #59
stamford
Site Owner
 
stamford's Avatar
 
Join Date: Jul 2007
Location: Waterlooville, Hants
Posts: 24,096
stamford has much to be proud ofstamford has much to be proud ofstamford has much to be proud ofstamford has much to be proud ofstamford has much to be proud ofstamford has much to be proud ofstamford has much to be proud ofstamford has much to be proud ofstamford has much to be proud ofstamford has much to be proud ofstamford has much to be proud of
Quote:
Originally Posted by p_b82 View Post
Really good guide that - It might be worth taking it out this post and popping it into a separate one just for faster ease of access?
Agree with that.
__________________
------------------------------
theMGZS.co.uk Admin
------------------------------
__________________
Some useful links:
stamford is offline   Reply With Quote
Old 17-12-16, 09:34 AM   #60
tcb 180
Member
 
tcb 180's Avatar
 
Join Date: Jul 2007
Location: gwent s.wales
Posts: 517
tcb 180 will become famous soon enough
Brilliant job there. Thanks for all the help with the links to the products used. A big help for me.
tcb 180 is offline   Reply With Quote
Reply


Posting Rules
You may not post new threads
You may not post replies
You may not post attachments
You may not edit your posts

BB code is On
Smilies are On
[IMG] code is On
HTML code is Off

Forum Jump


All times are GMT. The time now is 10:05 PM.


Powered by vBulletin® Version 3.8.11
Copyright ©2000 - 2024, vBulletin Solutions Inc.
Copyright ? 2010 theMGZS.co.uk