Thought it about time I do an update as I haven't done one in a small while.
Got a fair bit done over the last few weeks, I'll get the purchased bits and pieces out of the way first.
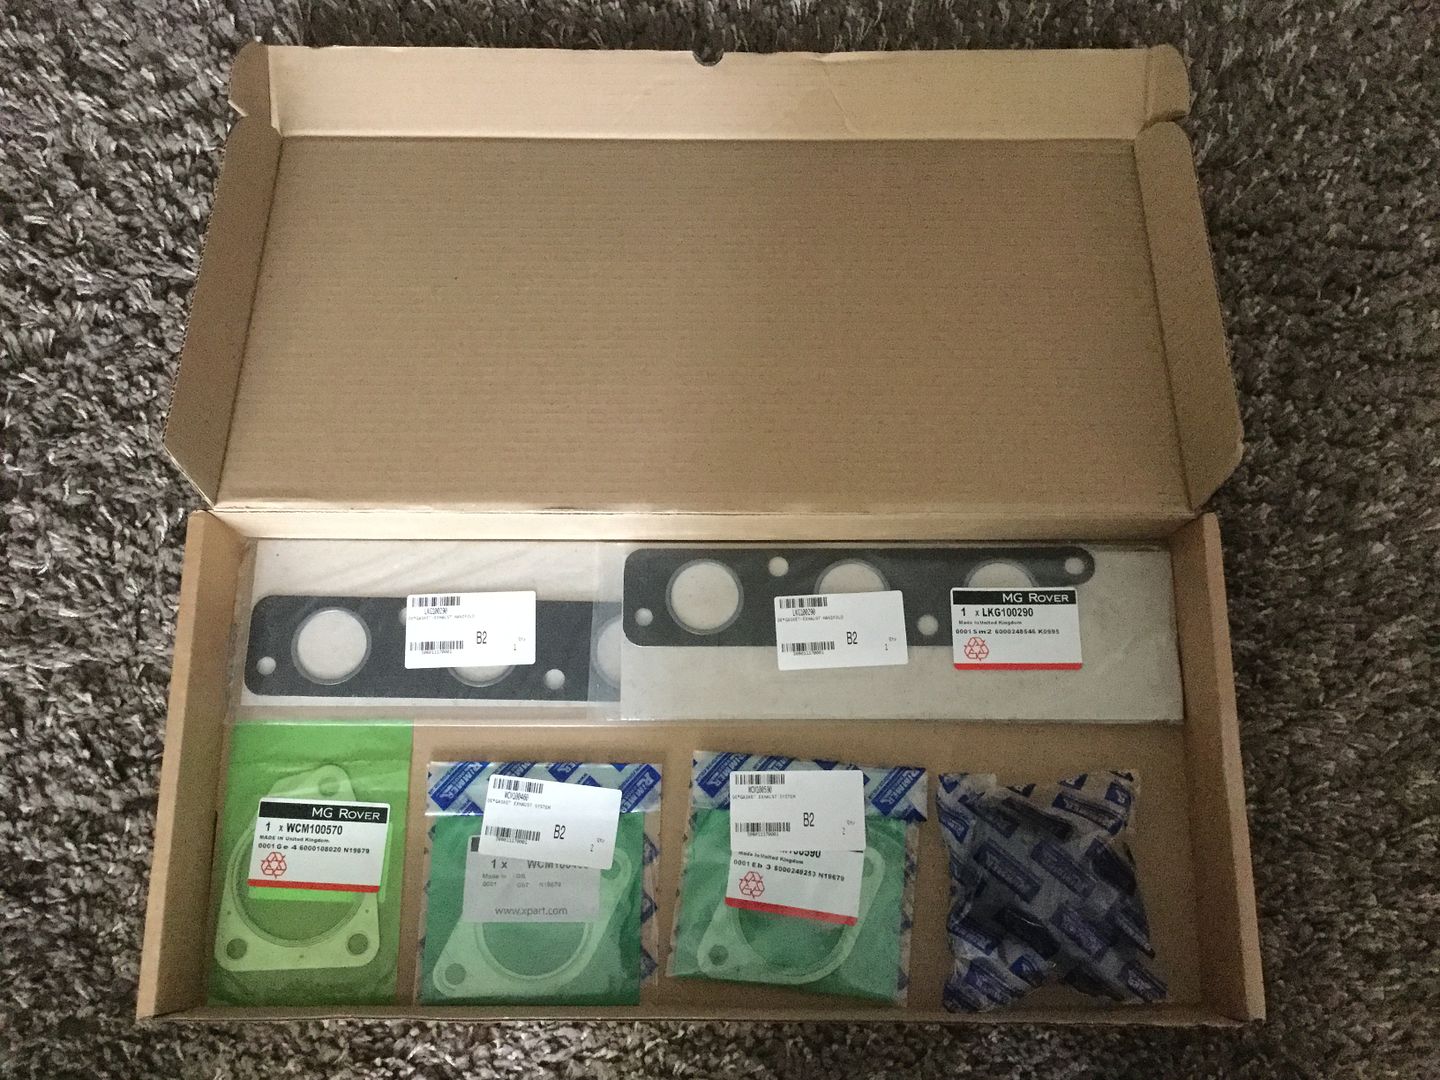
Various exhaust and manifold gaskets -
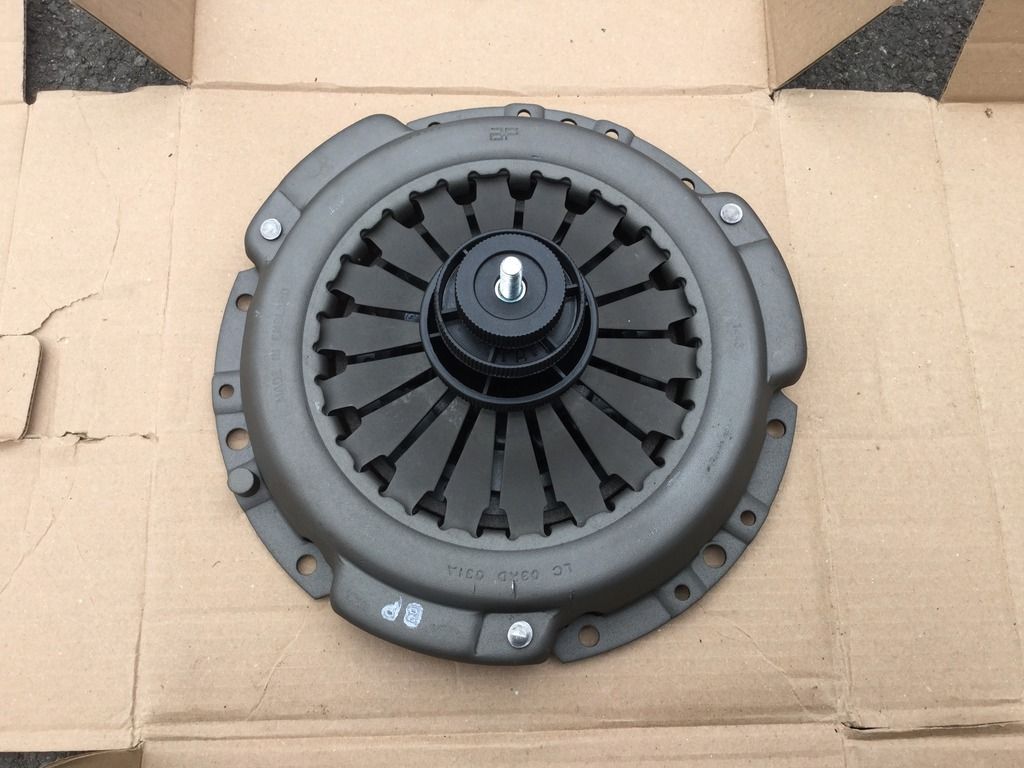
AP Clutch kit, coil packs and plugs -

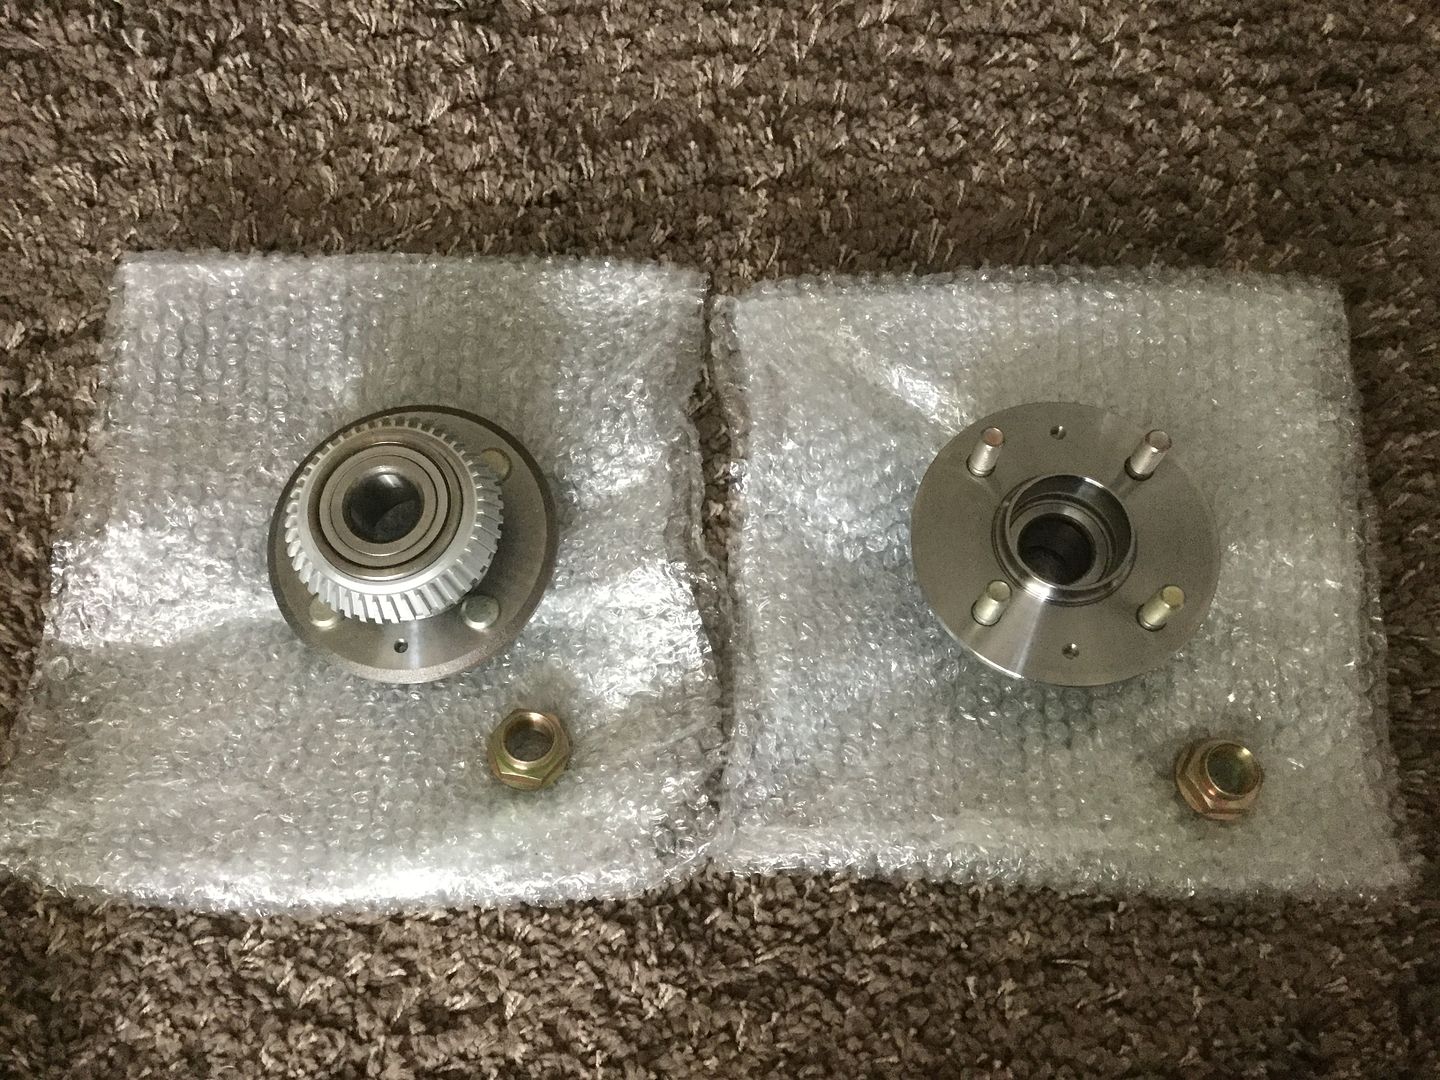
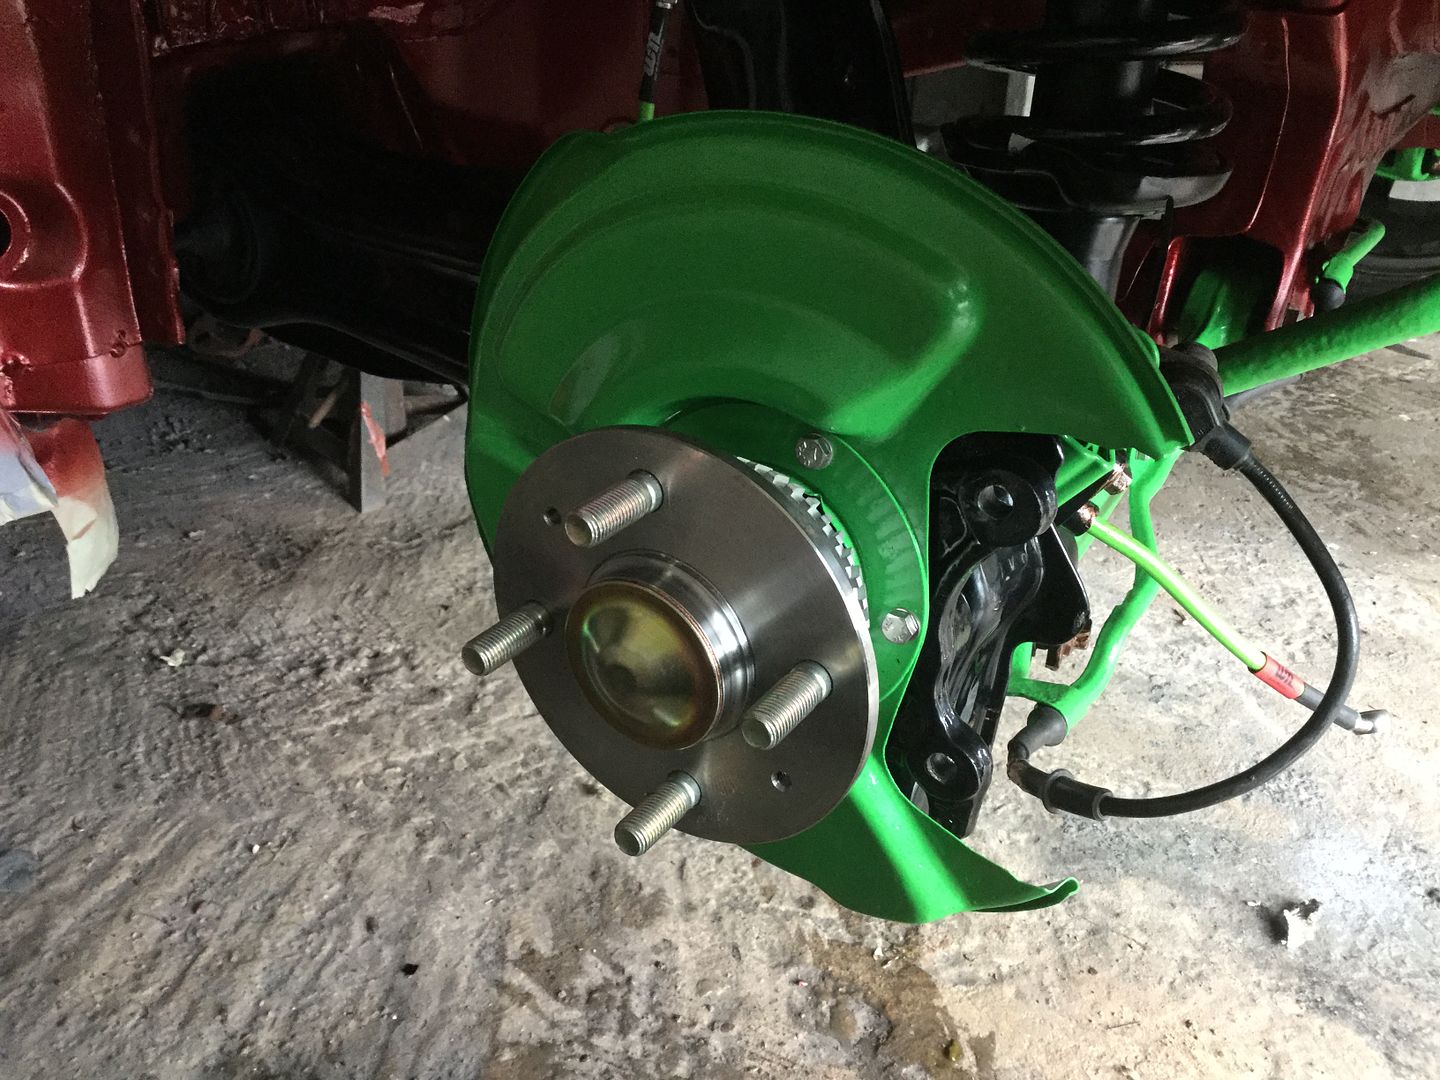
Rear wheel bearings -
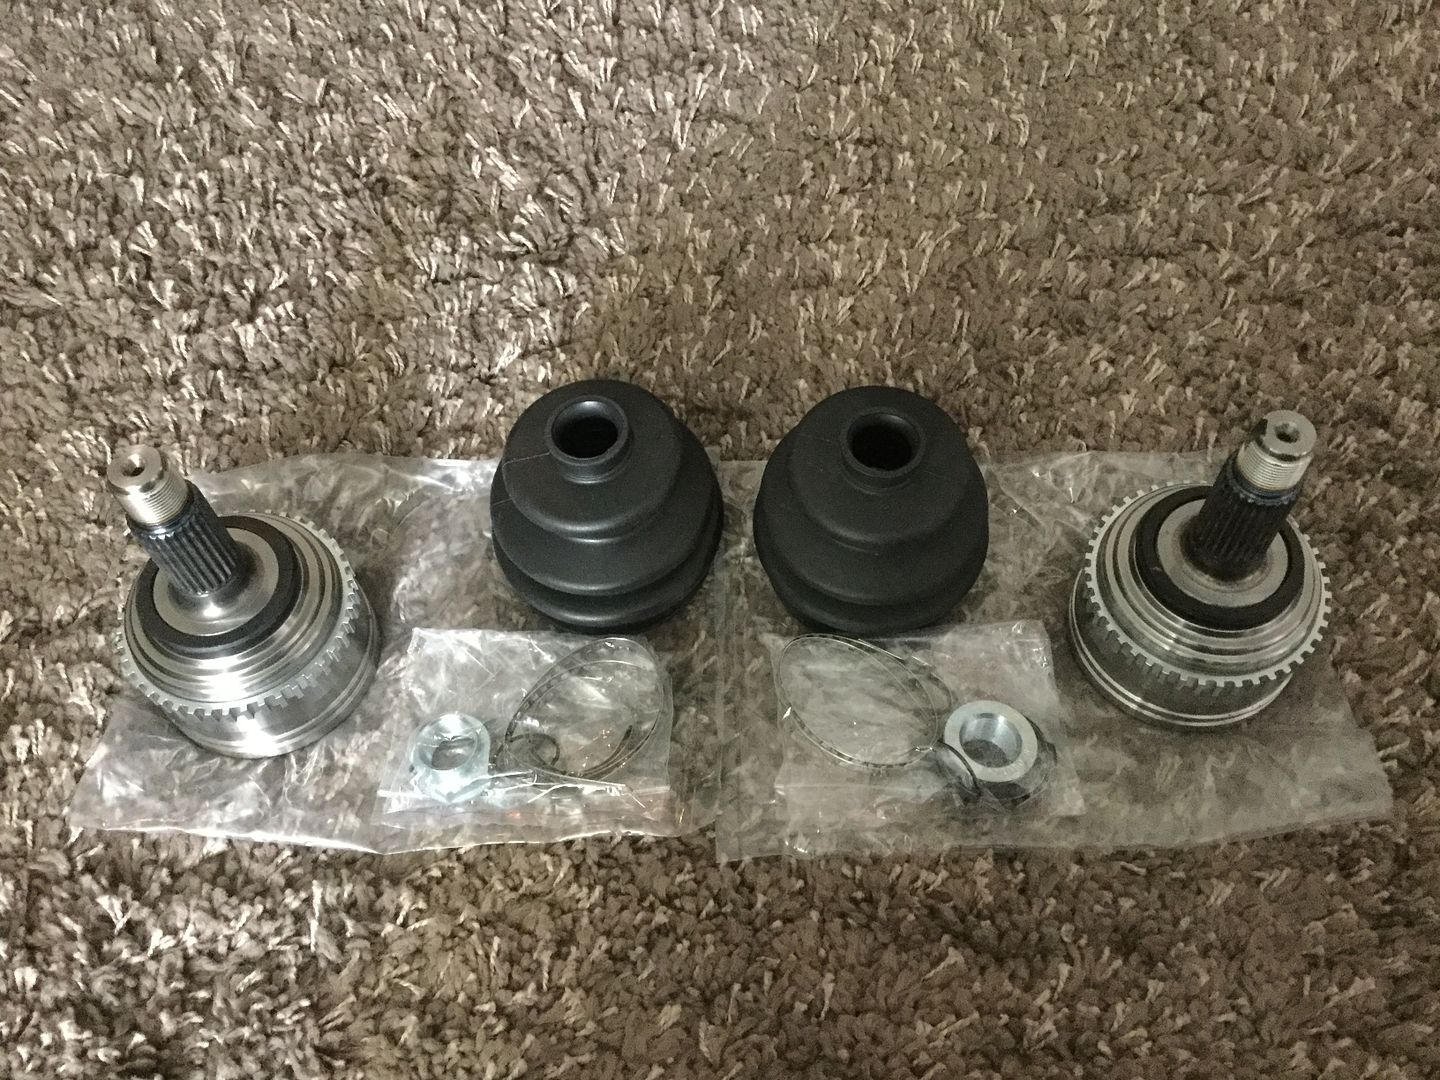
Outer CV joints -
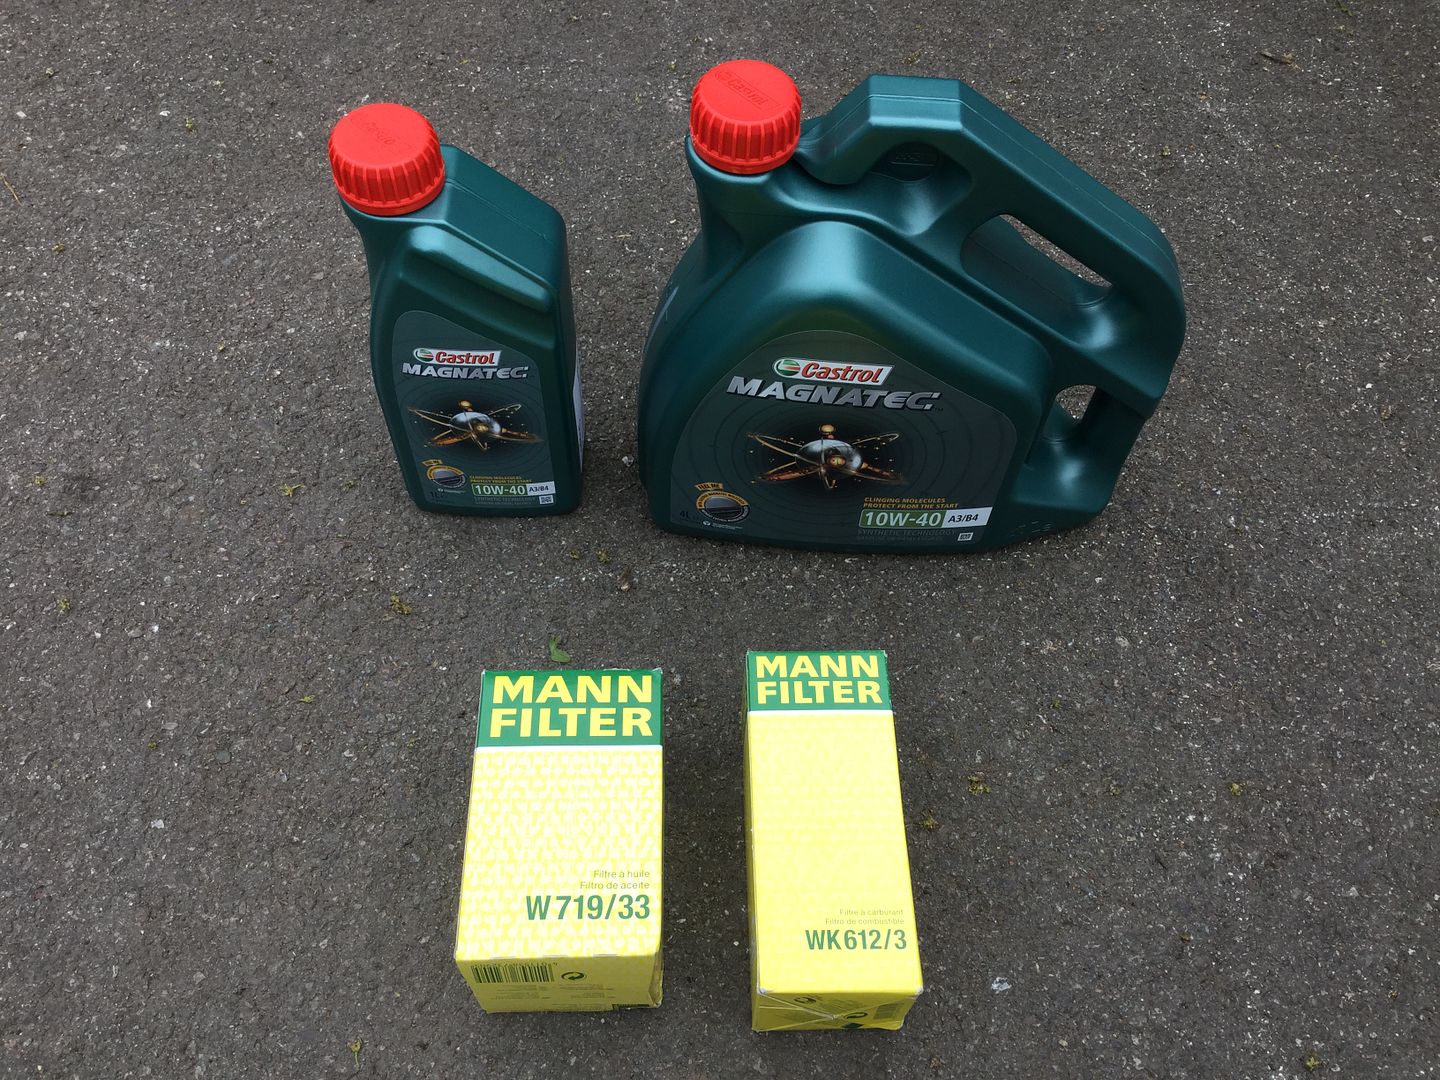
Service items -
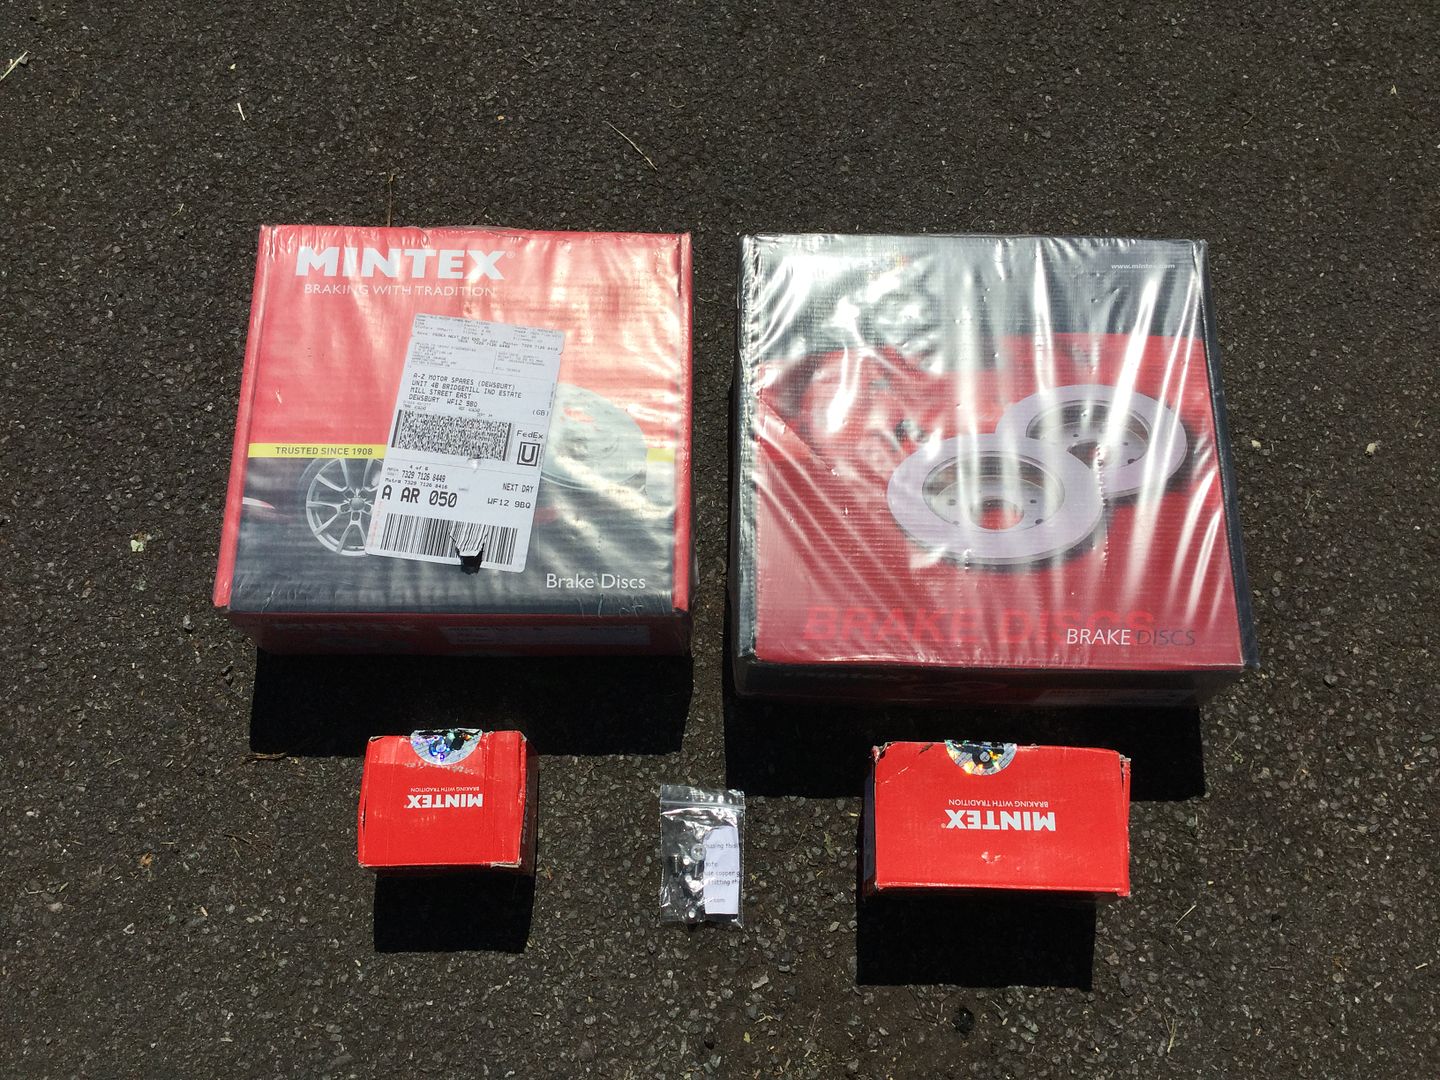
Discs and pads -
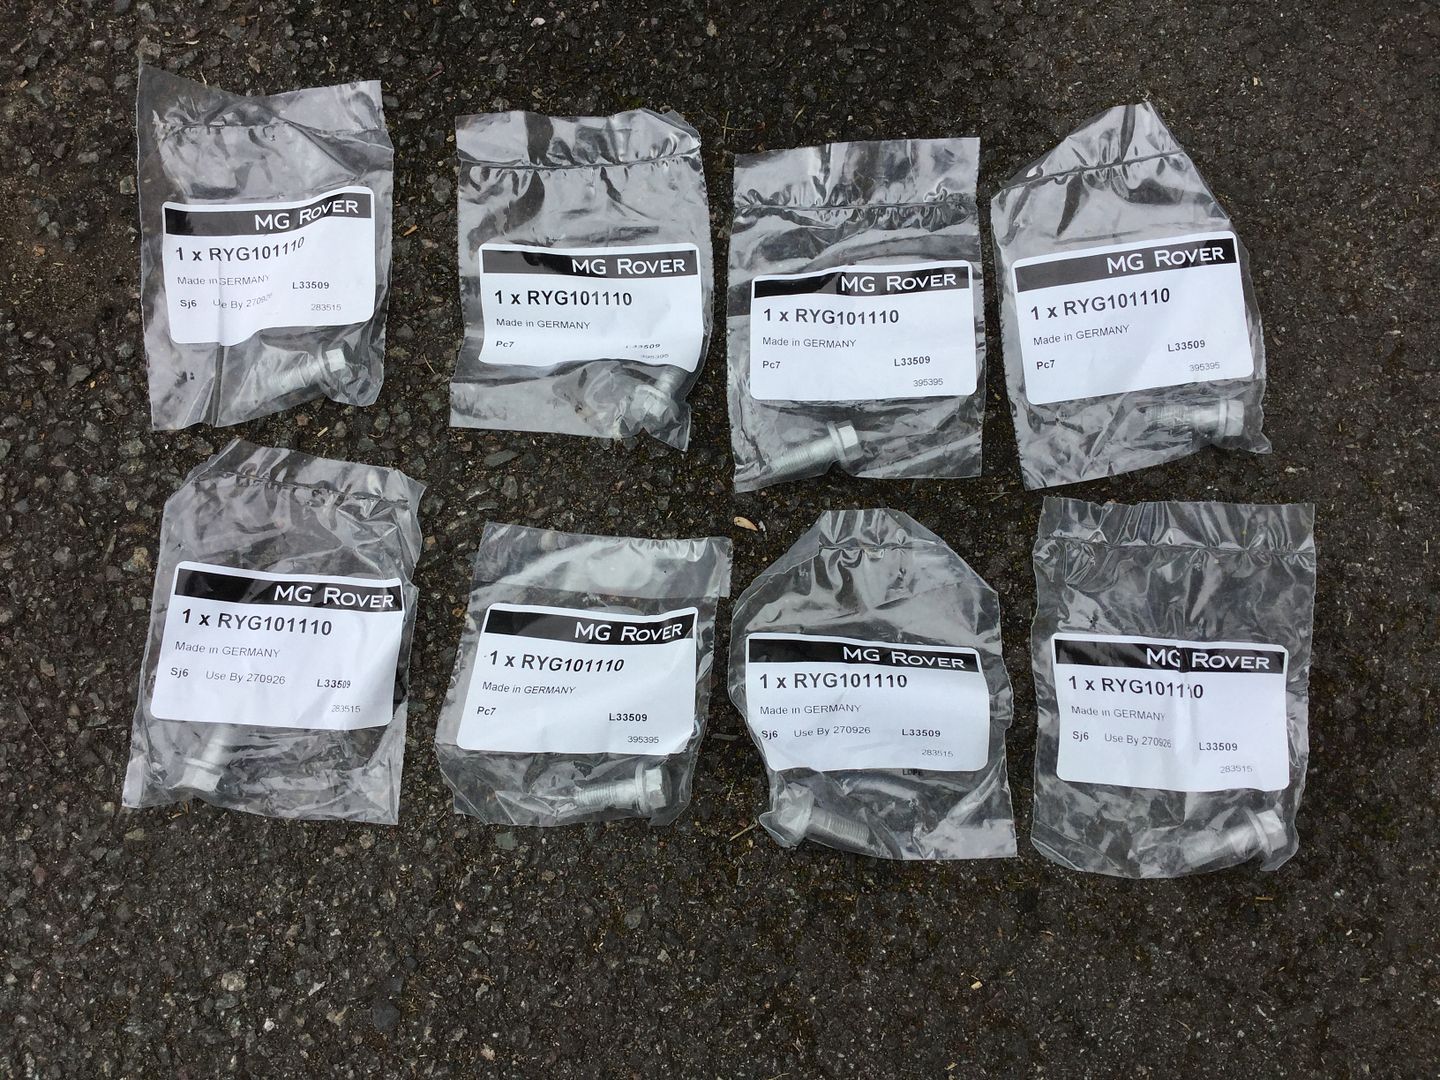
Caliper to carrier bolts -
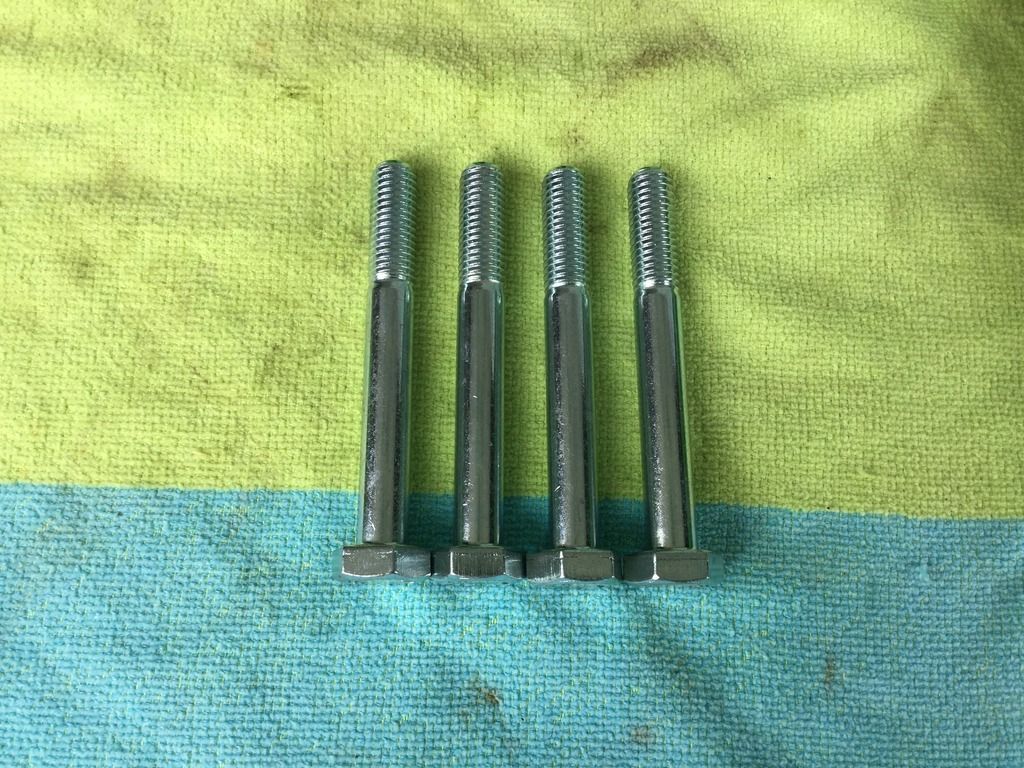
Some high tensile steel bolts to replace some of the stainless ones -
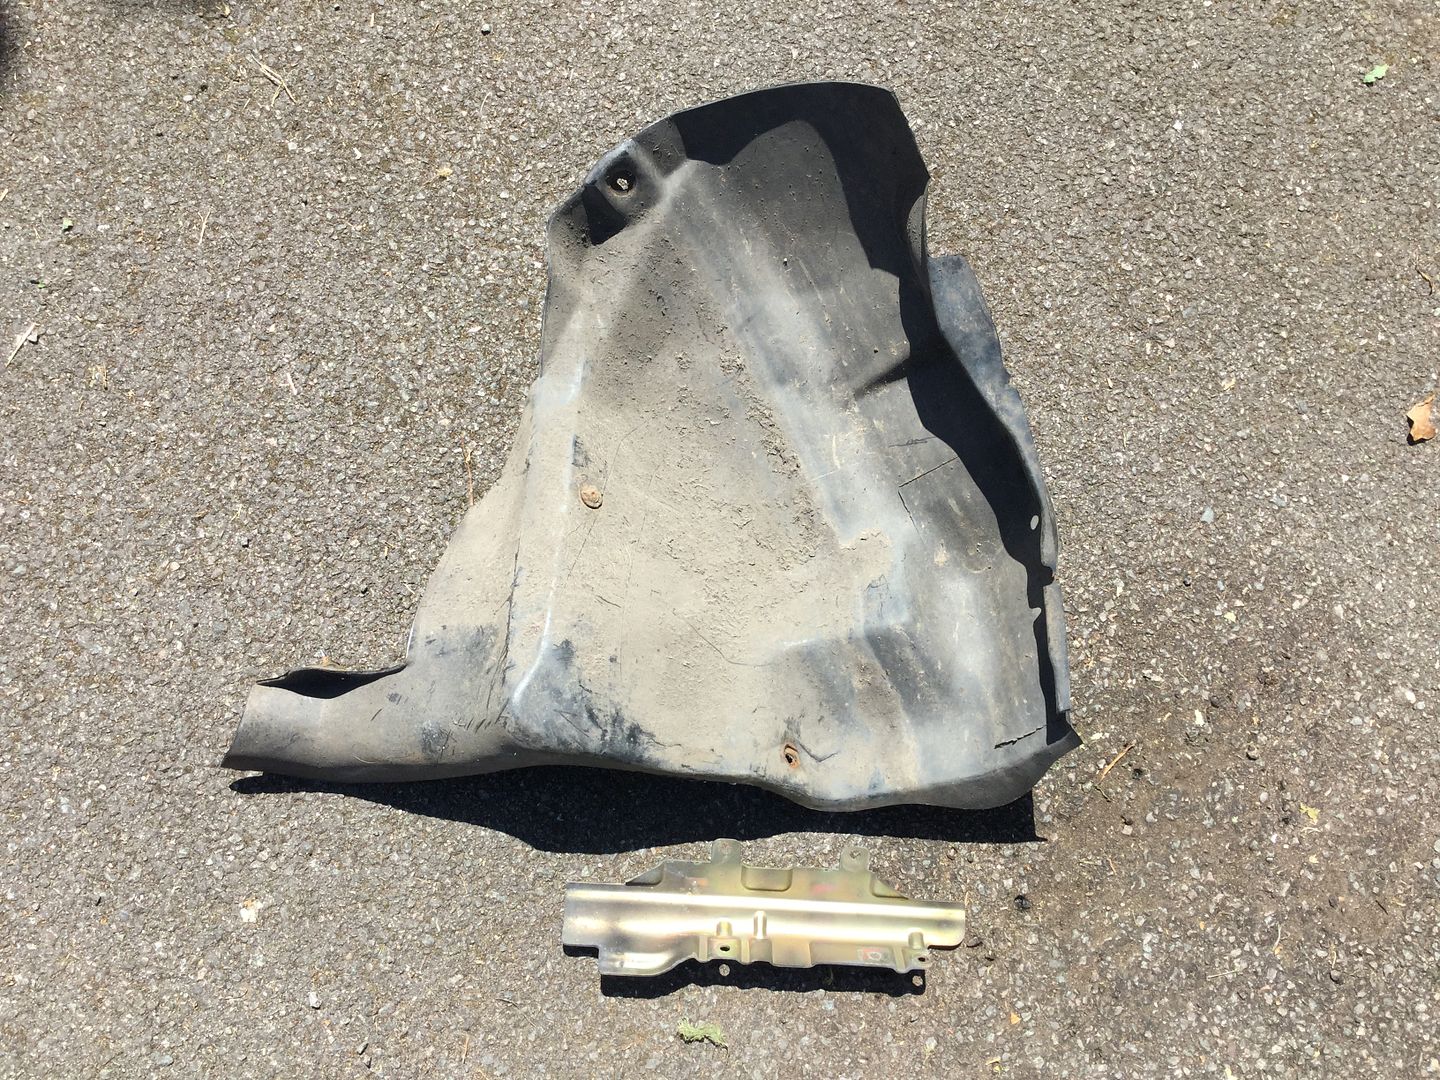
PPD Rear arch liner and a small metal heat guard that goes under the inlet manifold that was missing from mine -
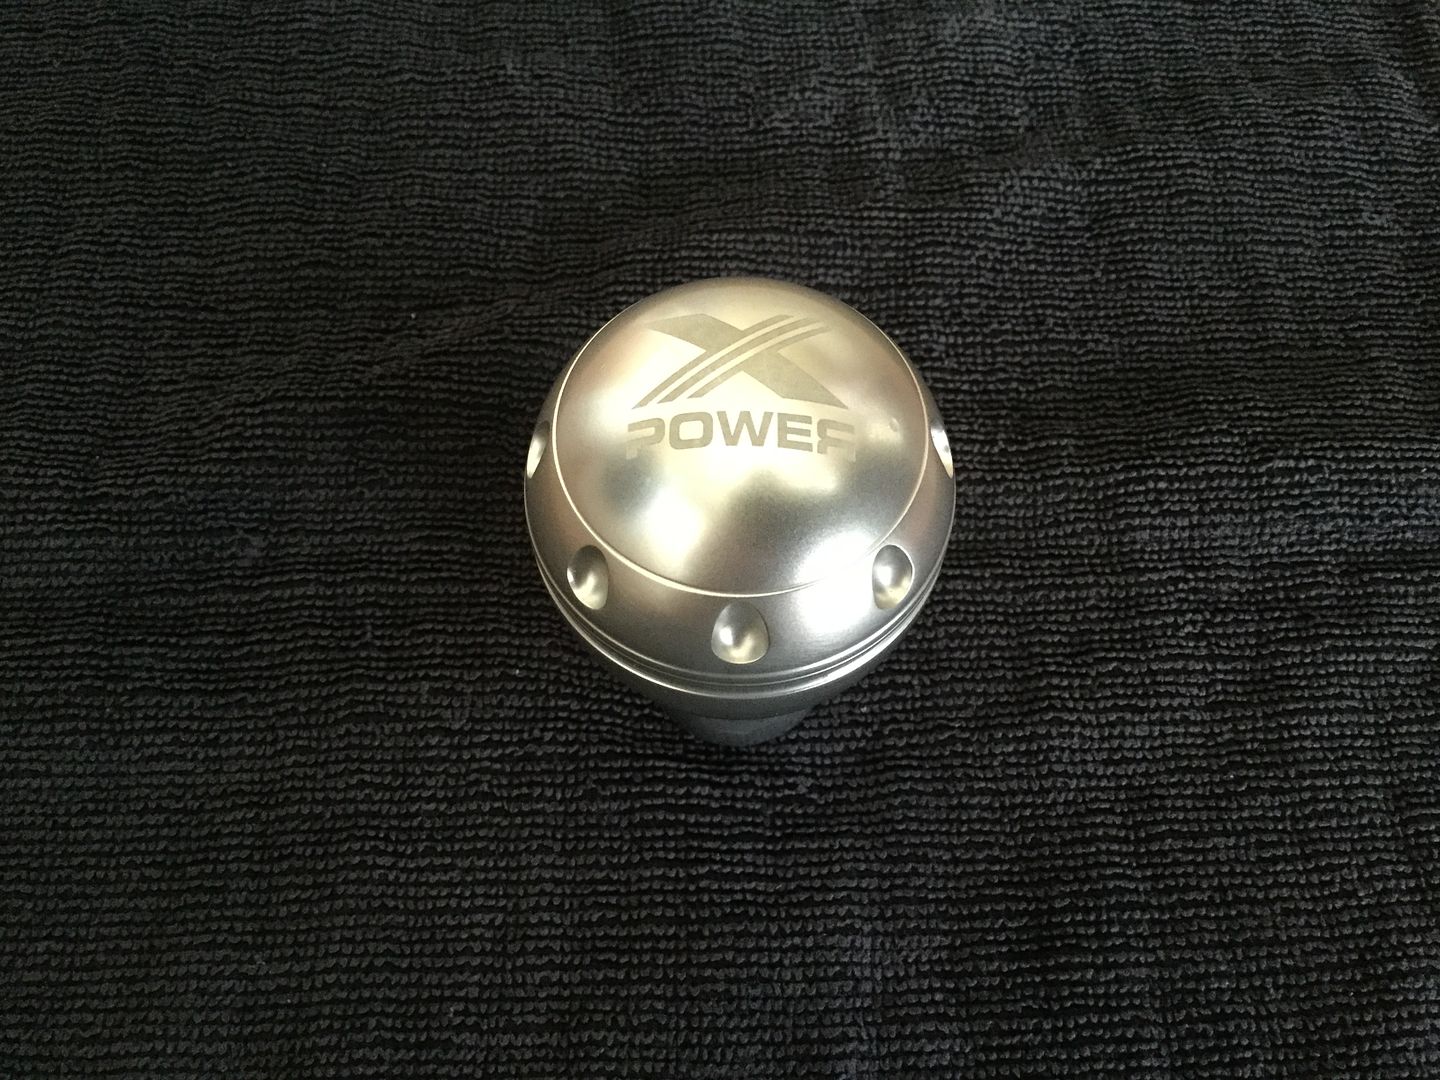
Managed to pick up an Xpower gear knob, this proved quite difficult to find -
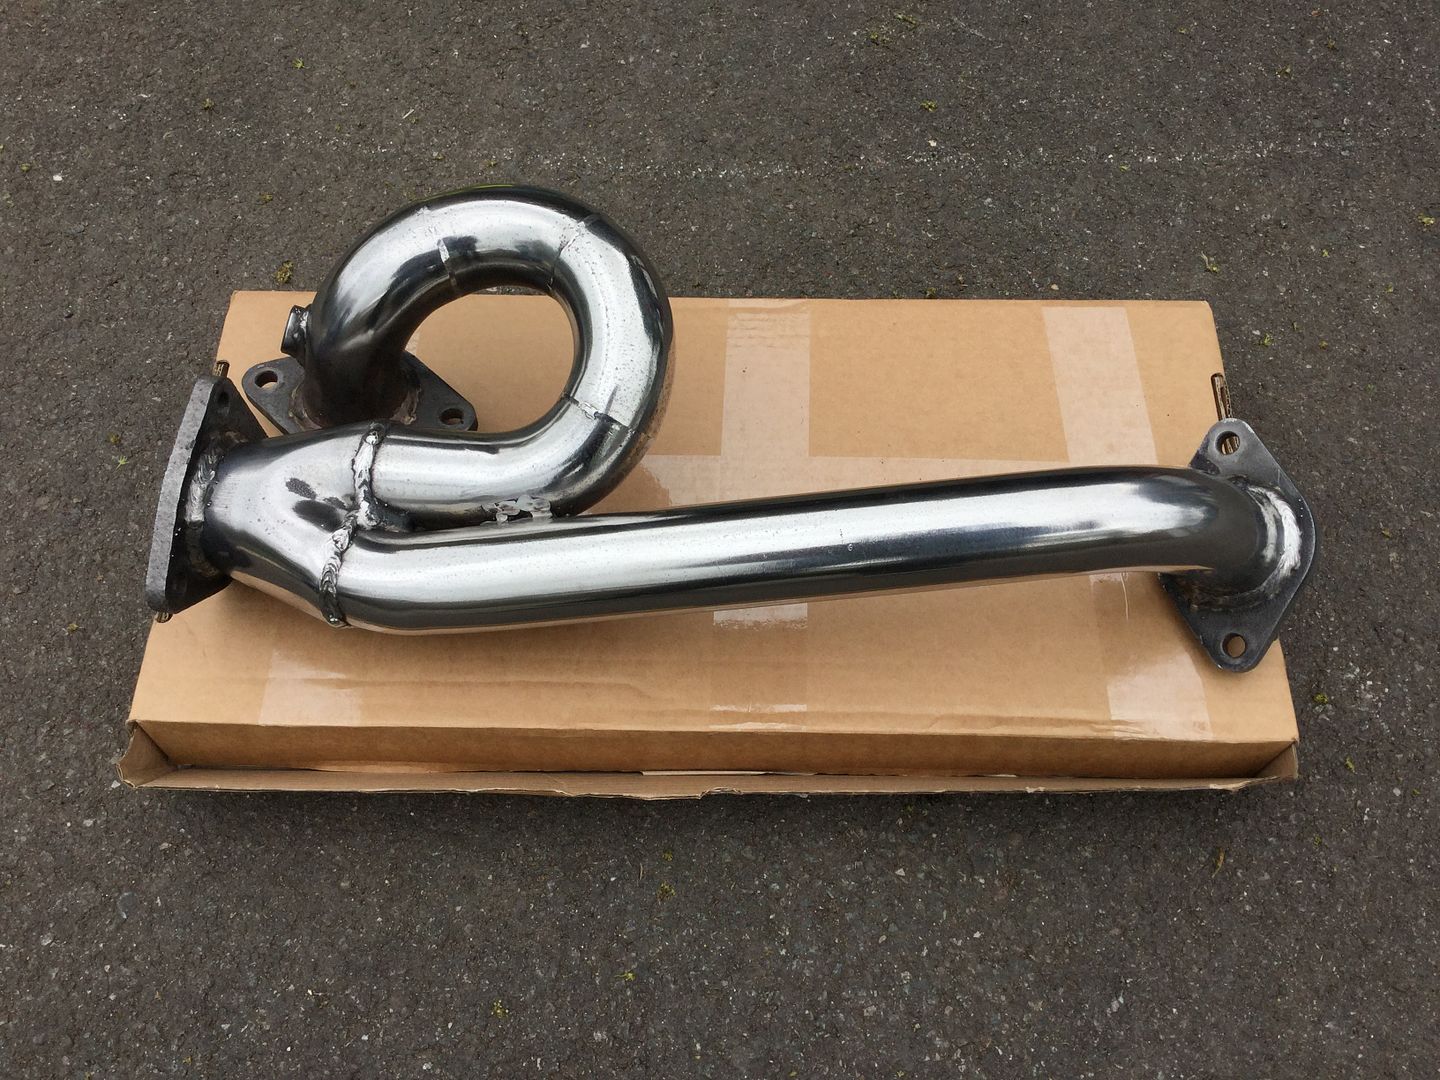
Finally had the downpipe repaired by Powerflow so I got that polished up -
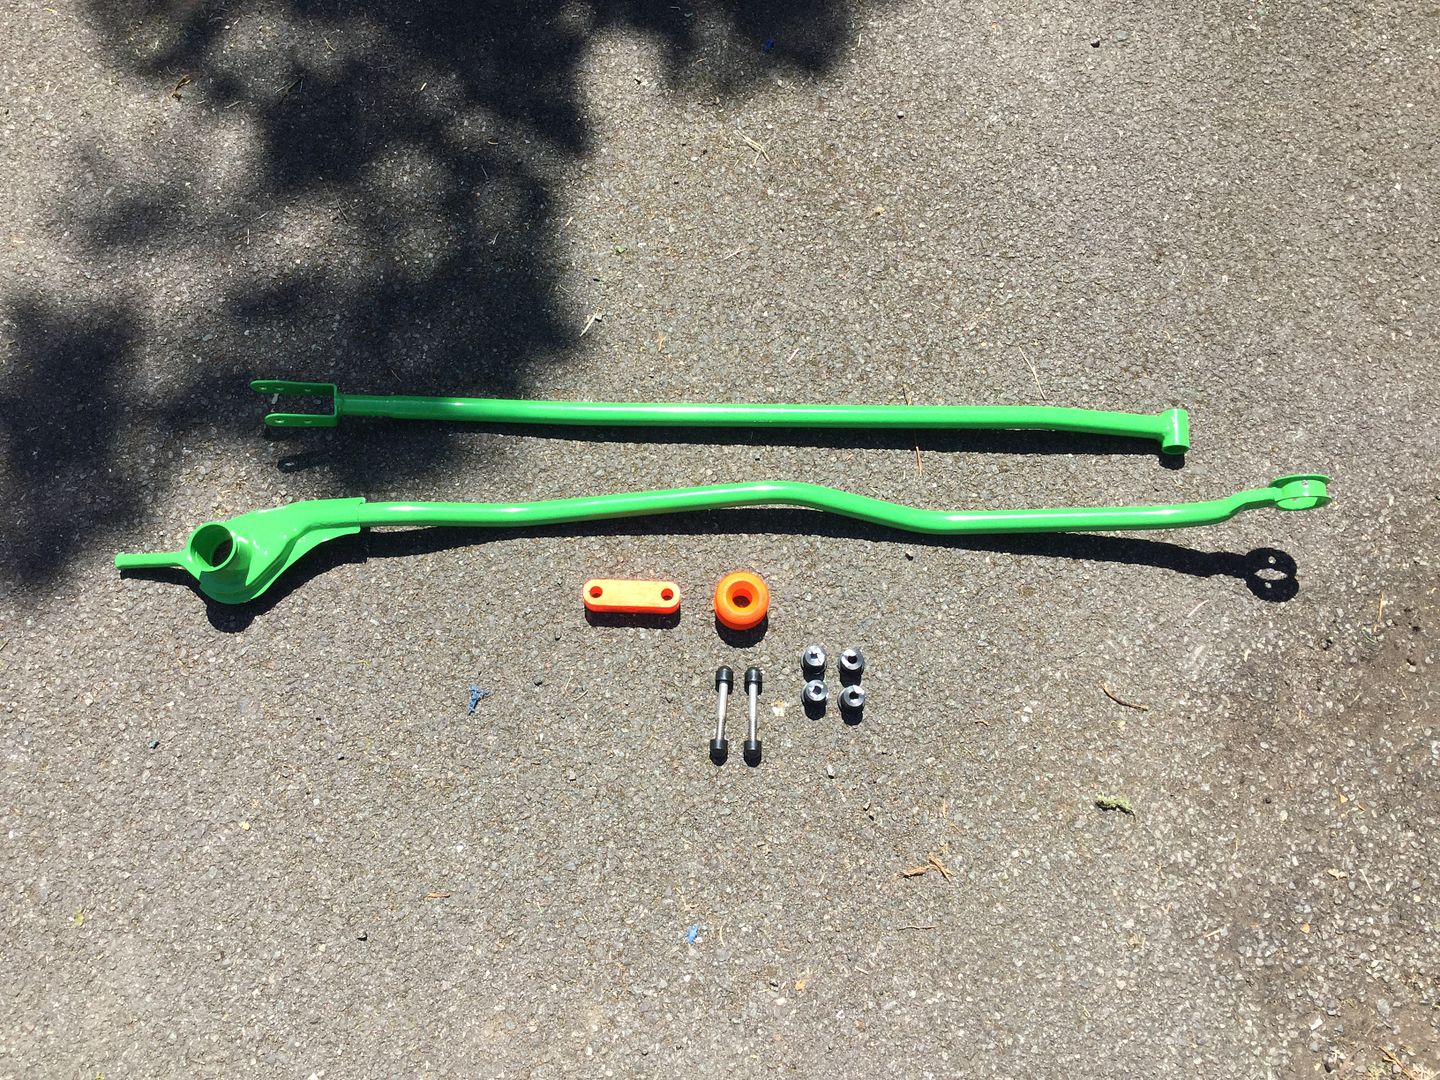
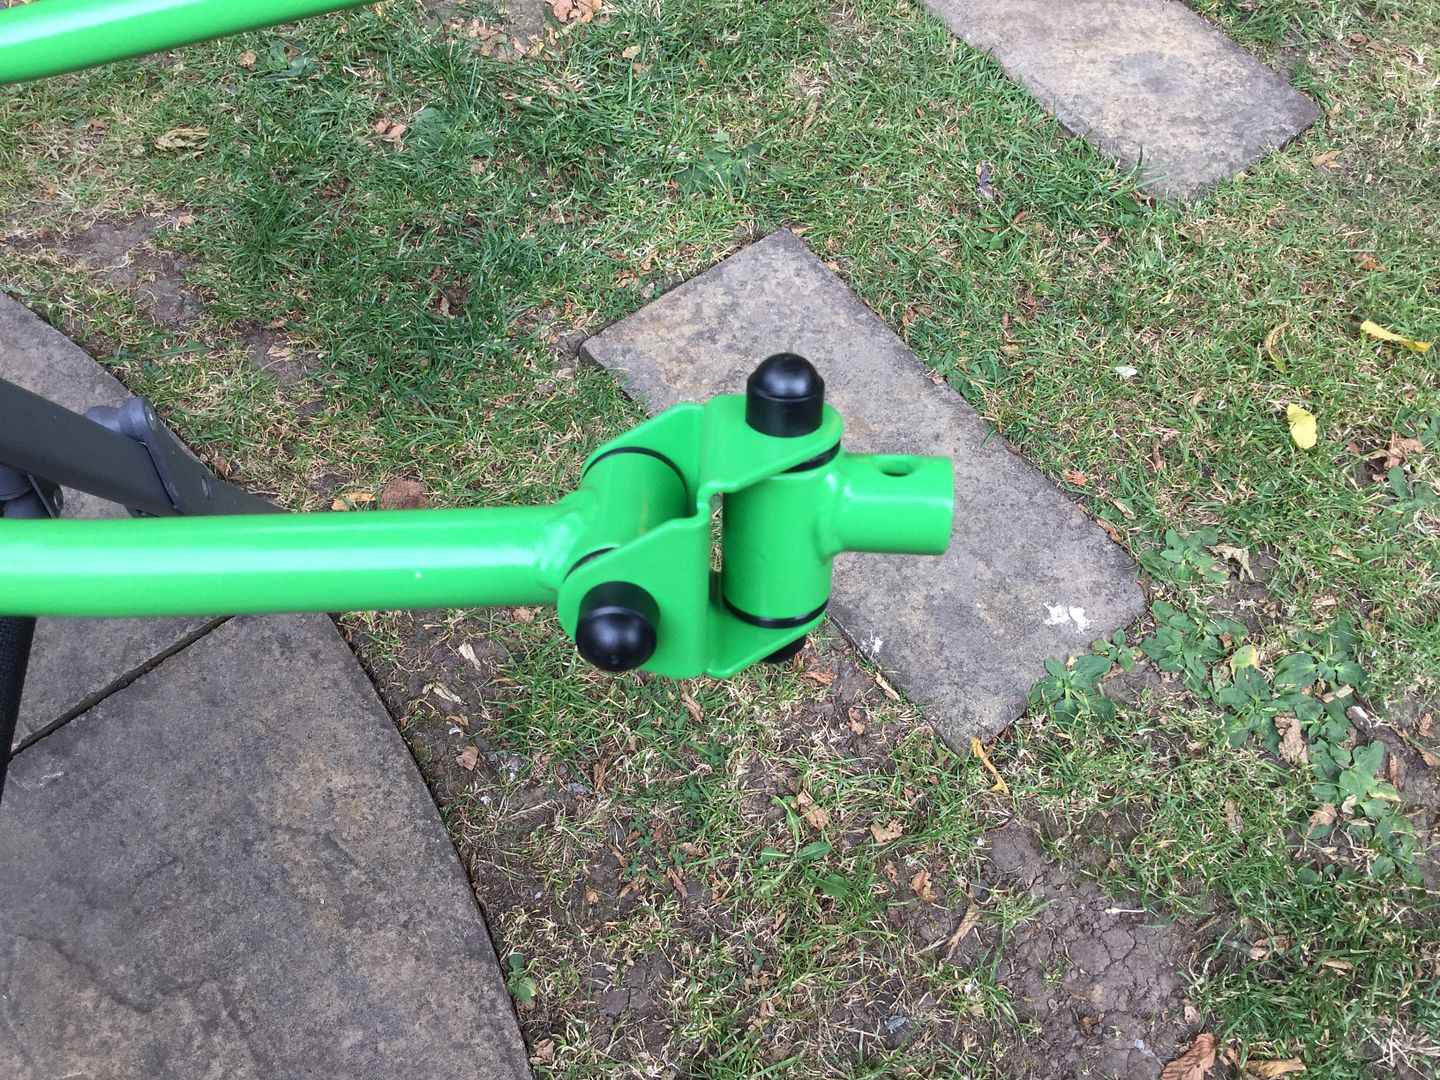
And new Poly and Nylatron bushes to rebuild my powder coated gear linkage -
I think that covers everything but I may have missed a few bits and pieces !
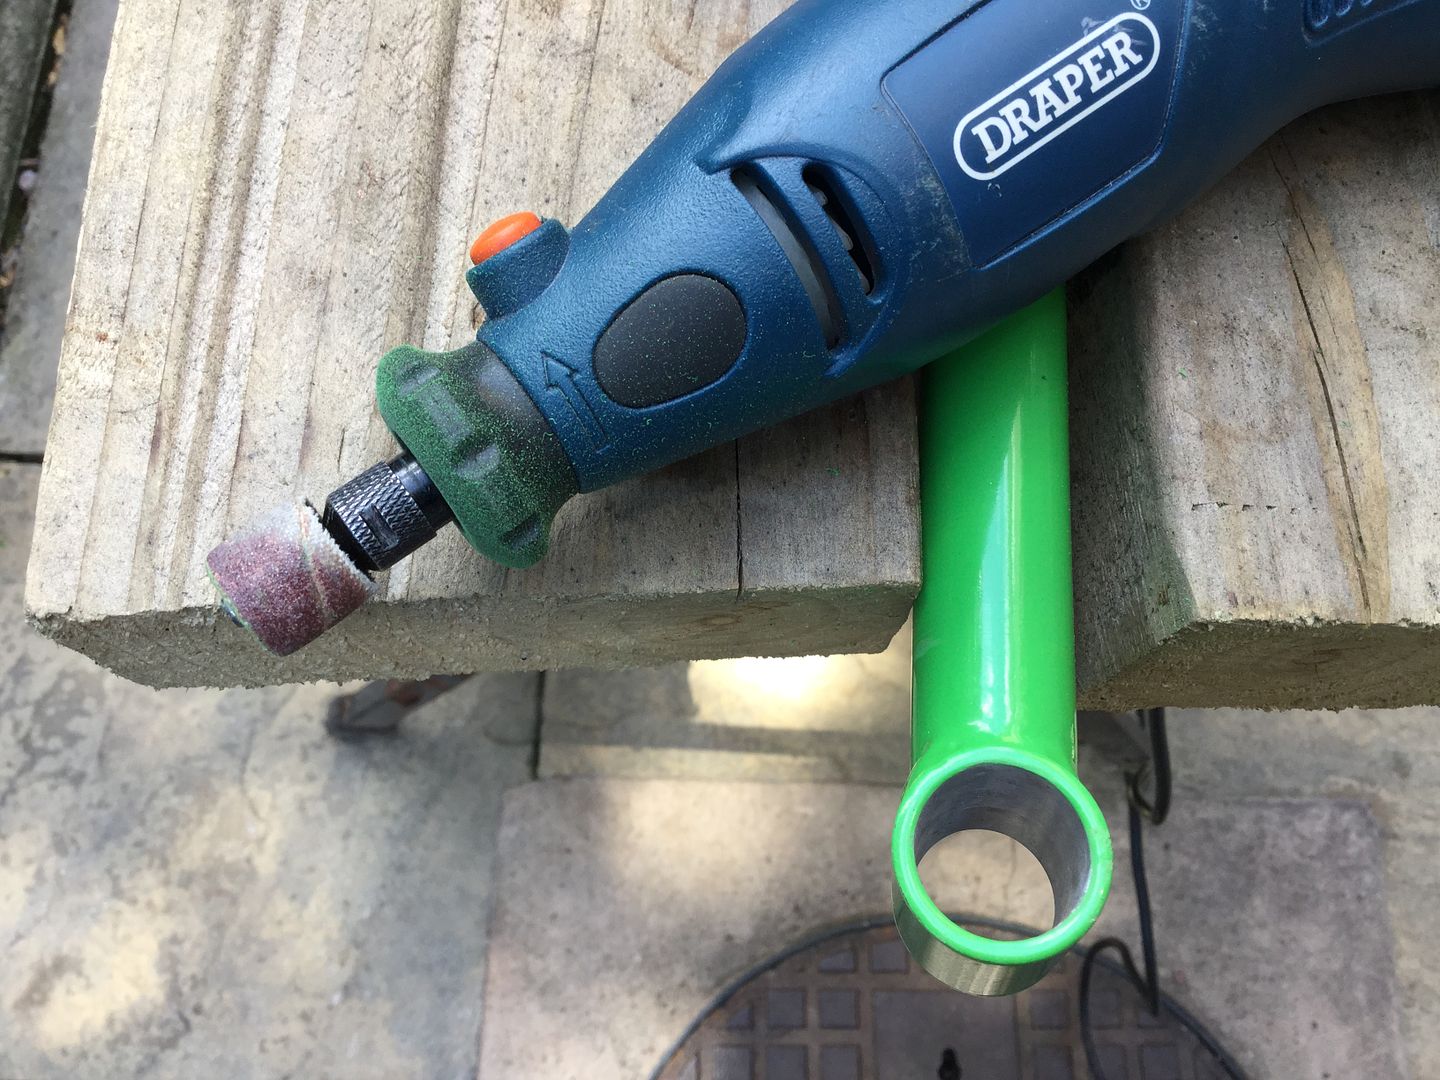
May as well start with the gear linkage.
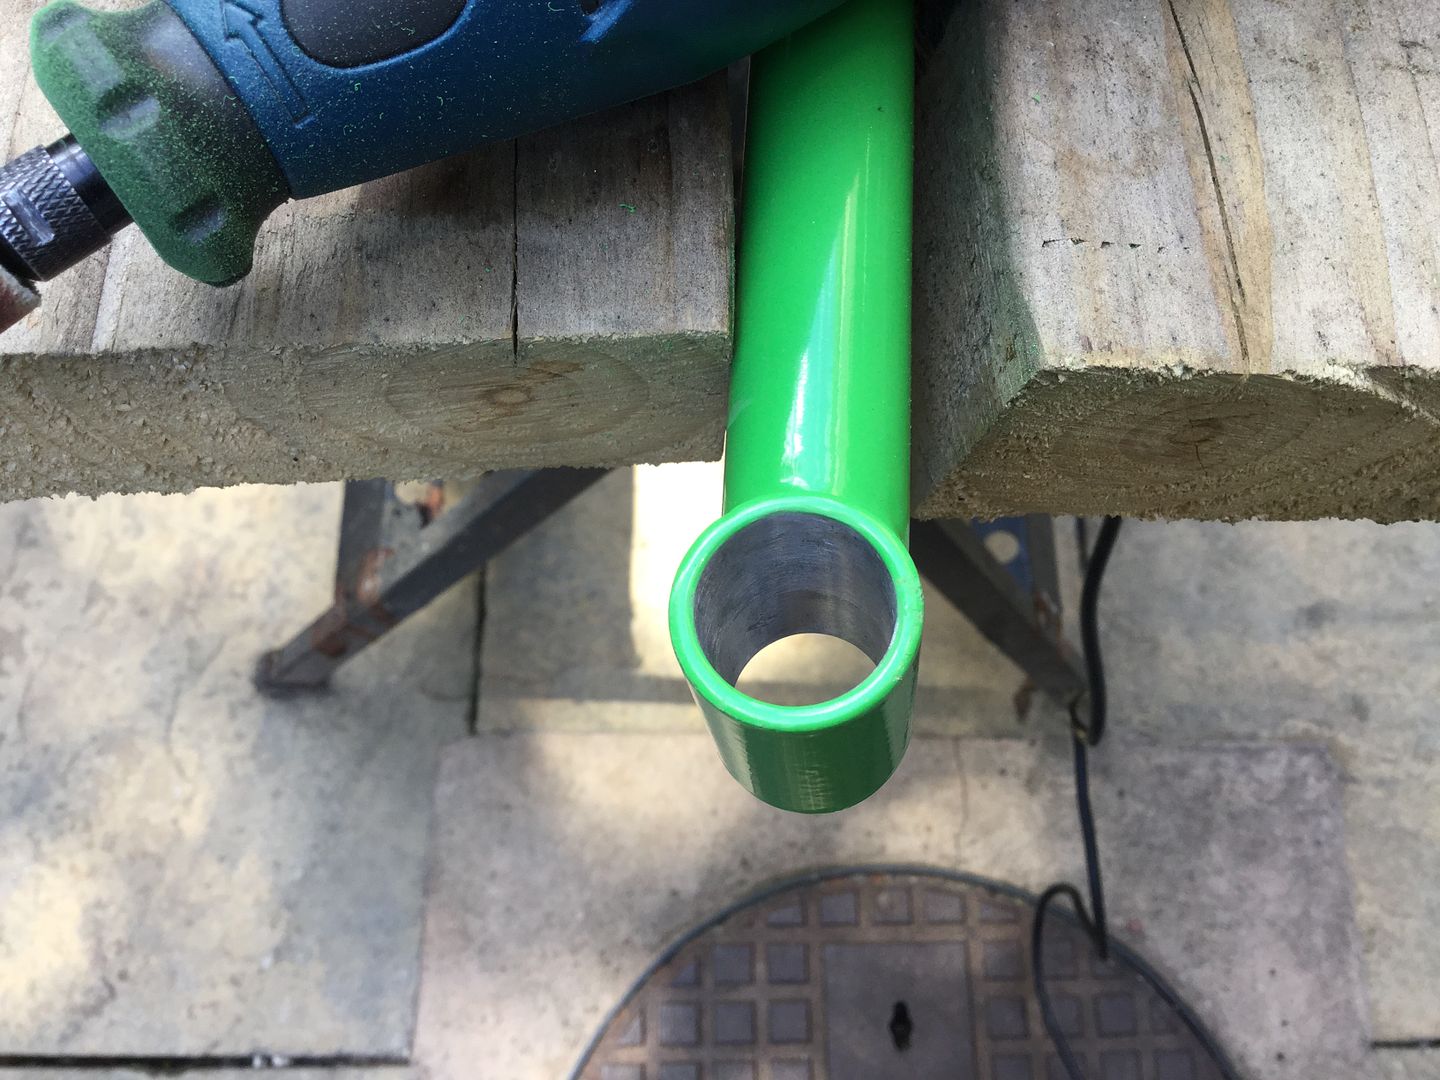
Had quite a lot of excess powder coat in the hole which wouldn't allow me to fit the new bushes -
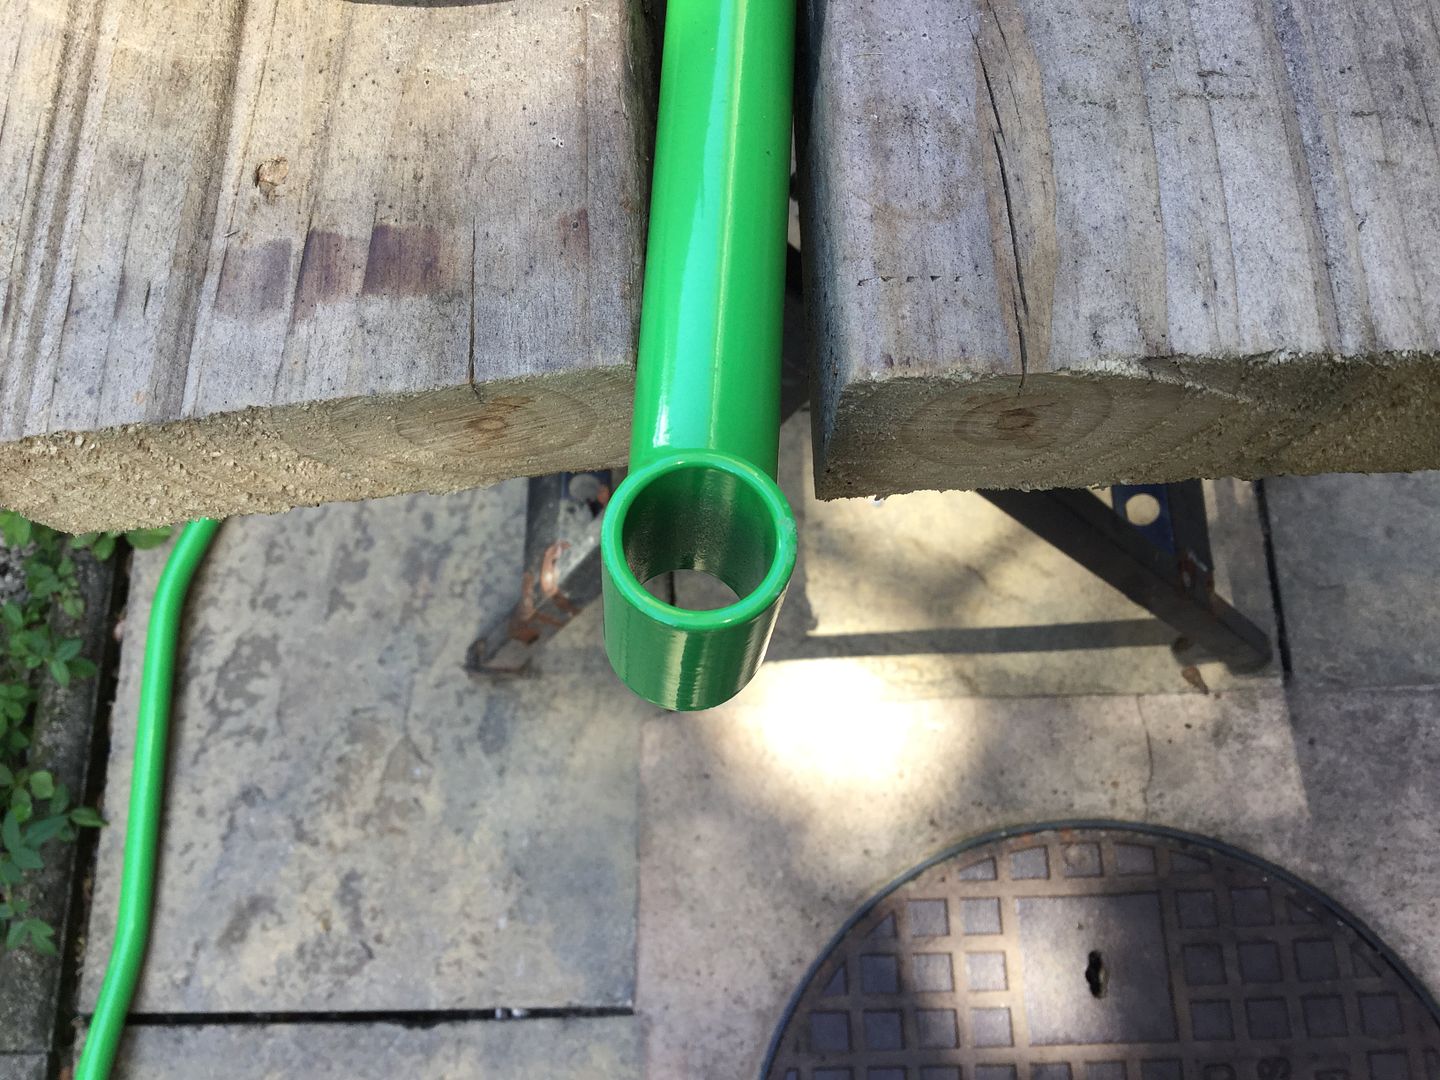
So got my Dremel out and used a course sanding belt to remove the powder coat -
Here it is rebuilt with the UJ also done -

Got the rear wheel bearings fitted onto the car -
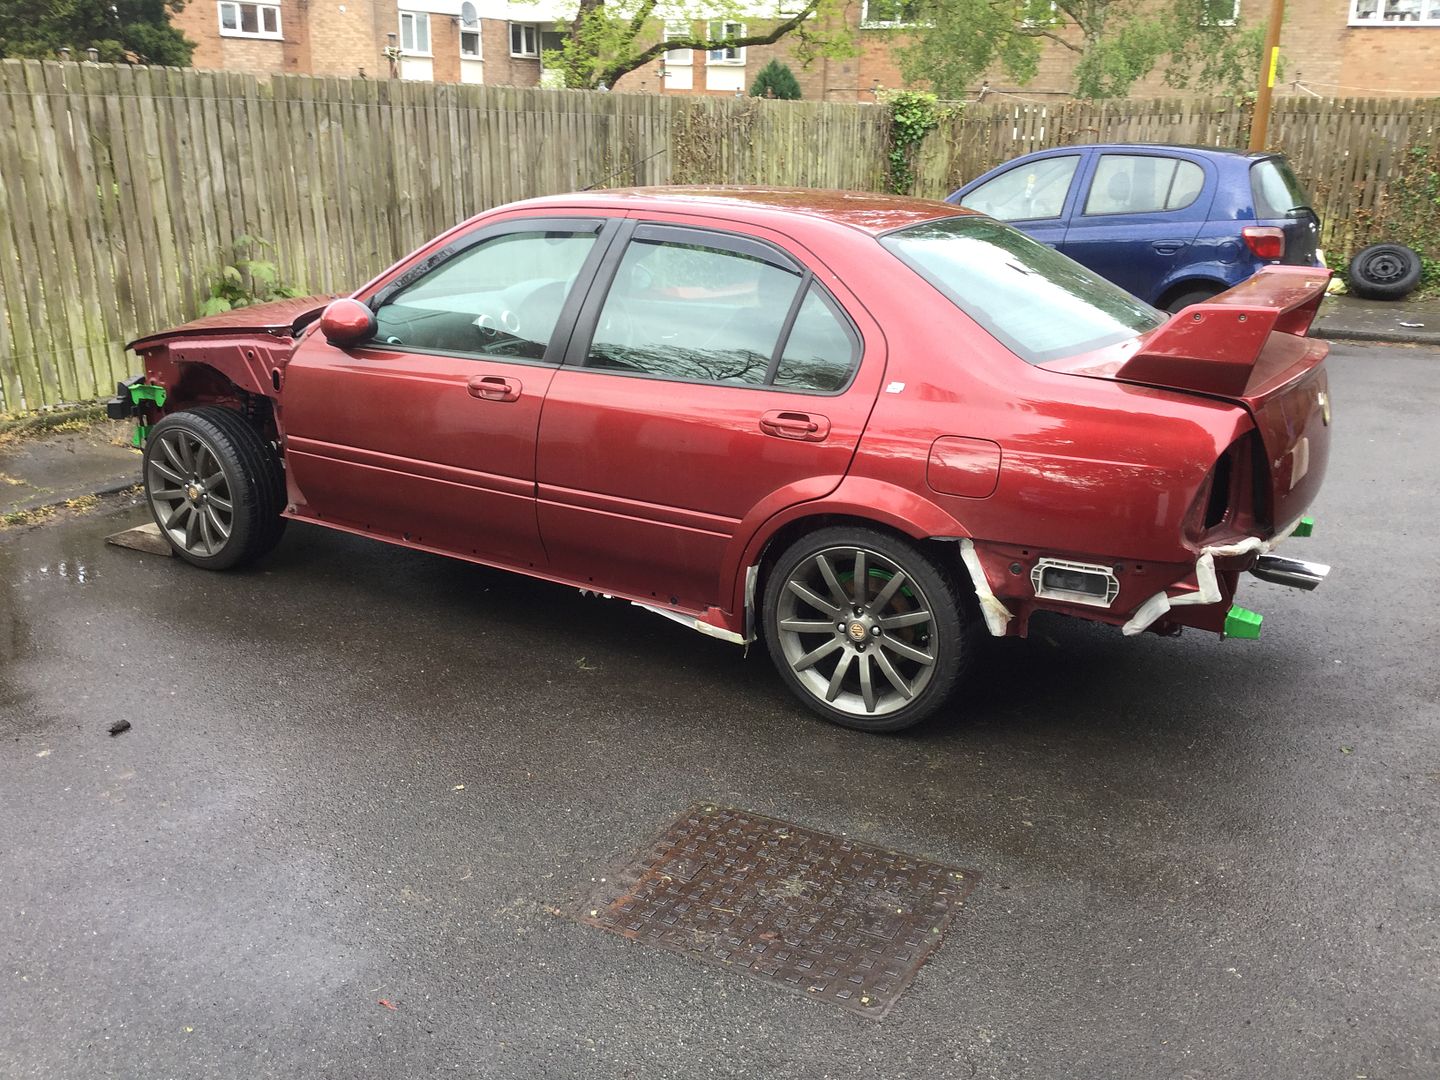
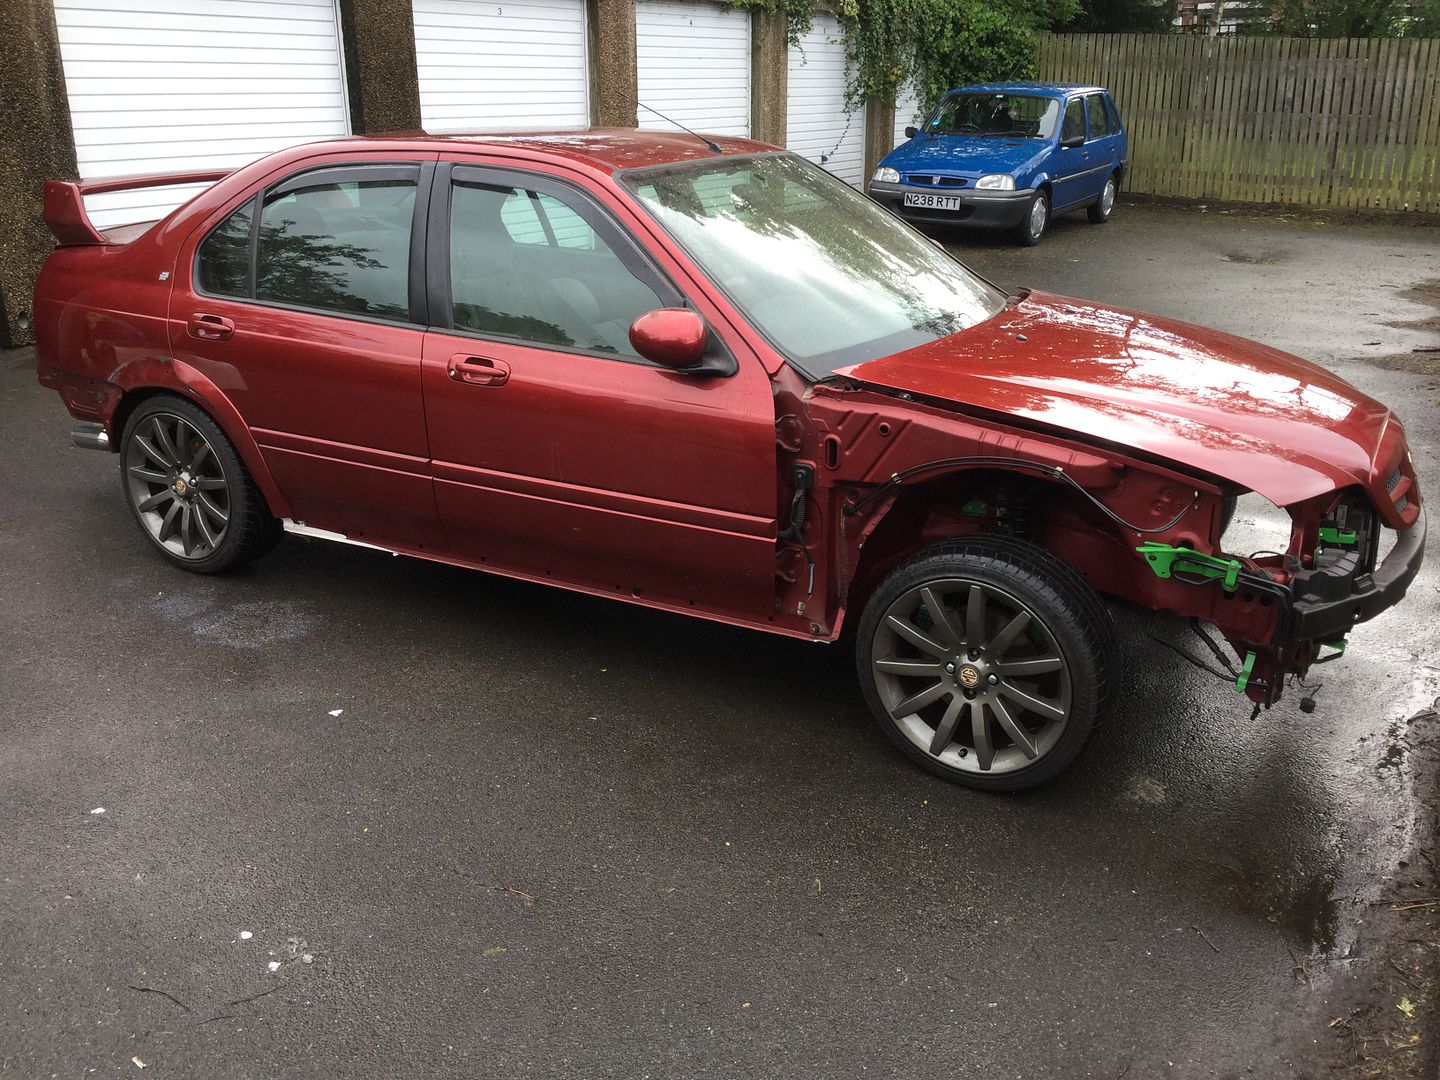
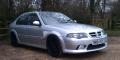
And pushed her outside for a bit of fresh air -
Got the outer CV joints built up and fitted -

Did the same thing for the other side too.
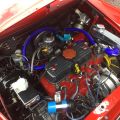
Decided to get the engine and box back in next, got the clutch fitted and aligned and also fitted the new coil packs, plugs and oil filter -

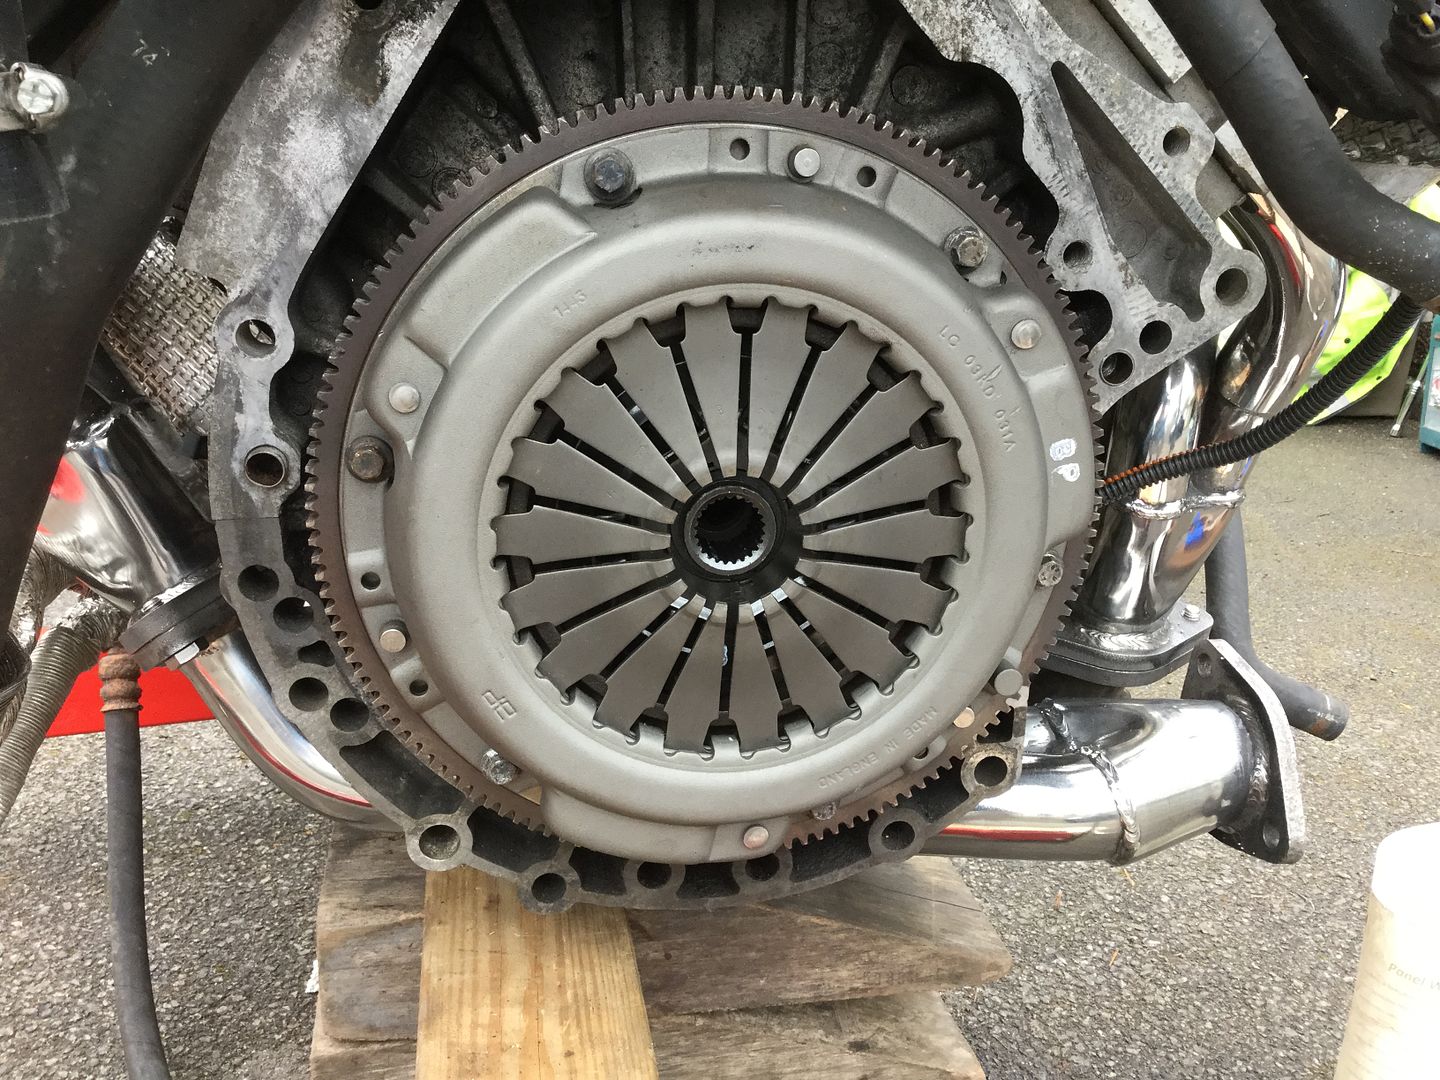
And then dropped it back into the car -
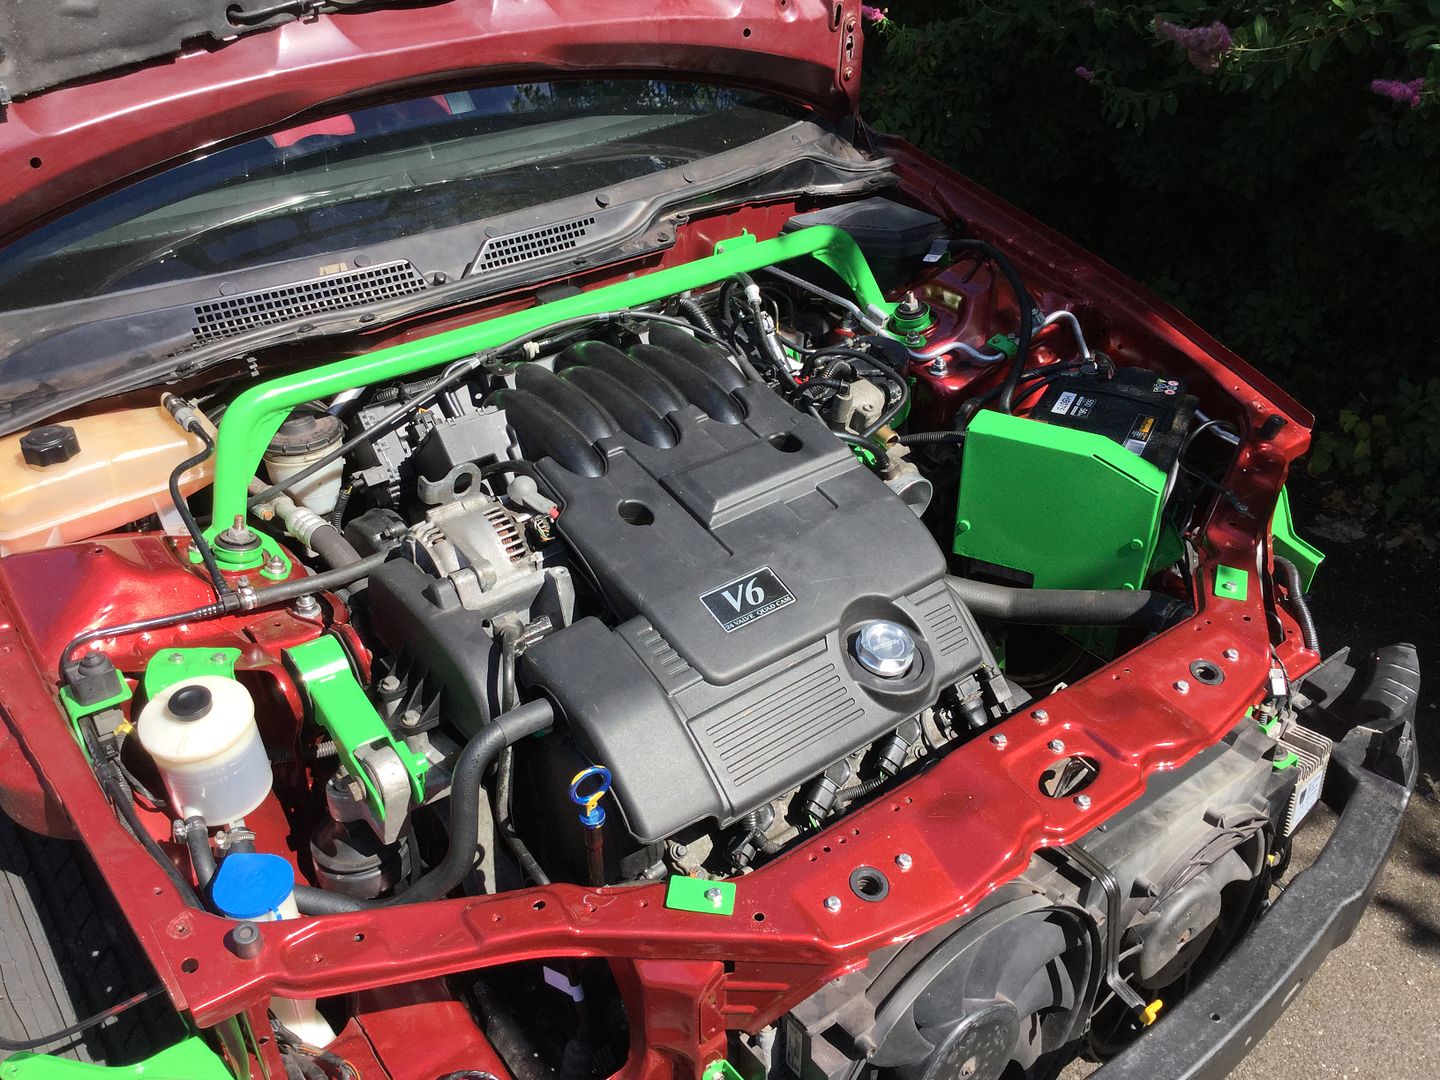
Still have a lot I want to do with the engine bay but that'll have to wait for the time being.
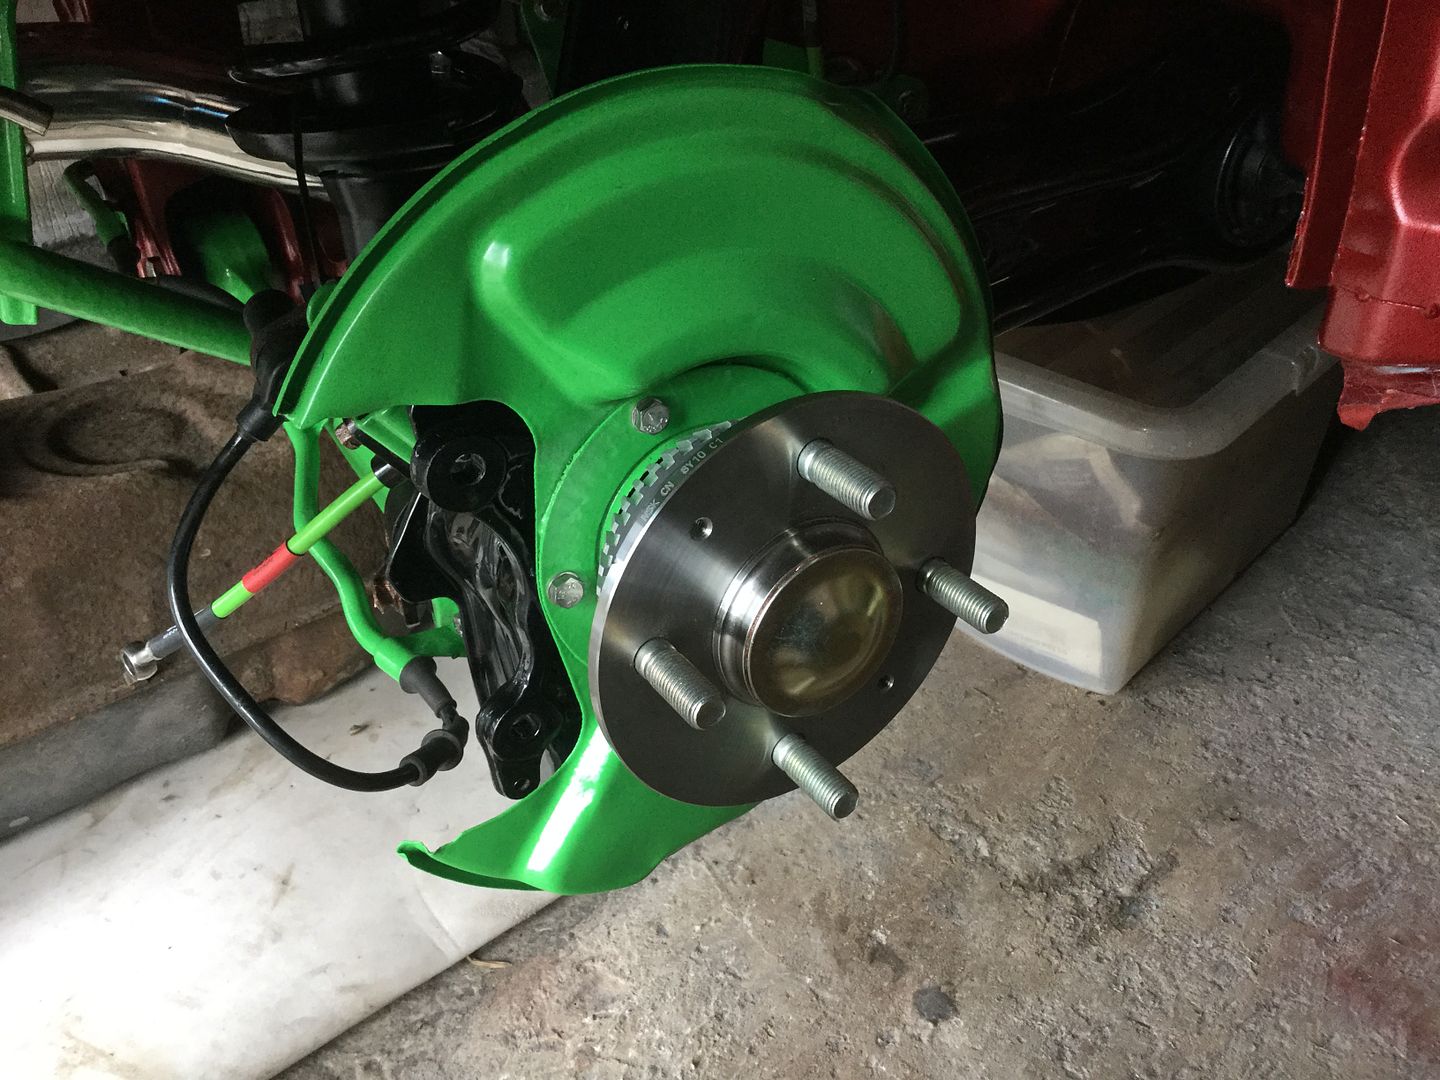
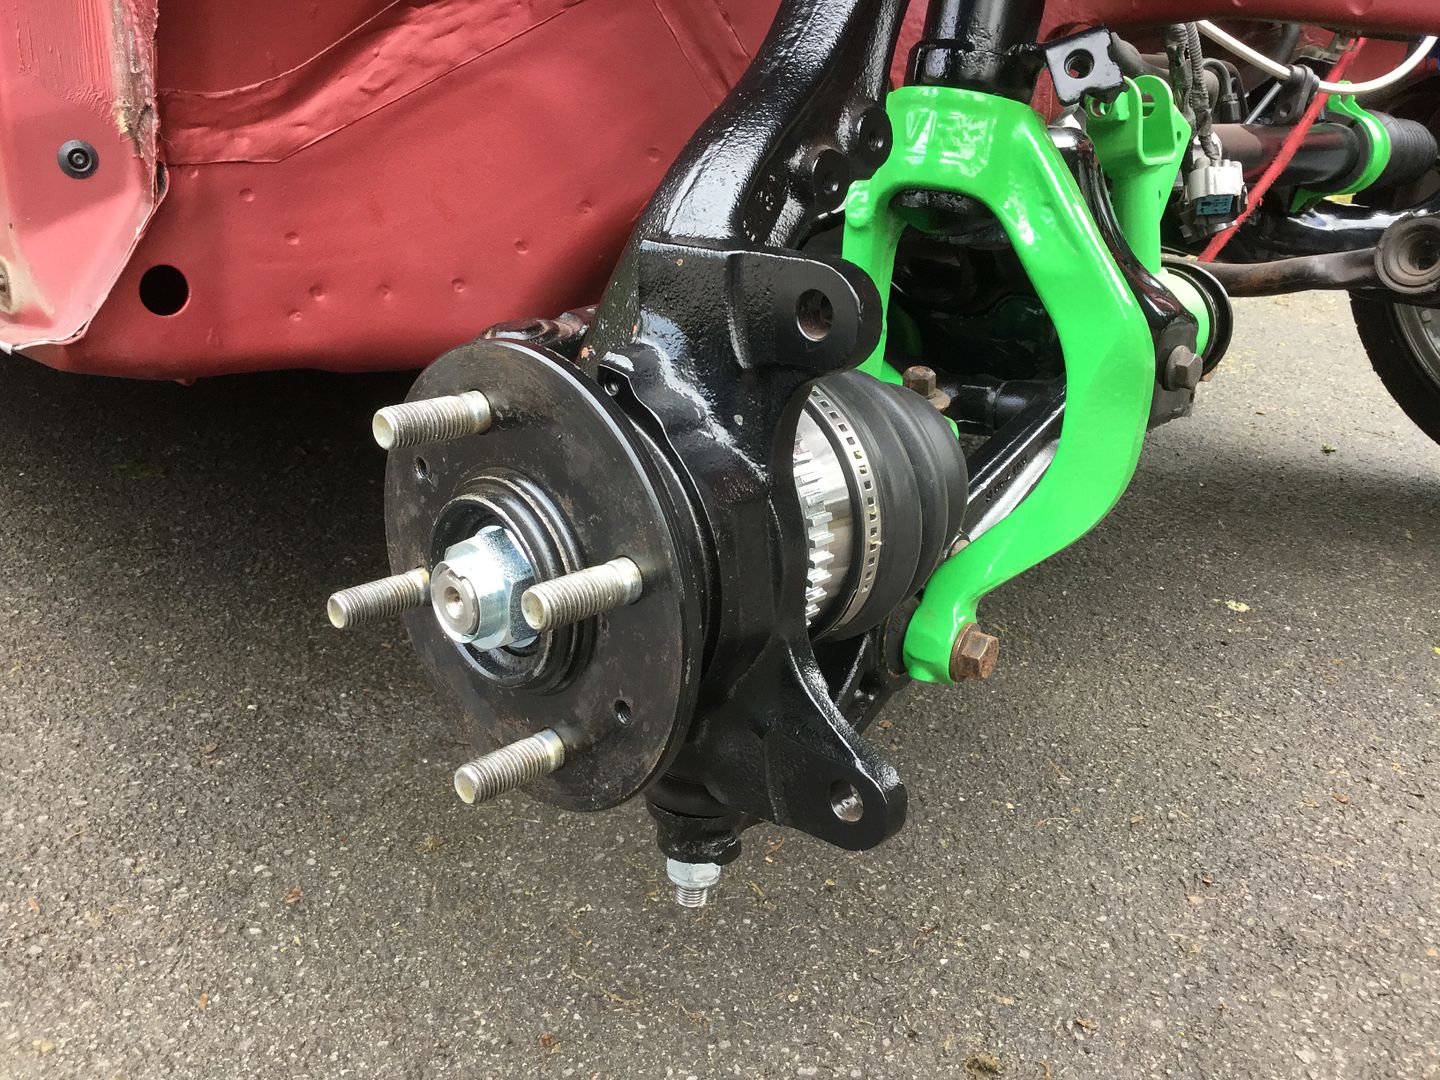
Next I fitted the calipers, disks and pads, braided hose and the handbrake cables -
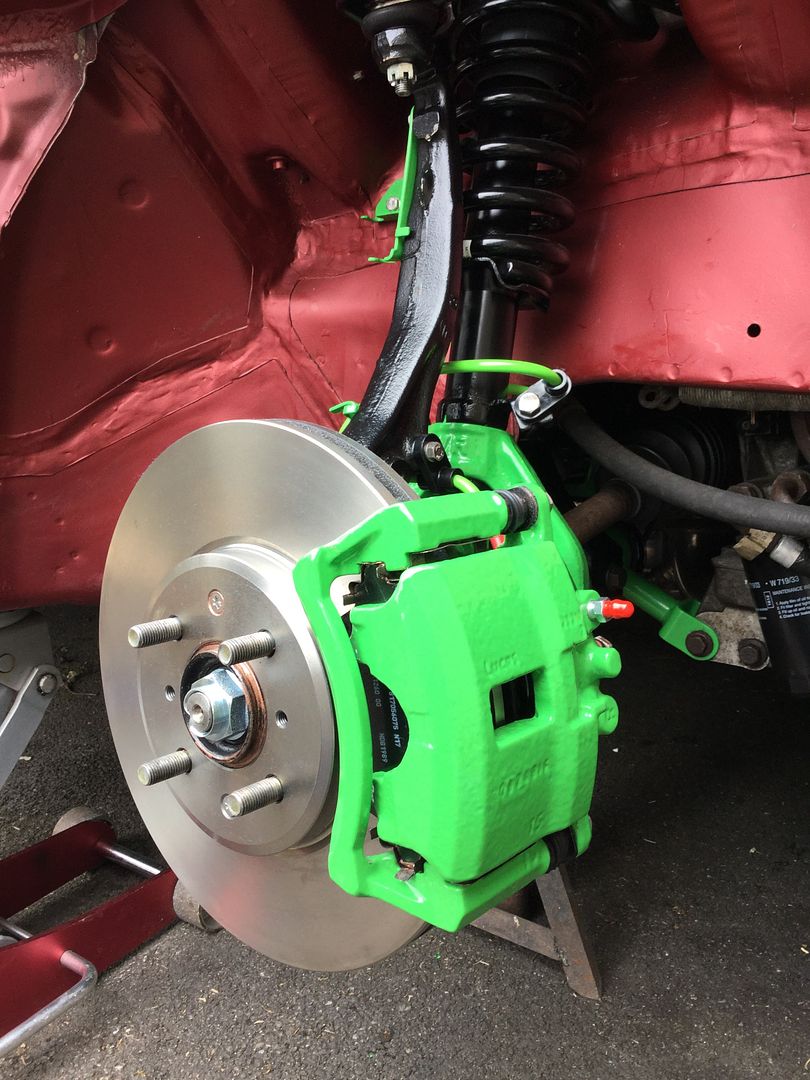
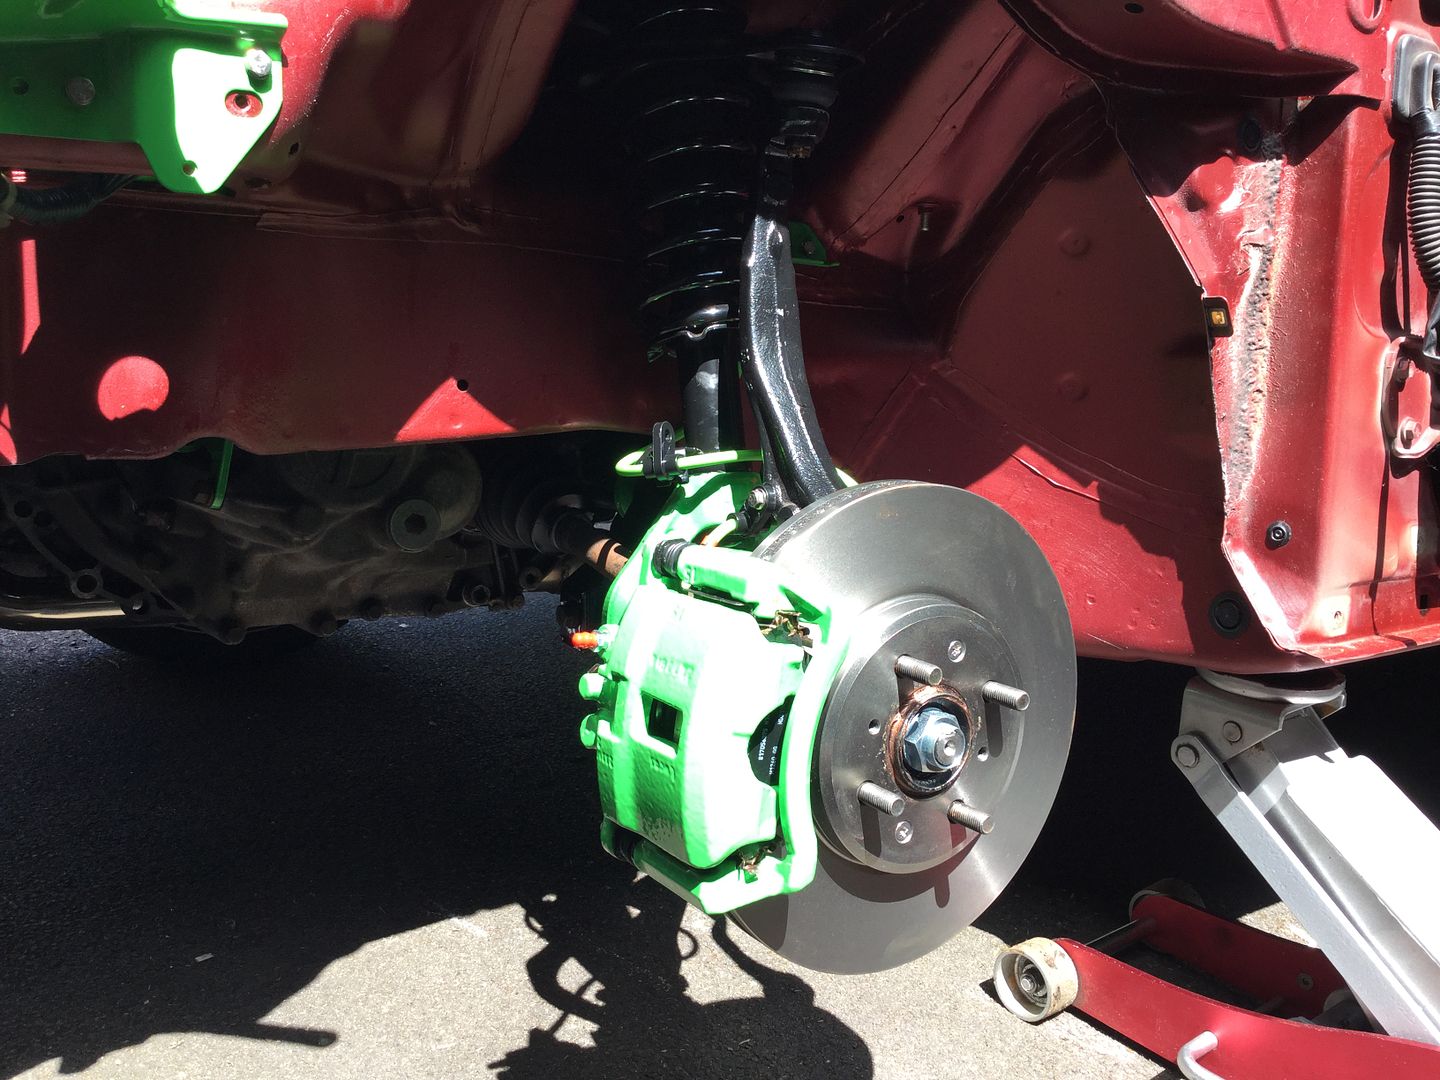
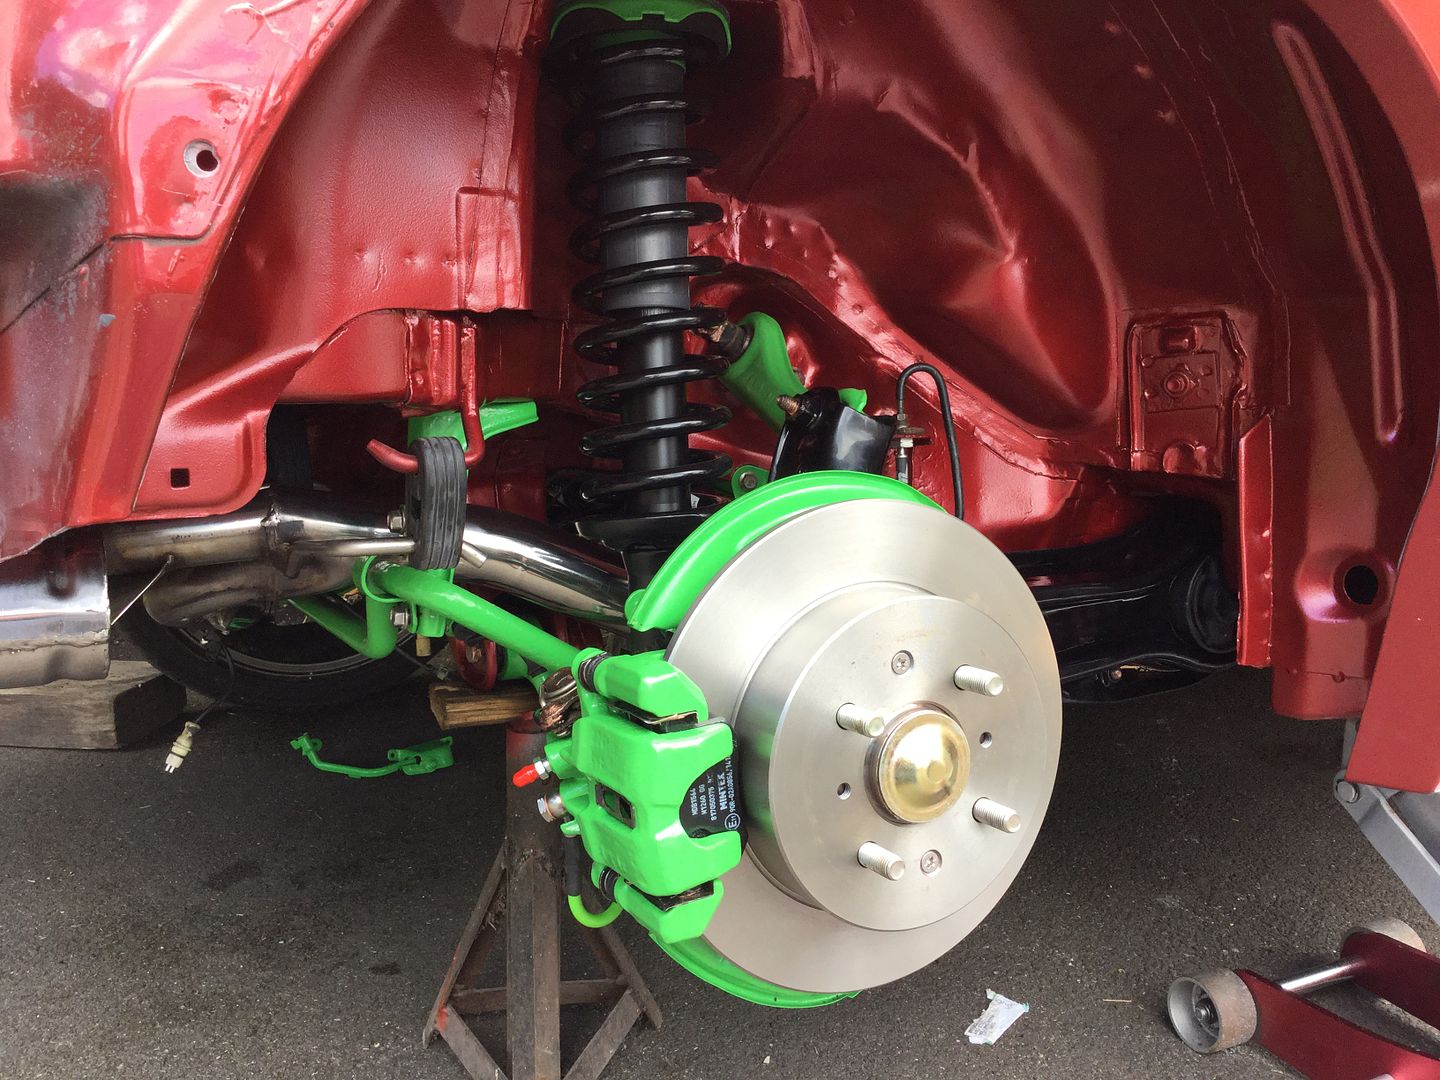
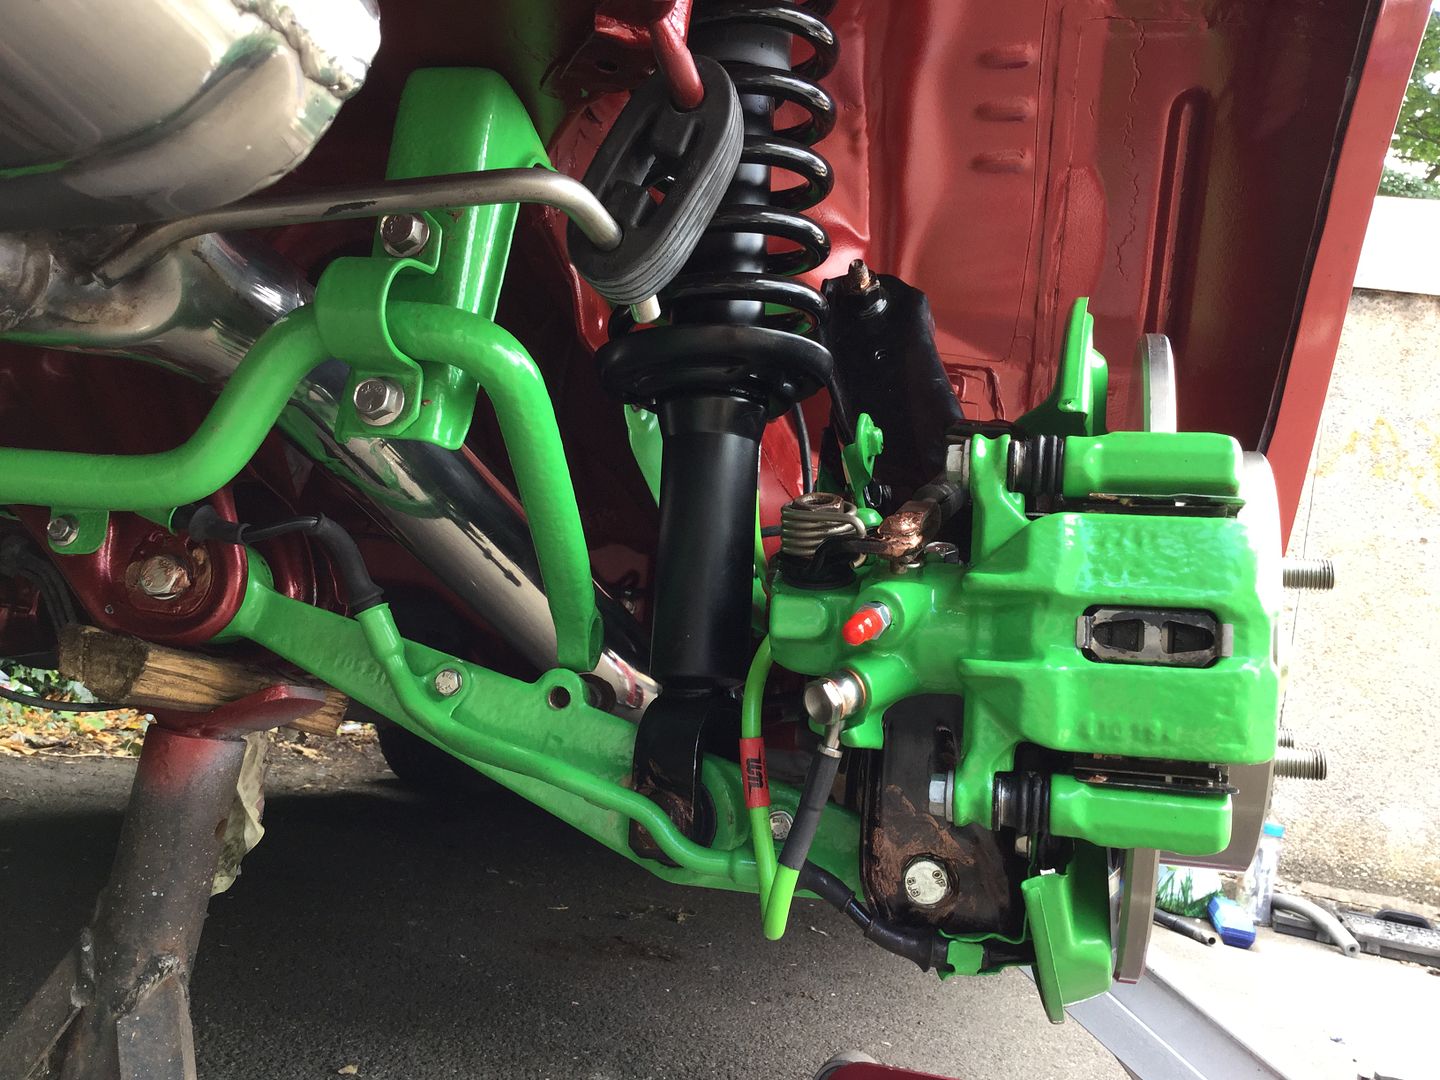
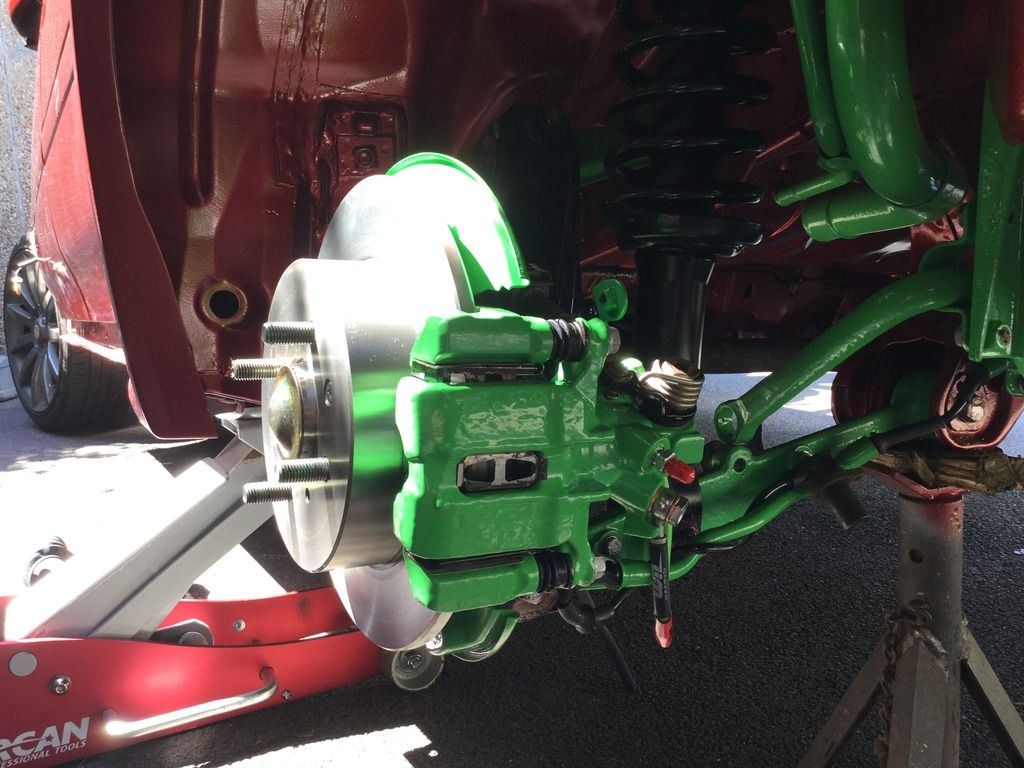
They look quite good behind the wheels -
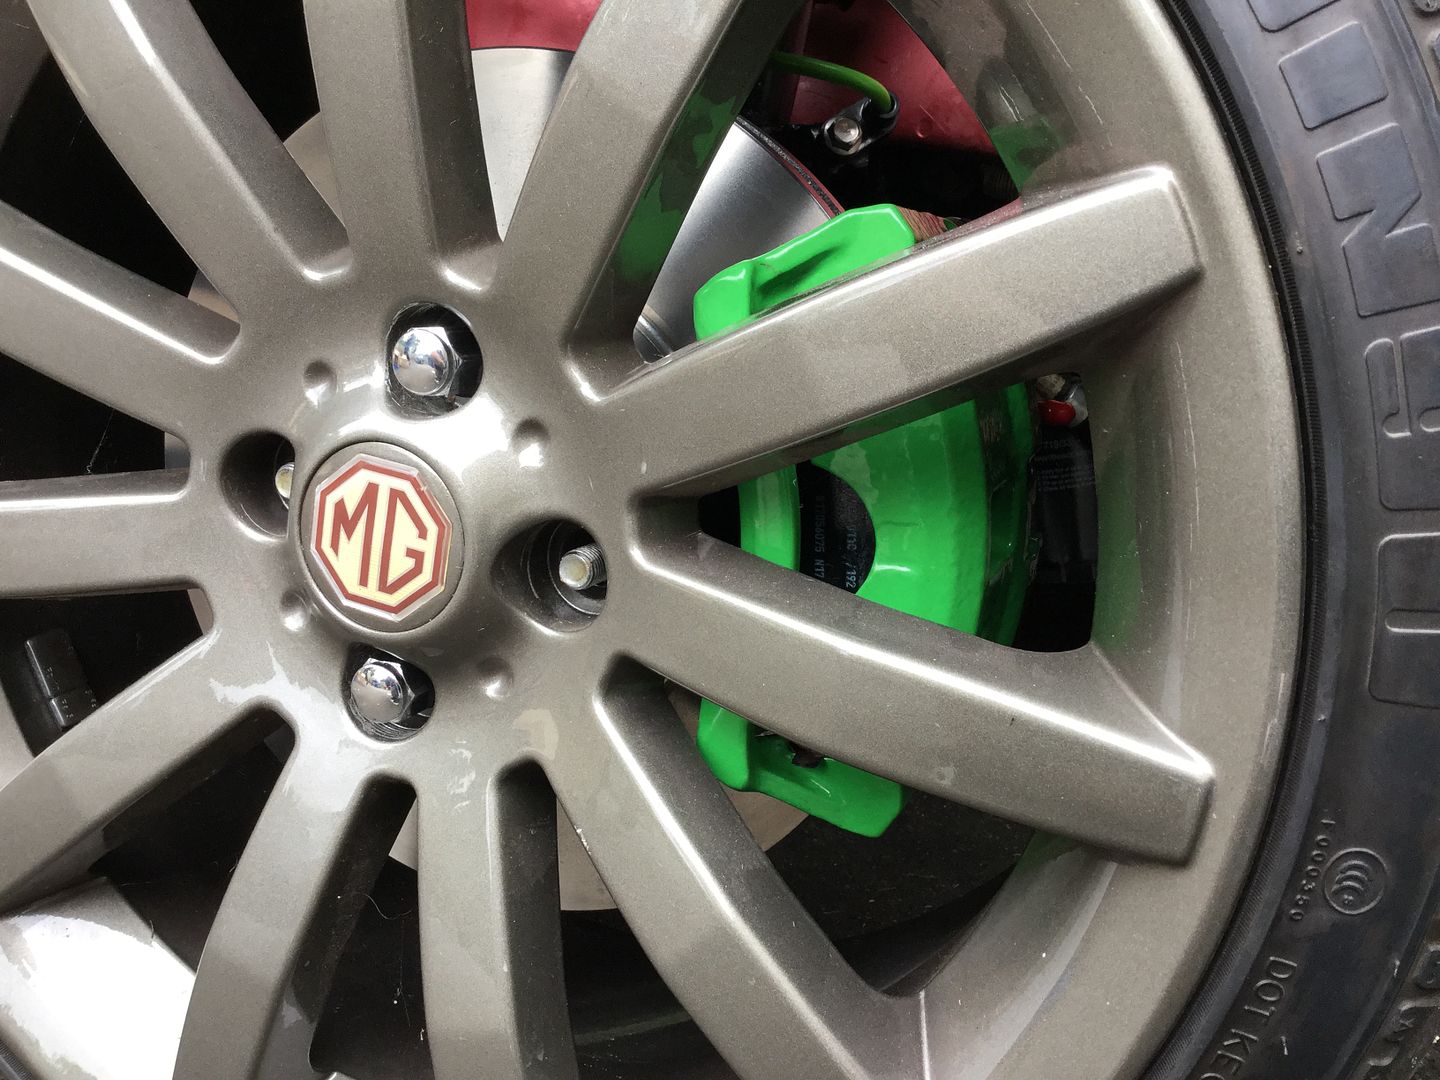
I'll be having these done gloss black in the near future though.
Continued in a second post...


 Linear Mode

